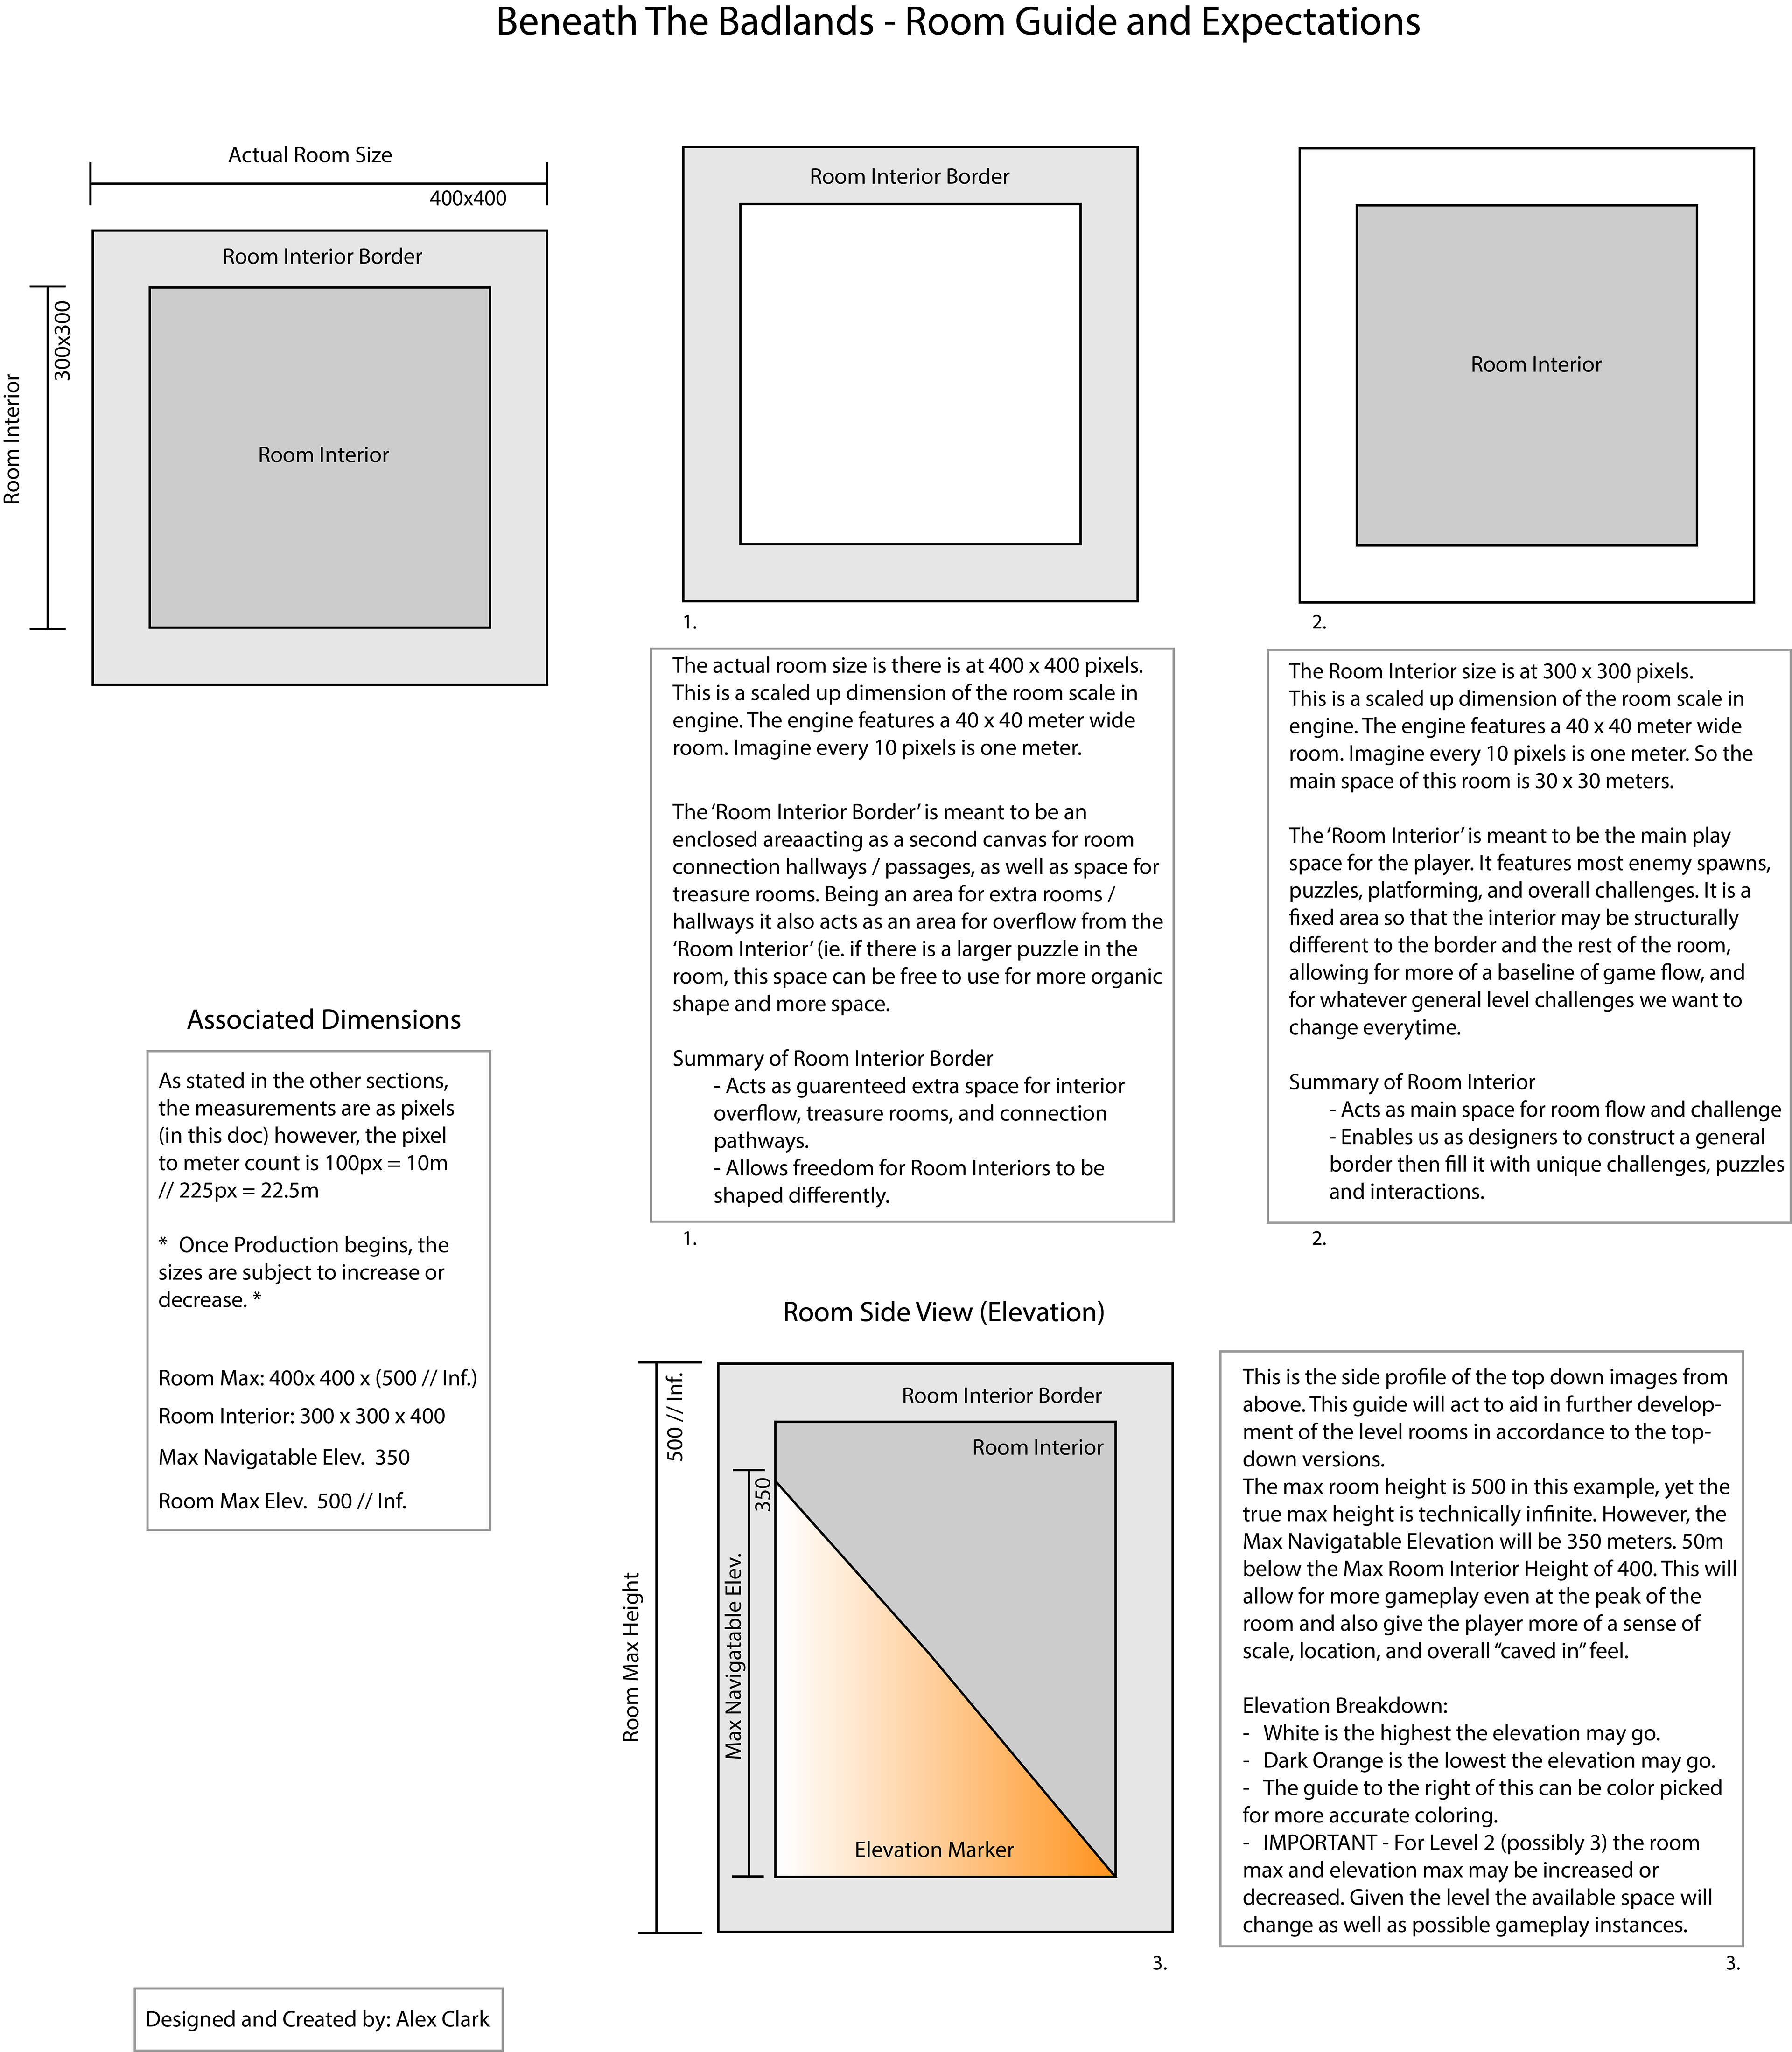
My Role(S):
Lead Level Designer + Game Designer (Vista Artist + Asset Implementer)
Game Information:
"Descend into the heart-pounding chaos of "Beneath the Badlands," an explosive first-person shooter that throws you into the boots of Aster, the relentless bounty hunter of an alternate North American frontier. In a landscape twisted by steampunk innovation and mechanical monstrosities, society clings to a precarious balance between man and machine. Embark on an adrenaline-fueled quest through treacherous caverns ravaged by a relentless plague, an unholy spawn of mutation that has transformed the flora and fauna into a nightmarish underworld."
"As Aster, you must harness your combat skills to gather precious resources that will fuel your journey deeper into the abyss. The enemies you encounter are not mere obstacles; they are manifestations of the Earth's wrath, twisted and mutated into grotesque forms that echo the desperation of a dying world. The fate of Apollo's Progress hangs in the balance, and the haunting echoes of your missing partner drive you onward. Uncover the secrets buried in the shadows, confront the monstrous denizens beneath, and piece together the puzzle of a civilization teetering on the brink of oblivion. Survive...and hold onto humanity."

Below are the different areas of the game I had designed and built.
Landscape and Town

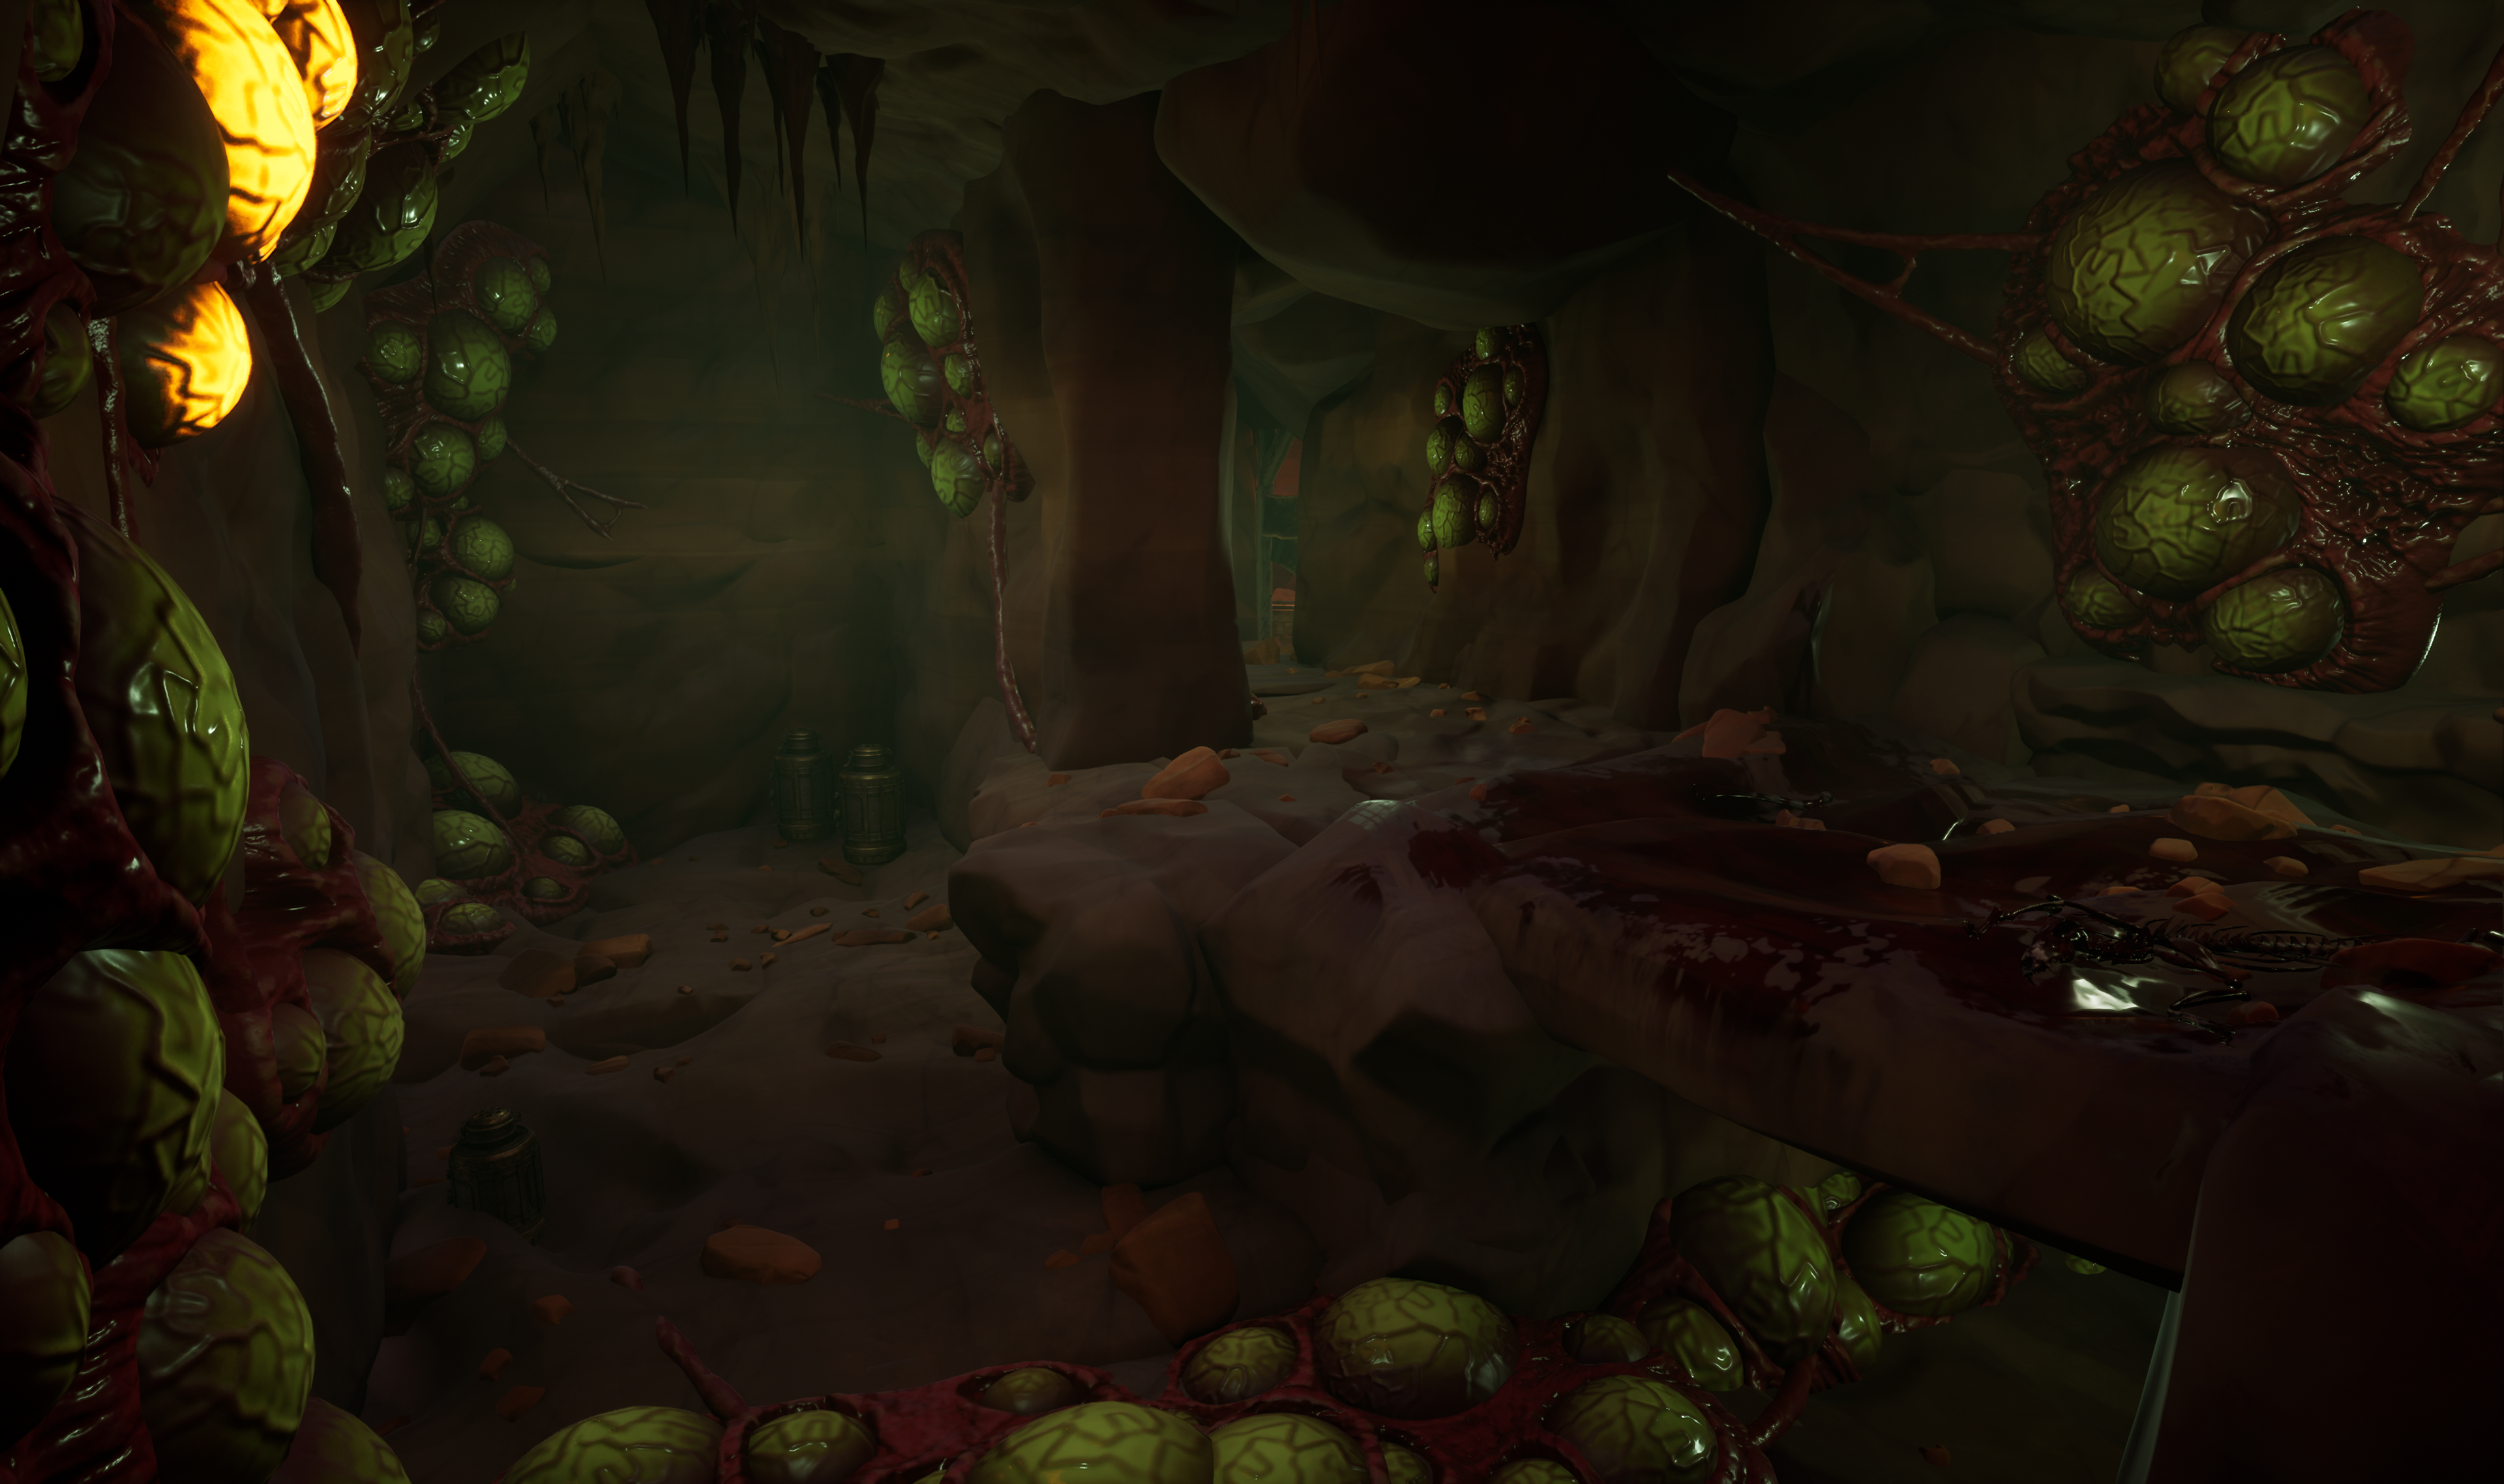
The Storage Caverns
The Pipeworks
Spring Cavern
The Workers Quarters

Wave Room
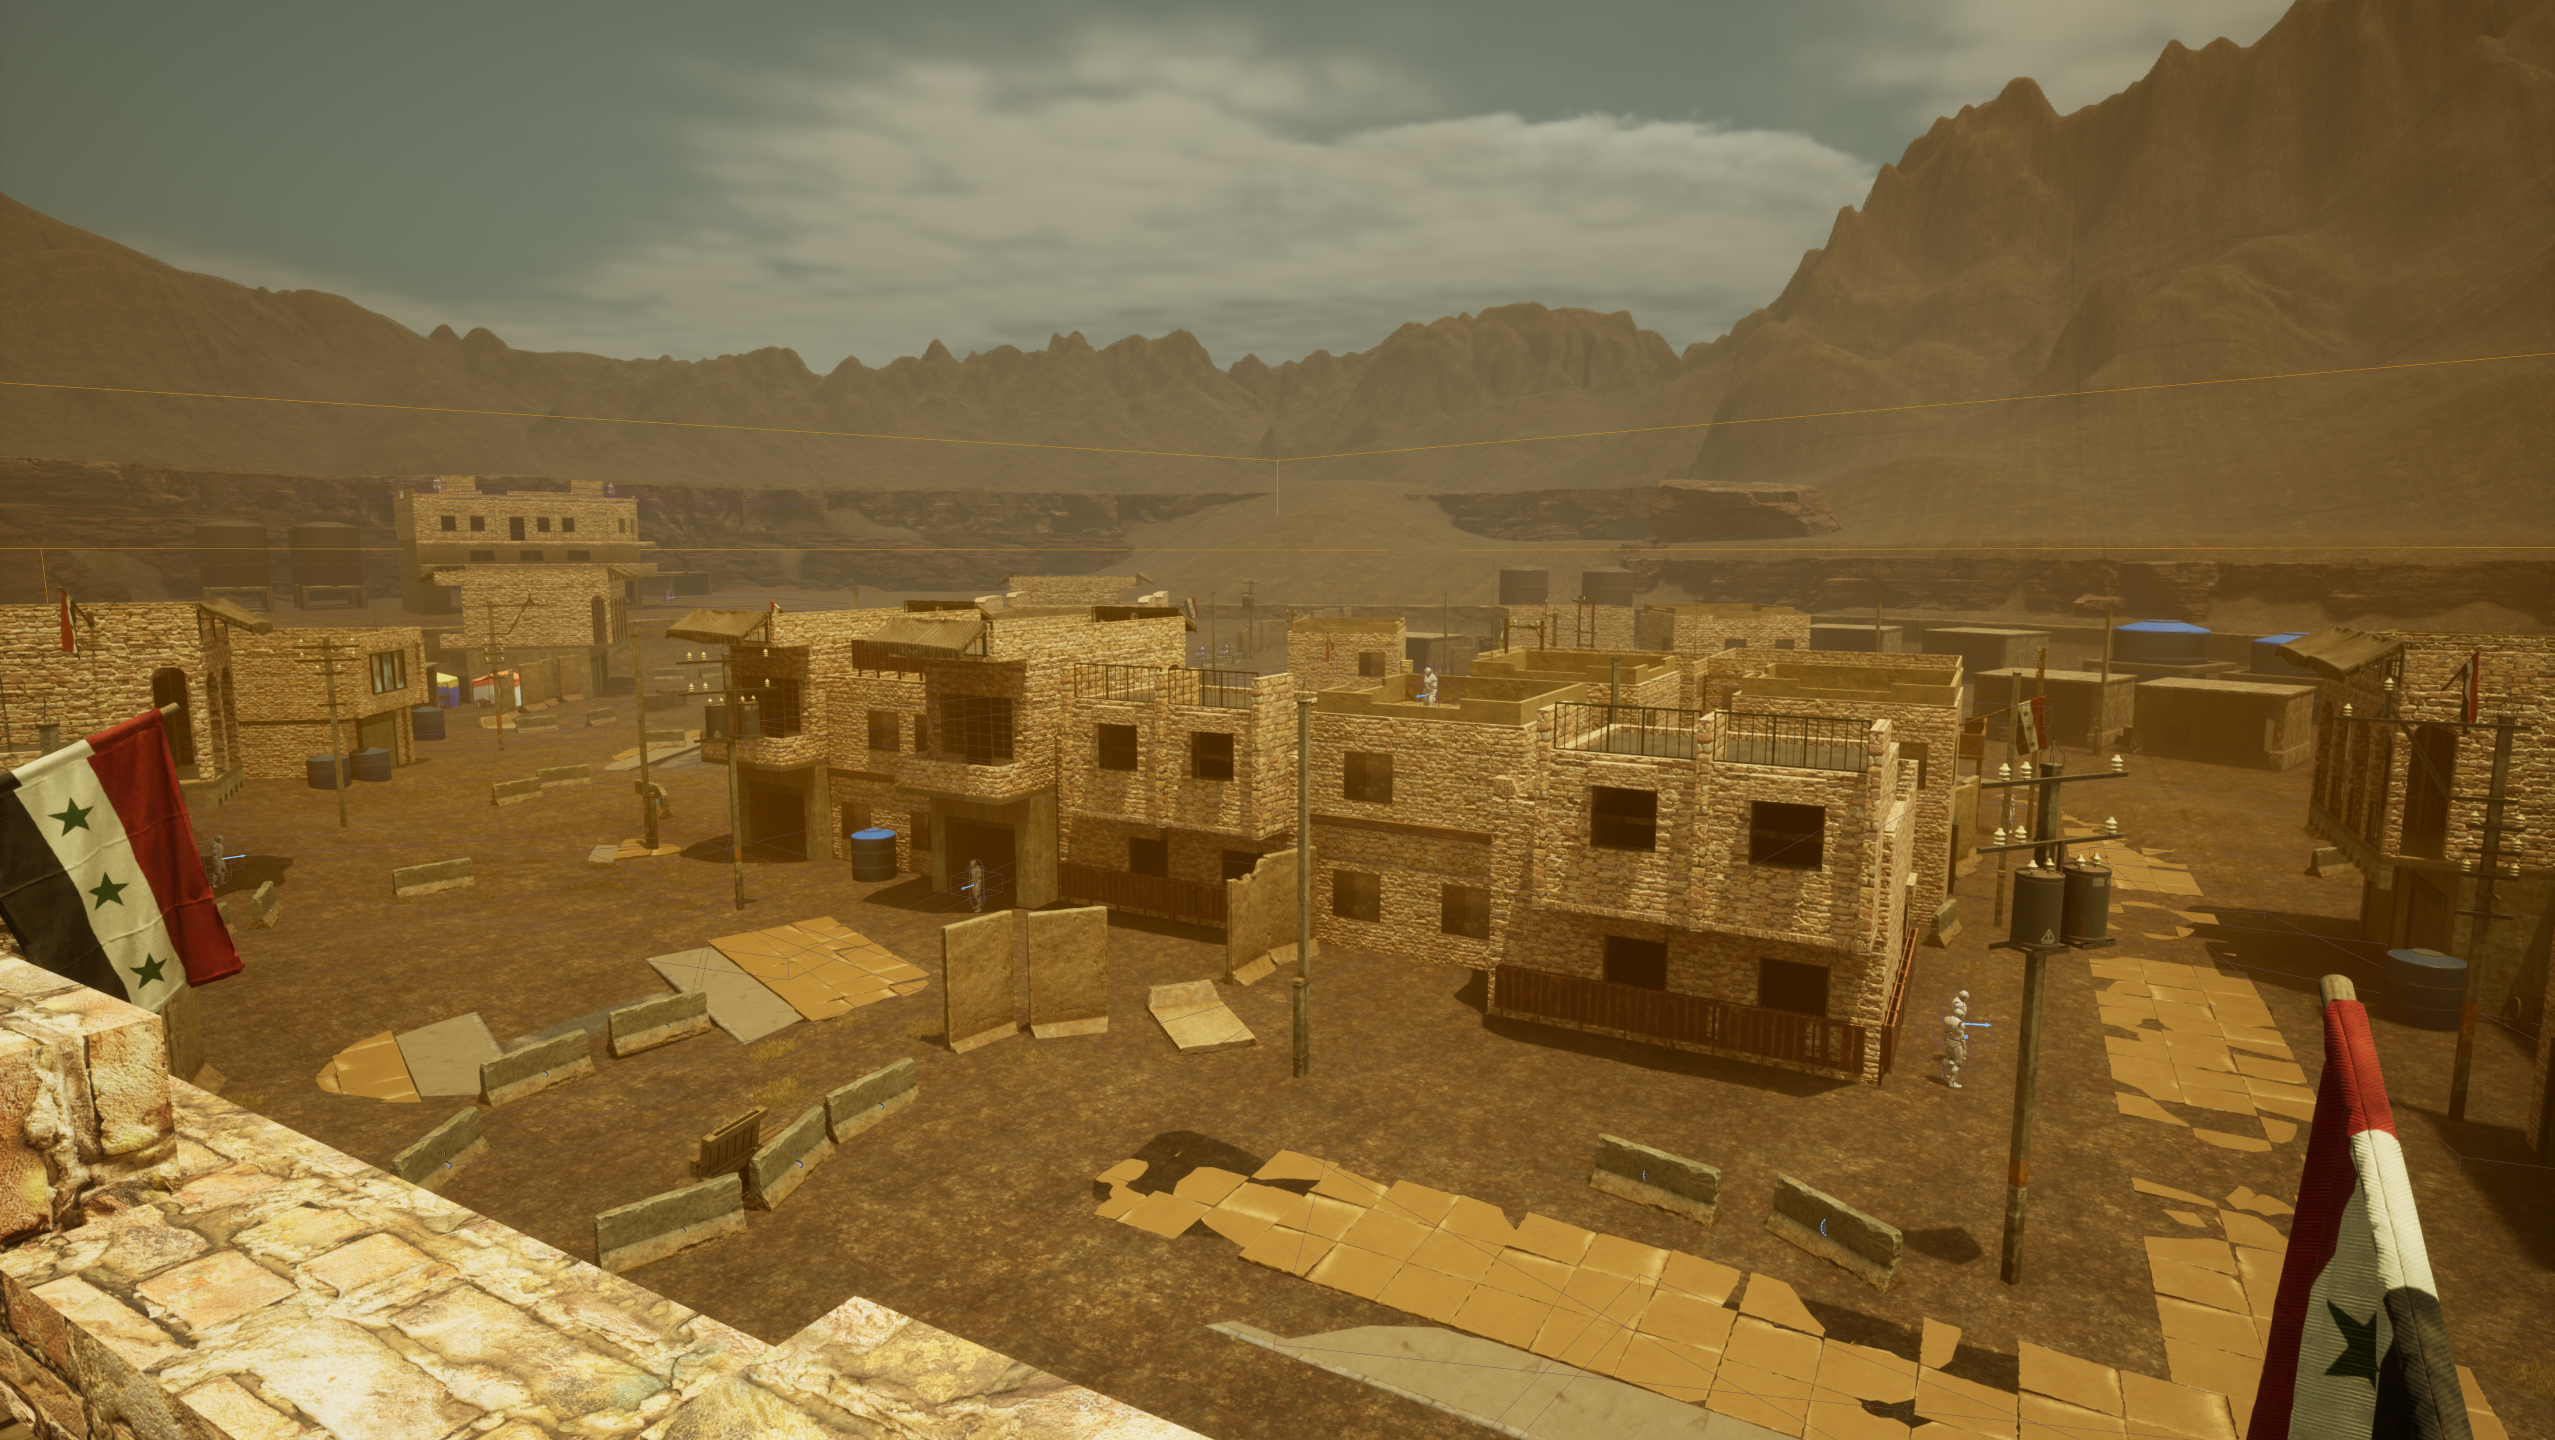
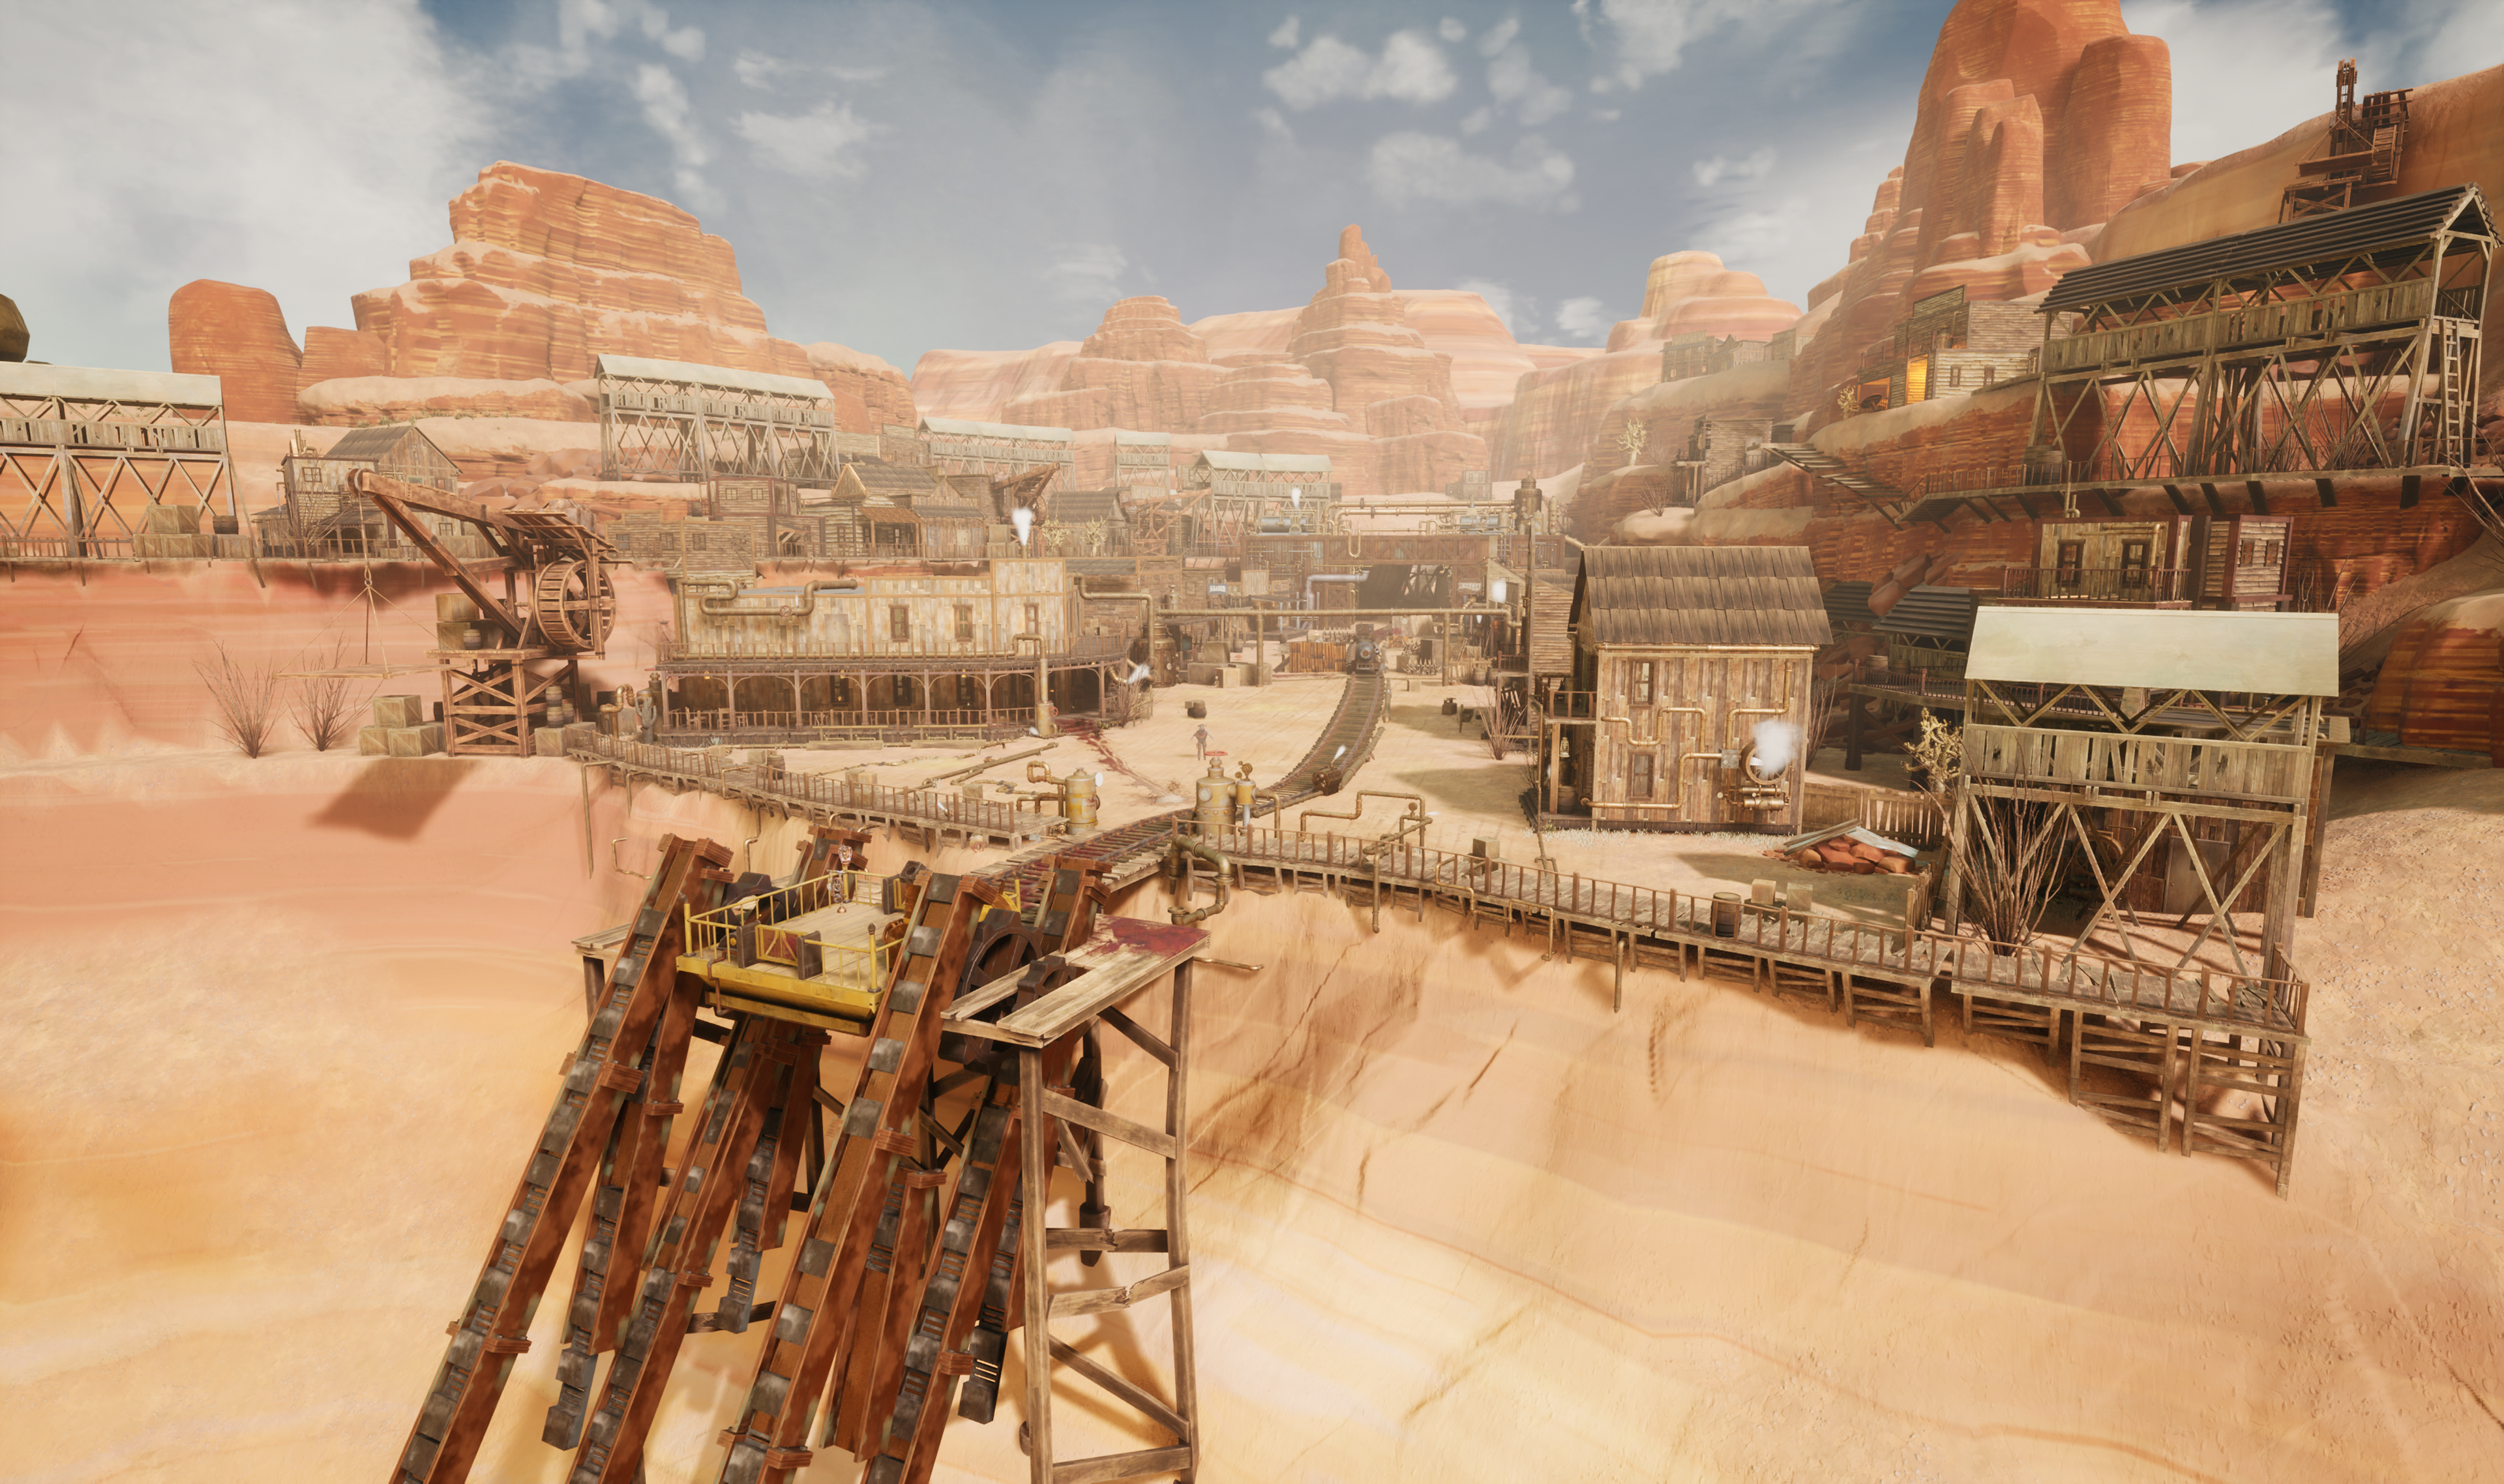
LANDSCAPE AND TOWN
Initially modeled in Unreal, then imported into Zbrush, textures made in substance & applied in Unreal.
The western style ghost town overlooks an abandoned mine, plagued by a mysterious sickness that taints the local area and wildlife.
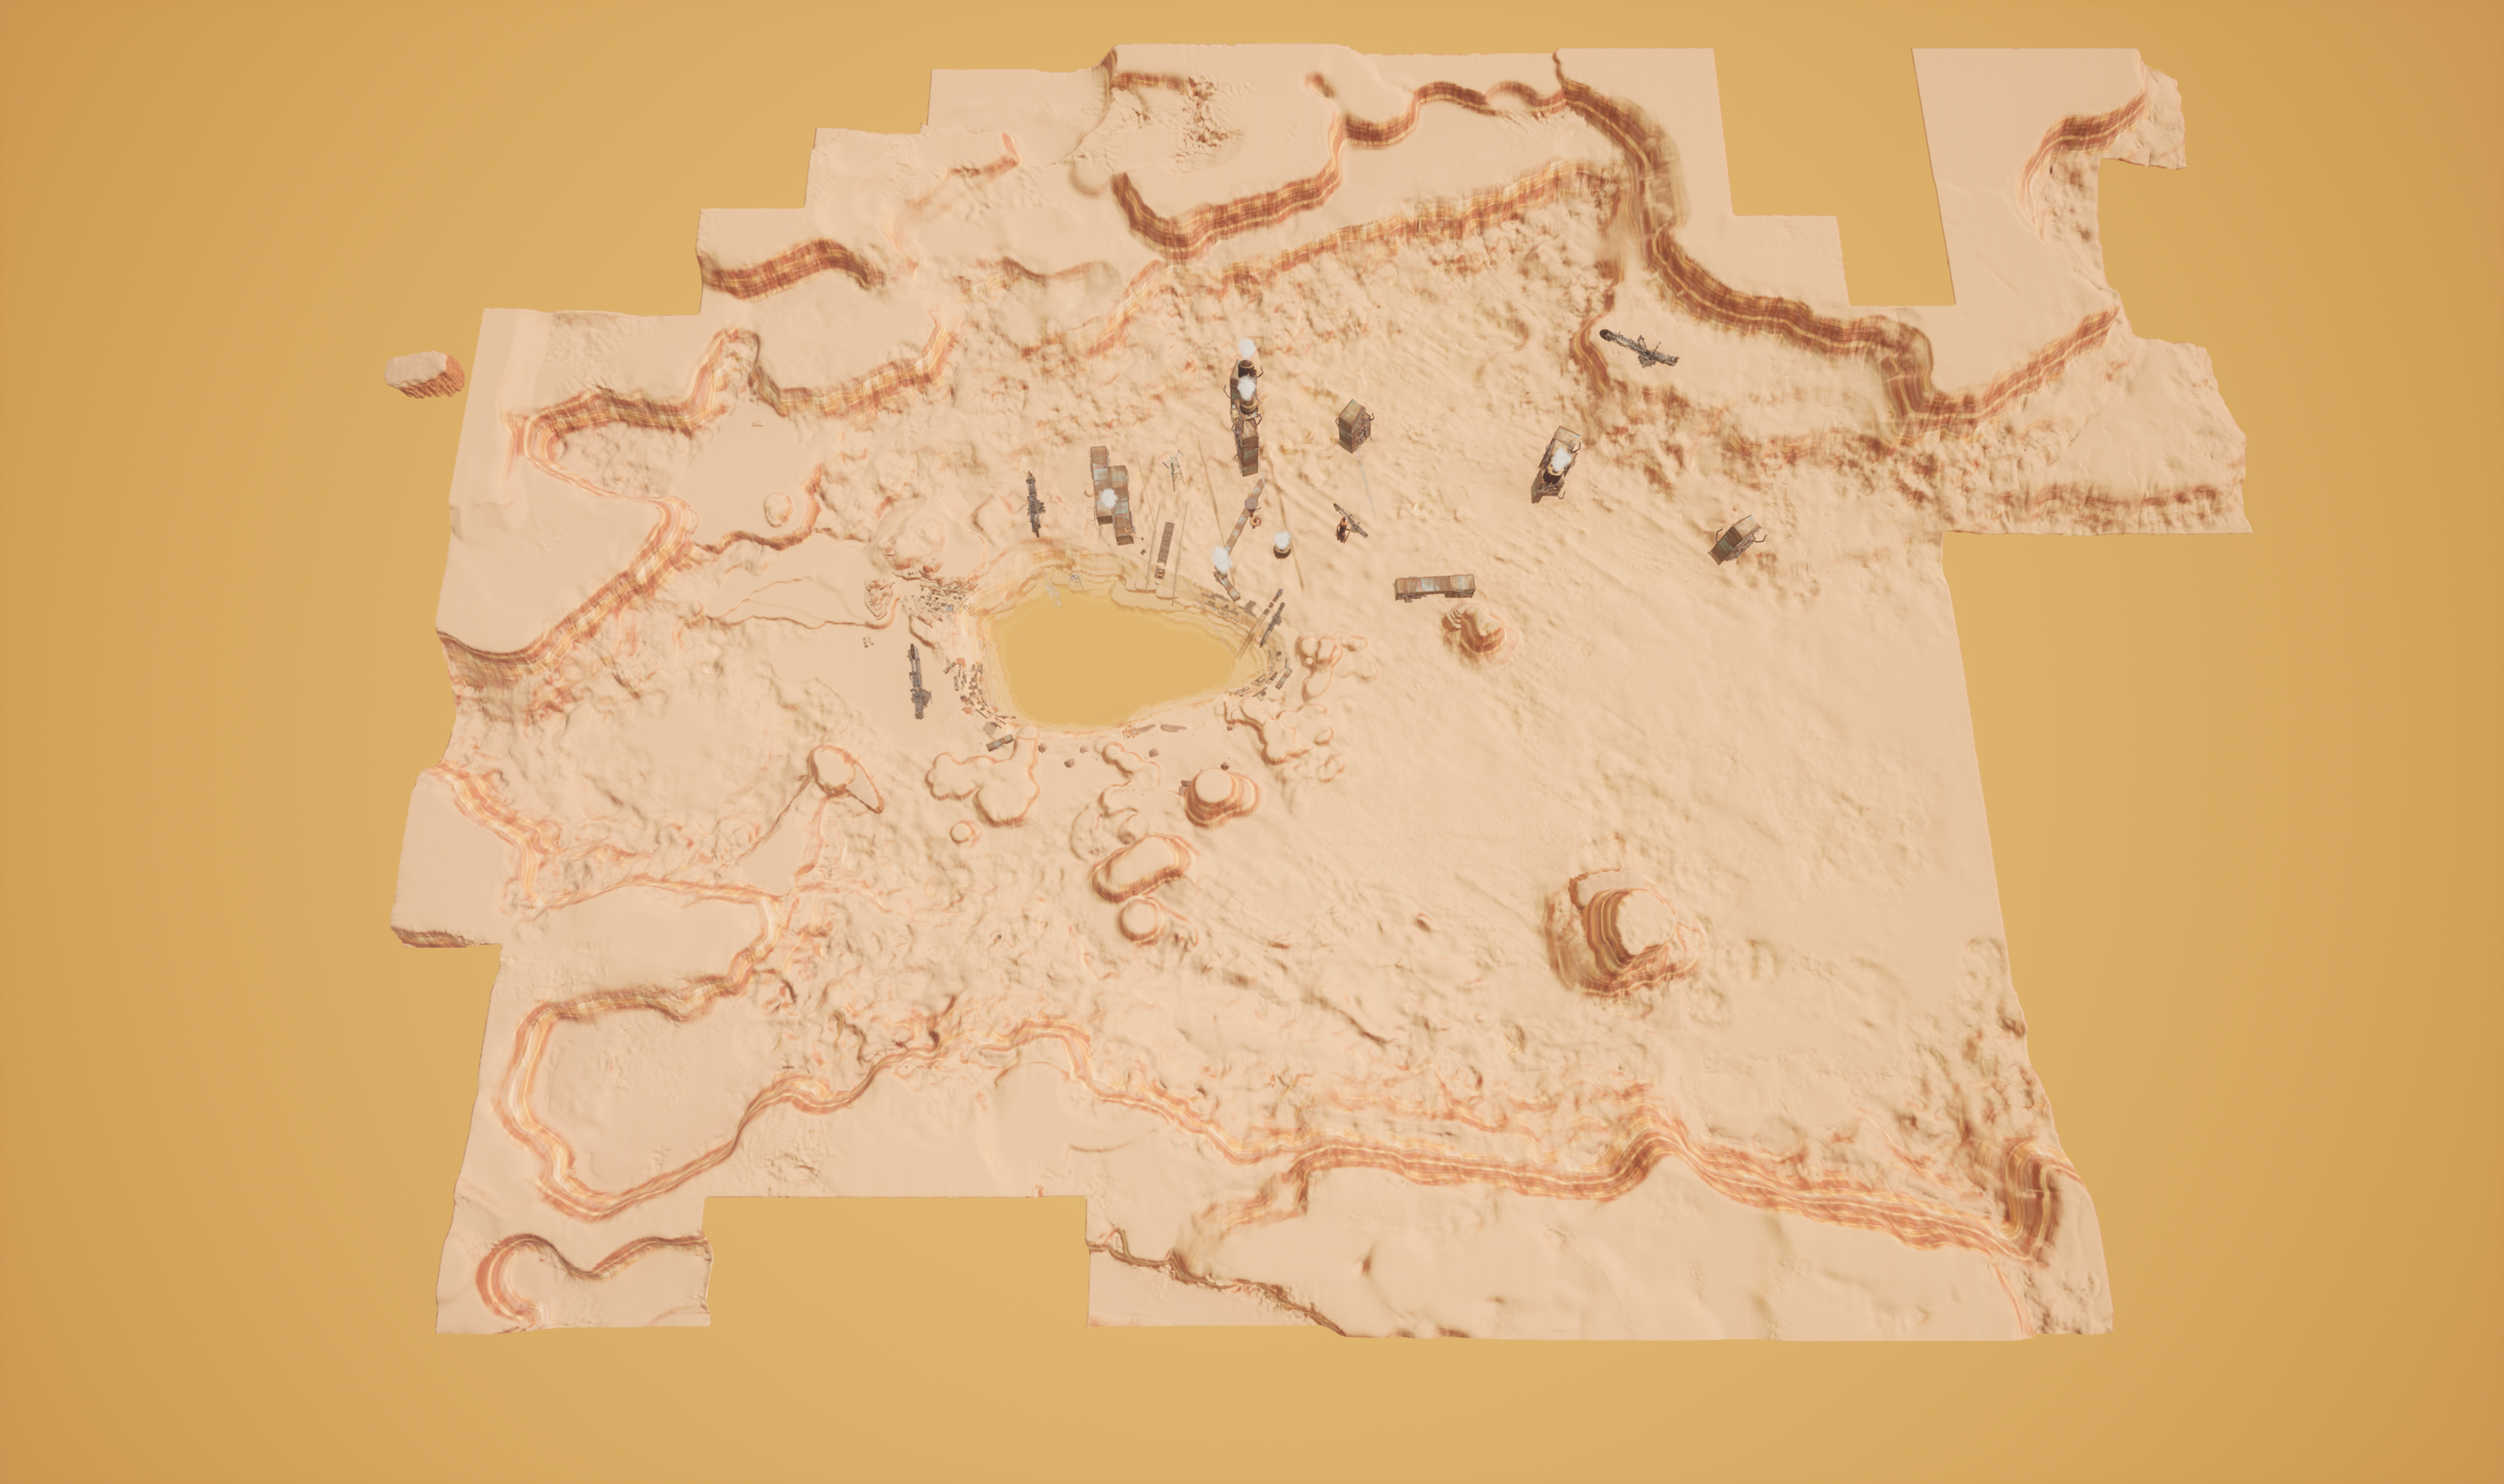
- Sculpted overworld landscape (~8 sqkm).
- Designed the town, and layout (asset implemented 90%).
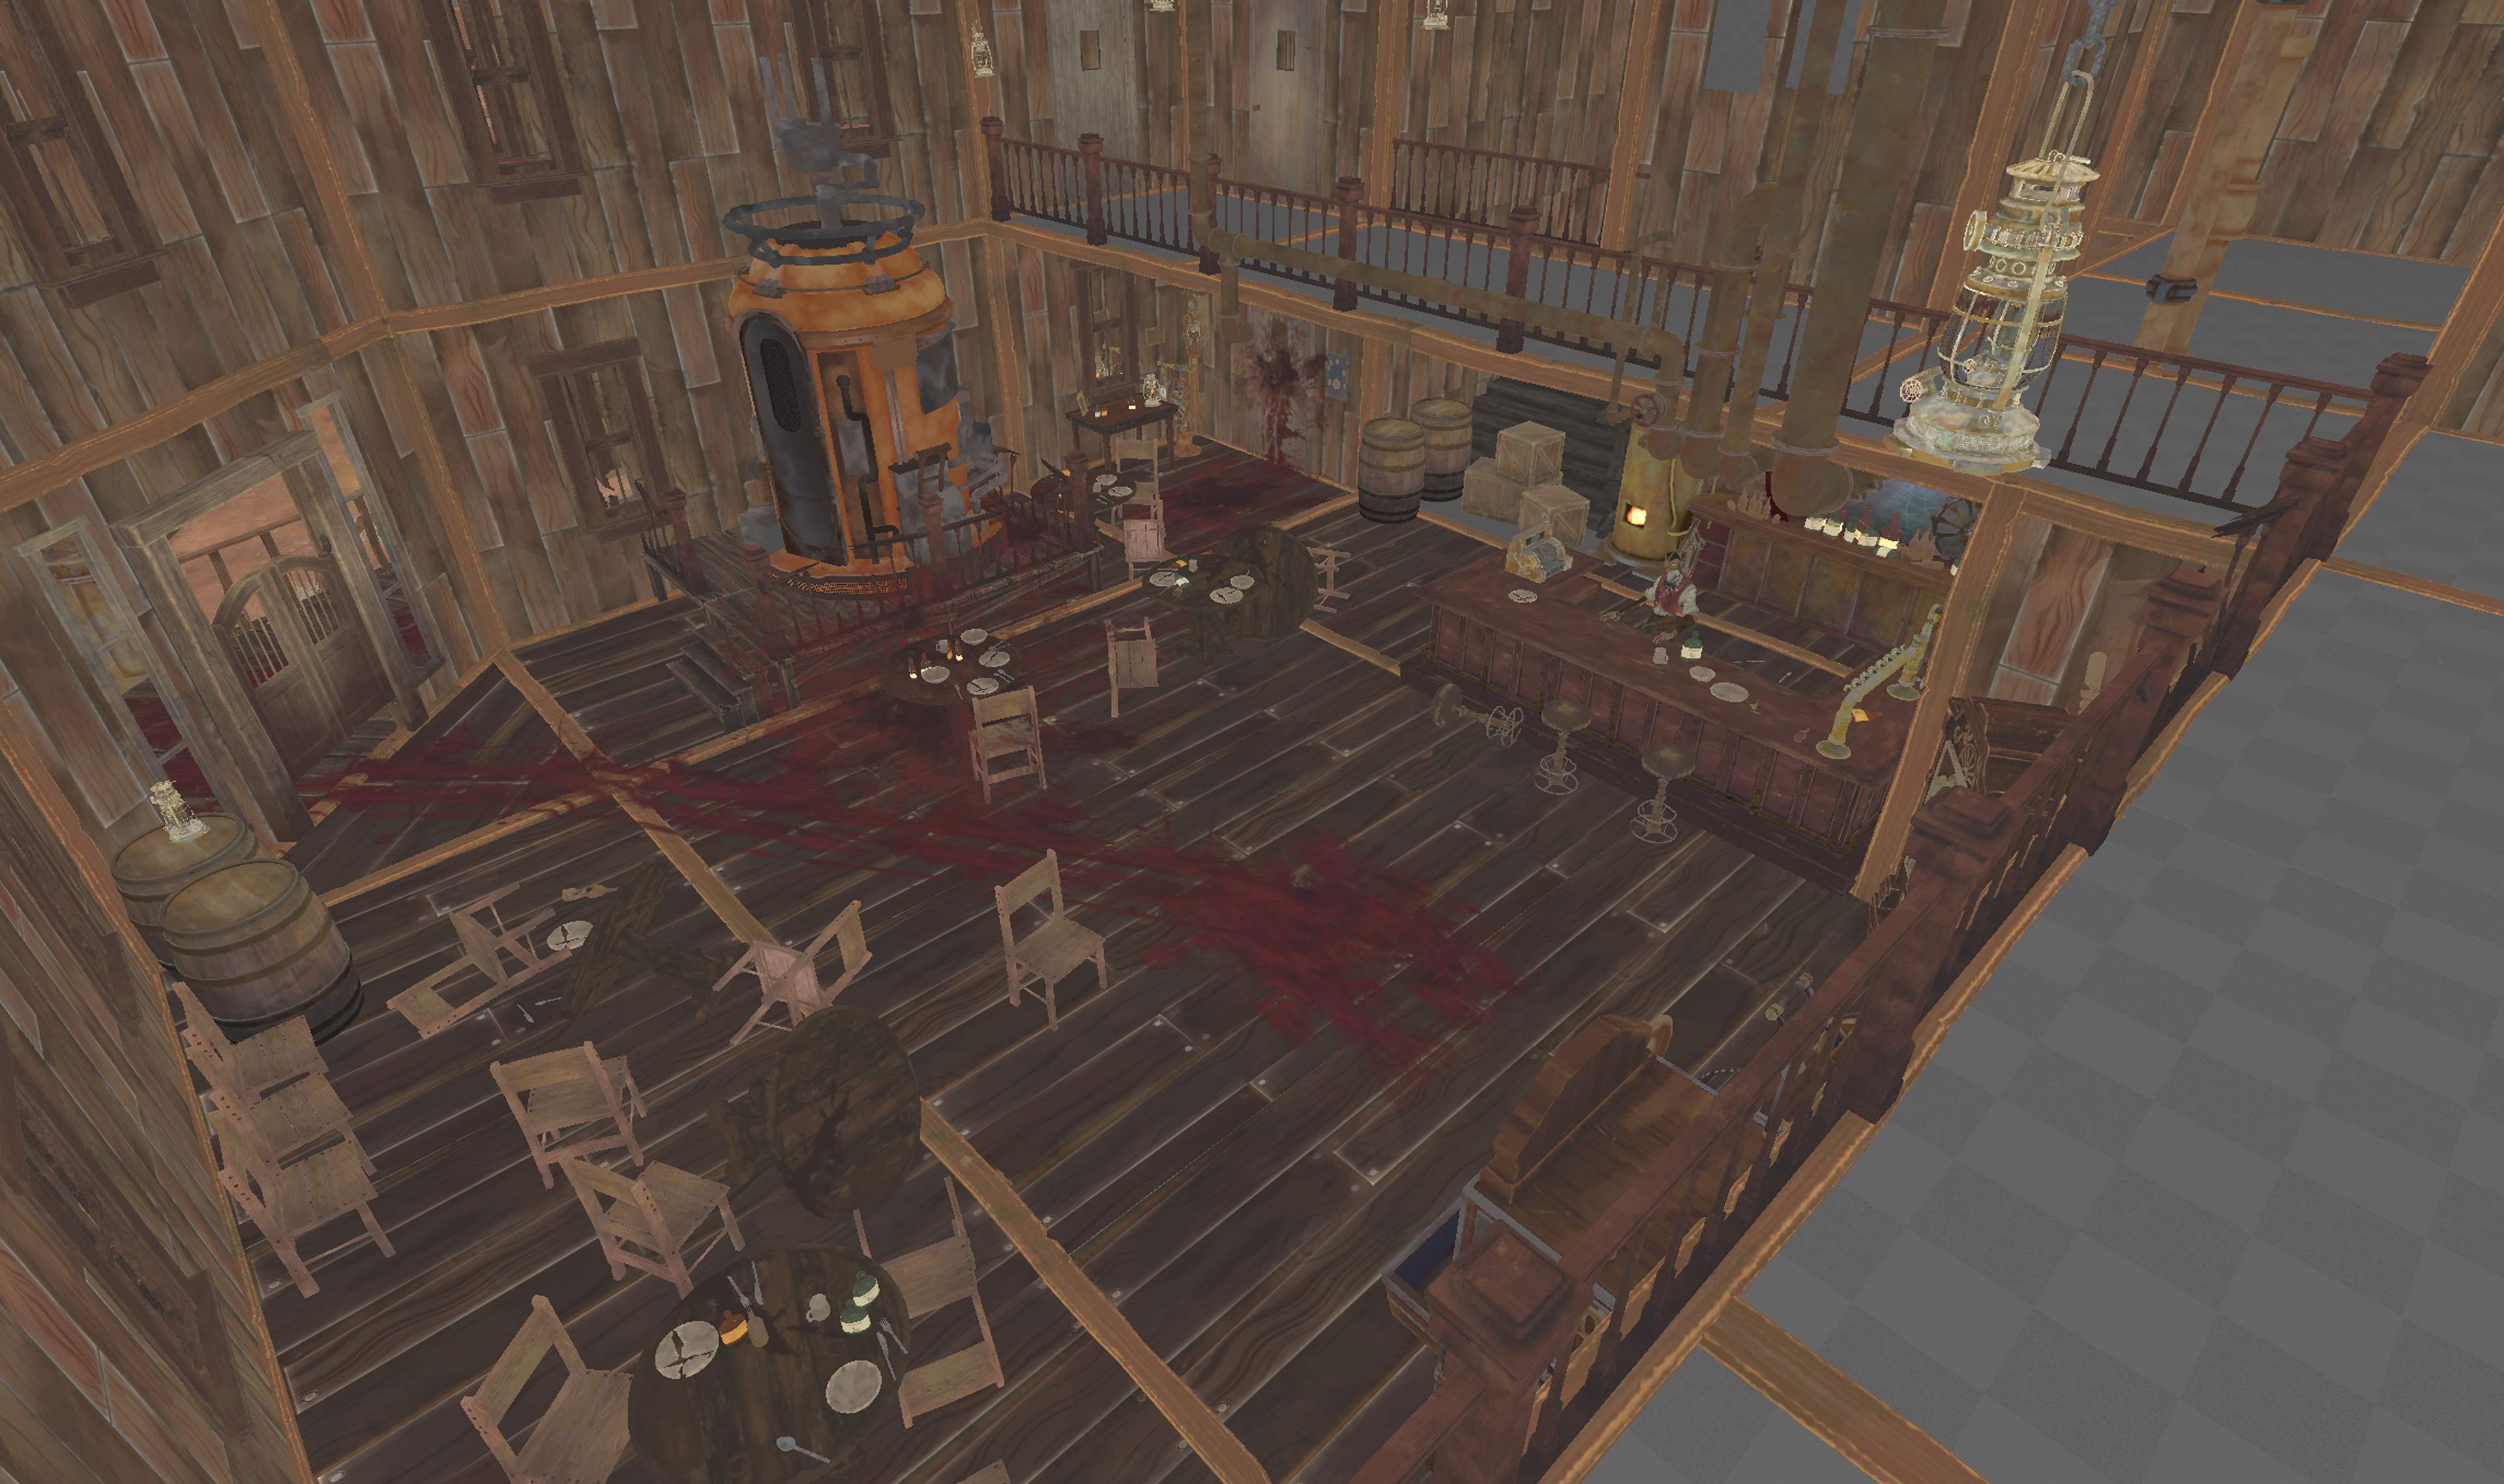
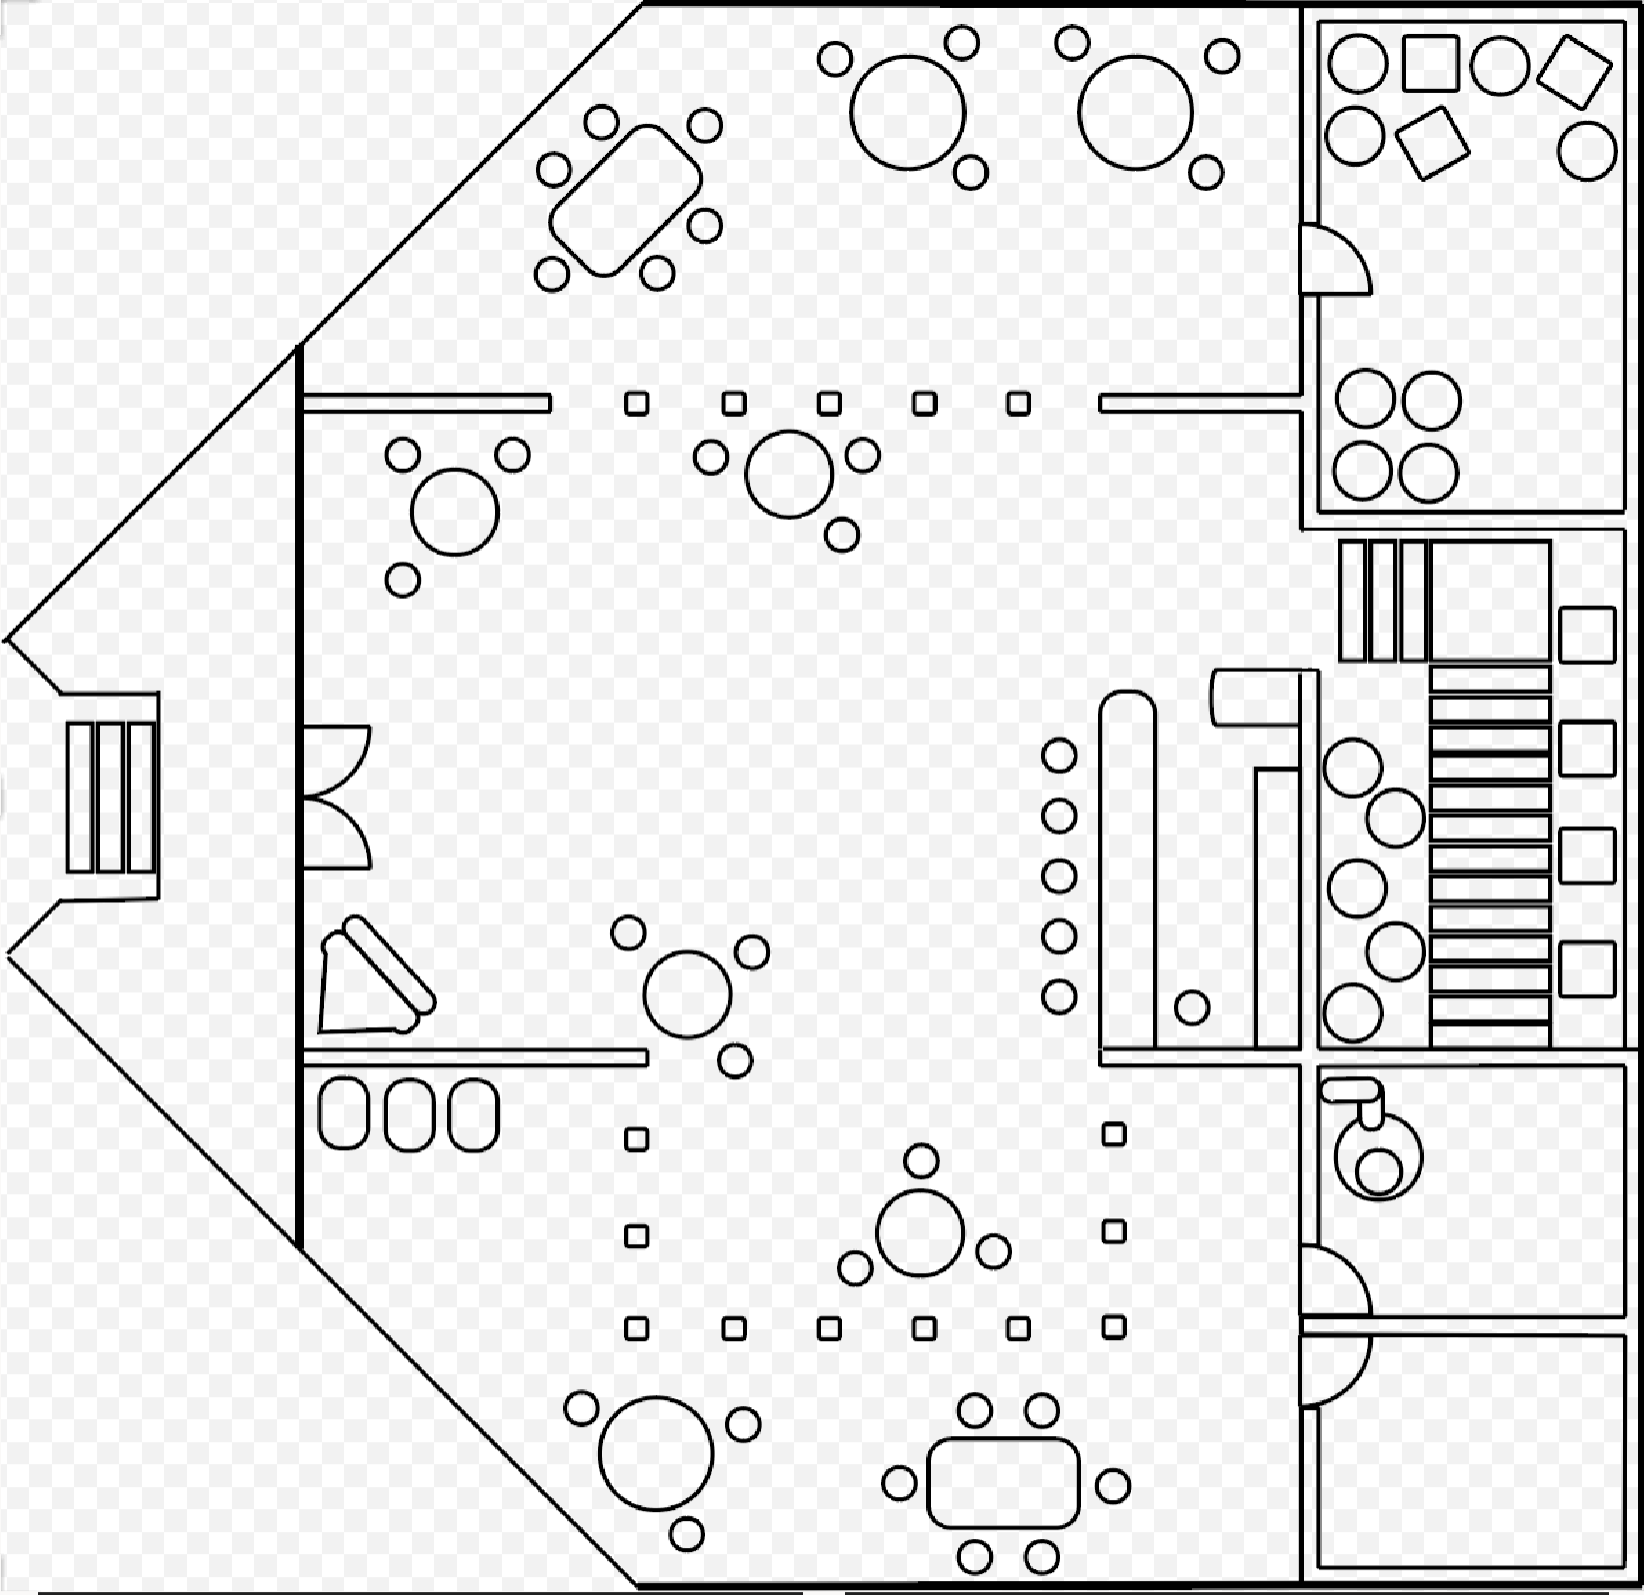
- Designed Game Hub interior (Saloon).
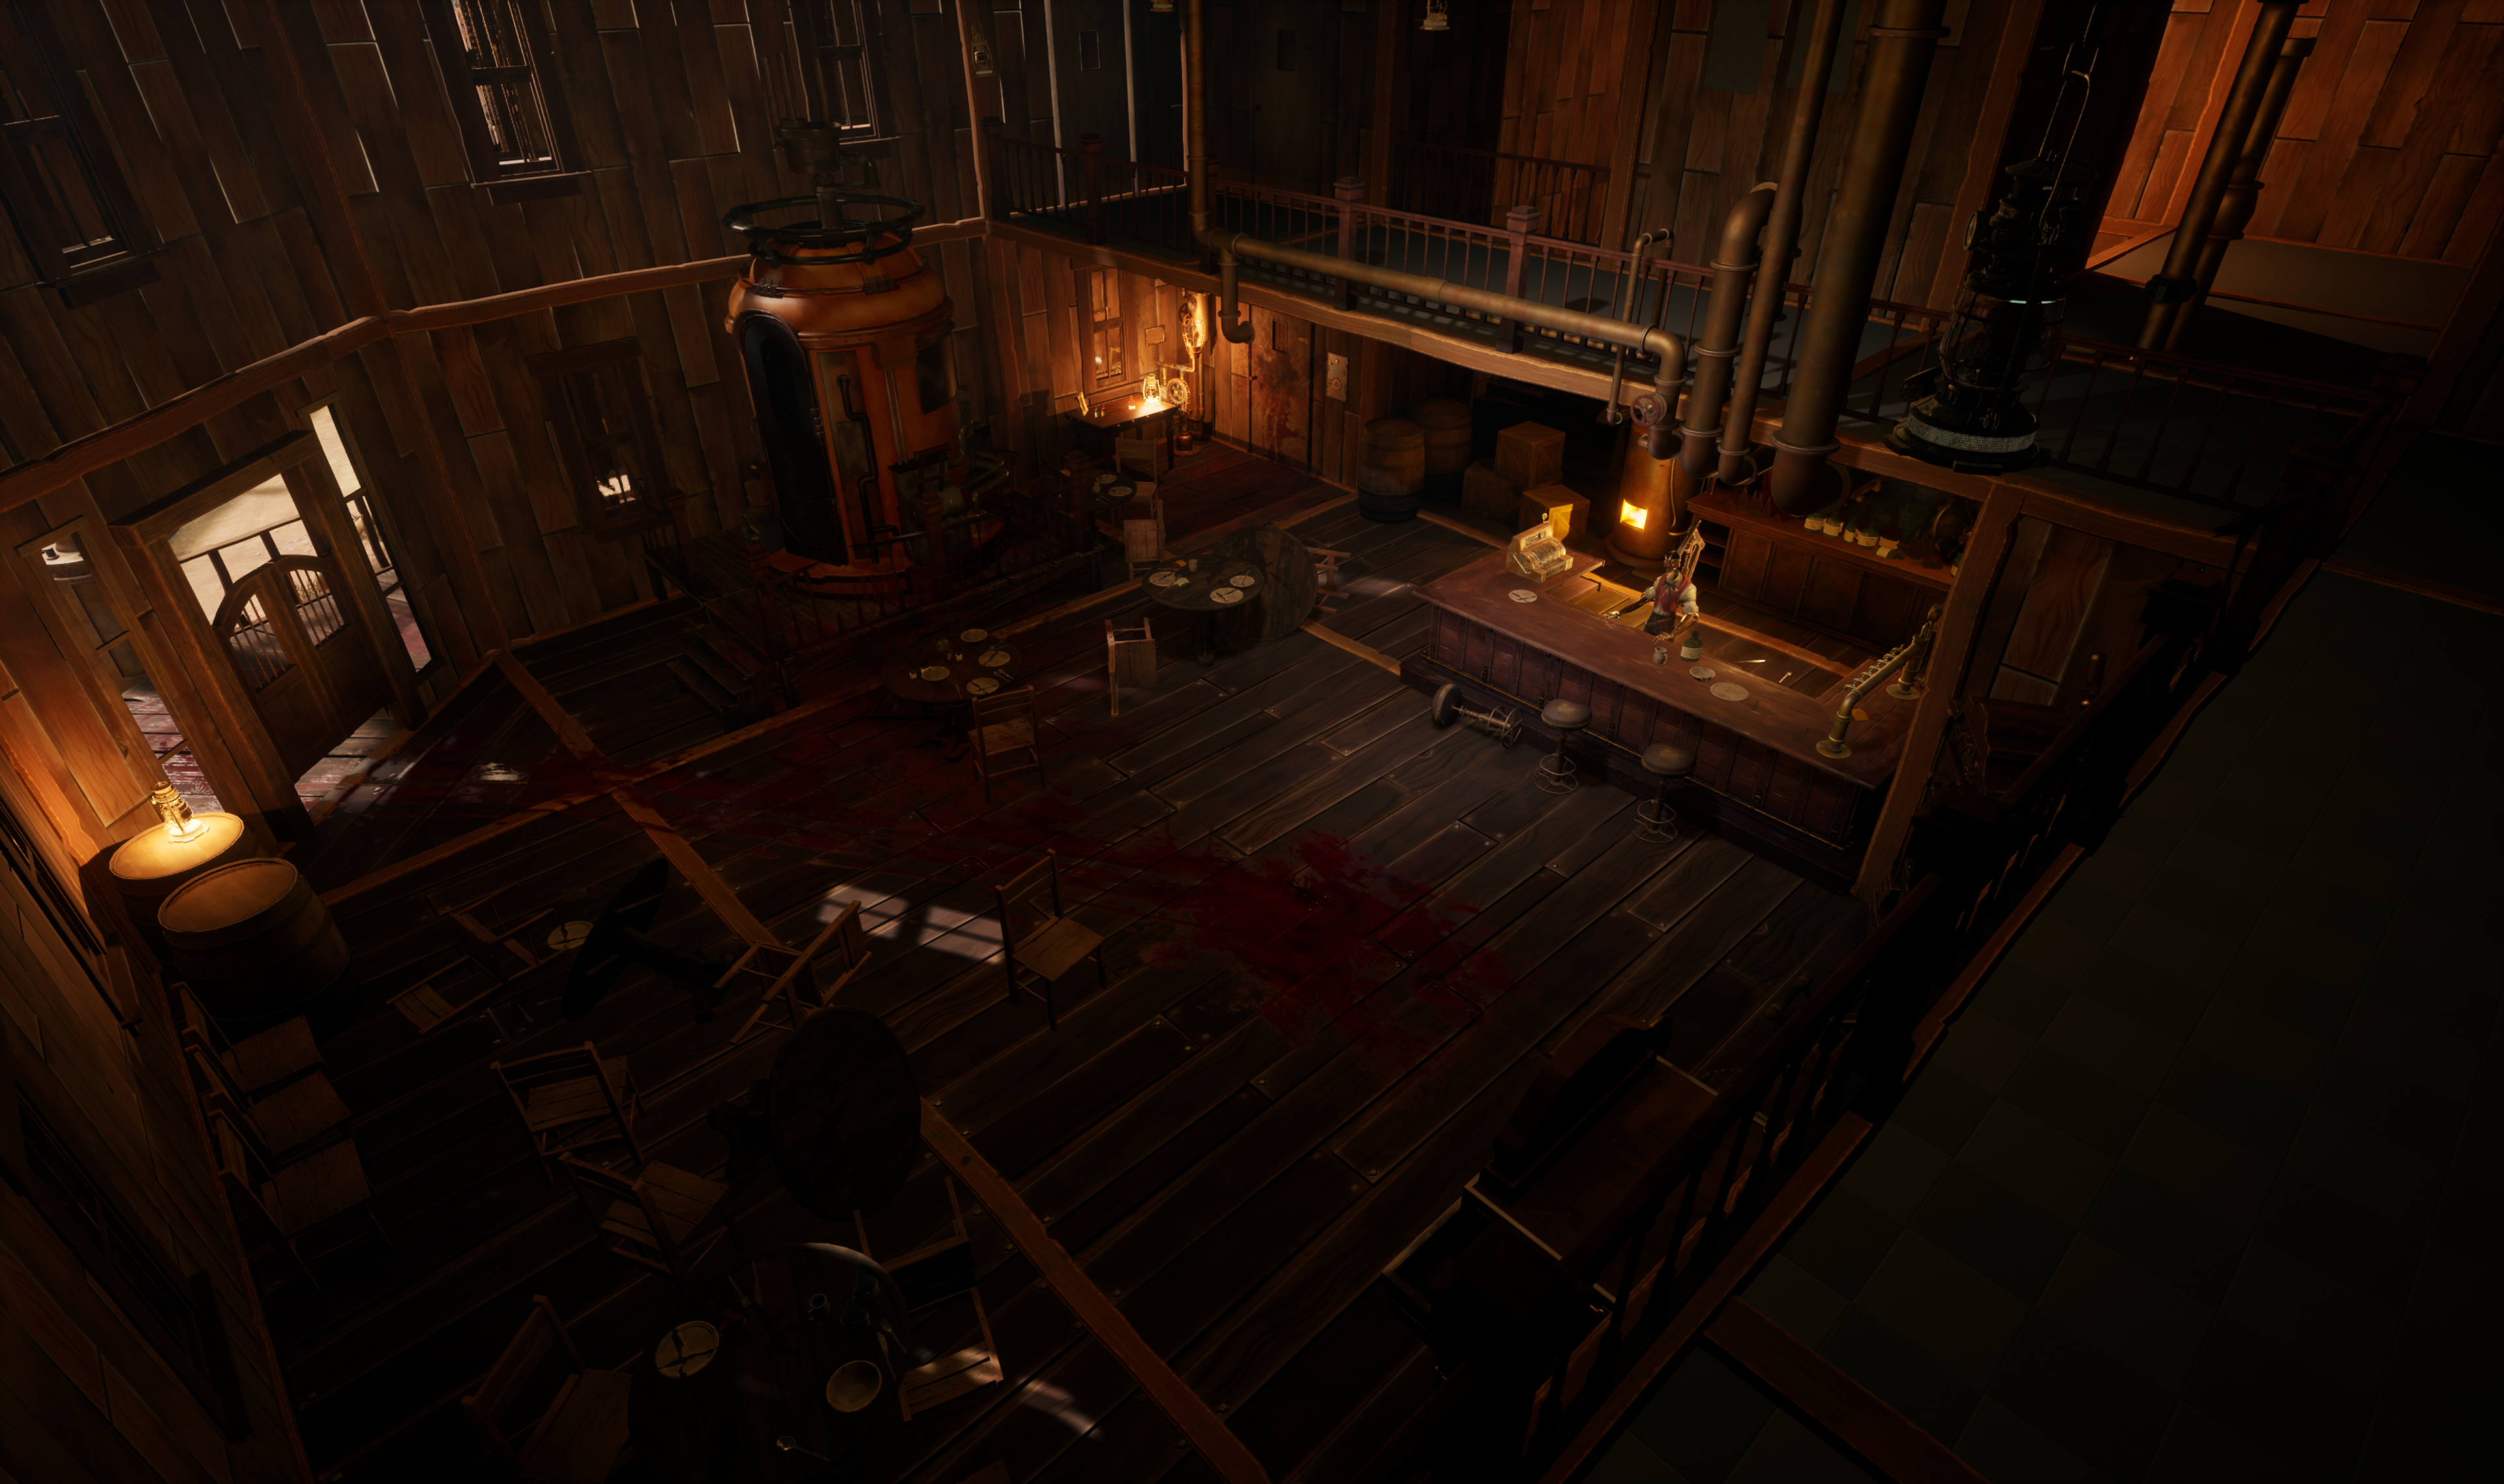
Saloon (Game HUB)
Sketched on paper, then iterated and created focal points/objectives inside of illustrator, finally team assembled in Unreal using our structural art kit.
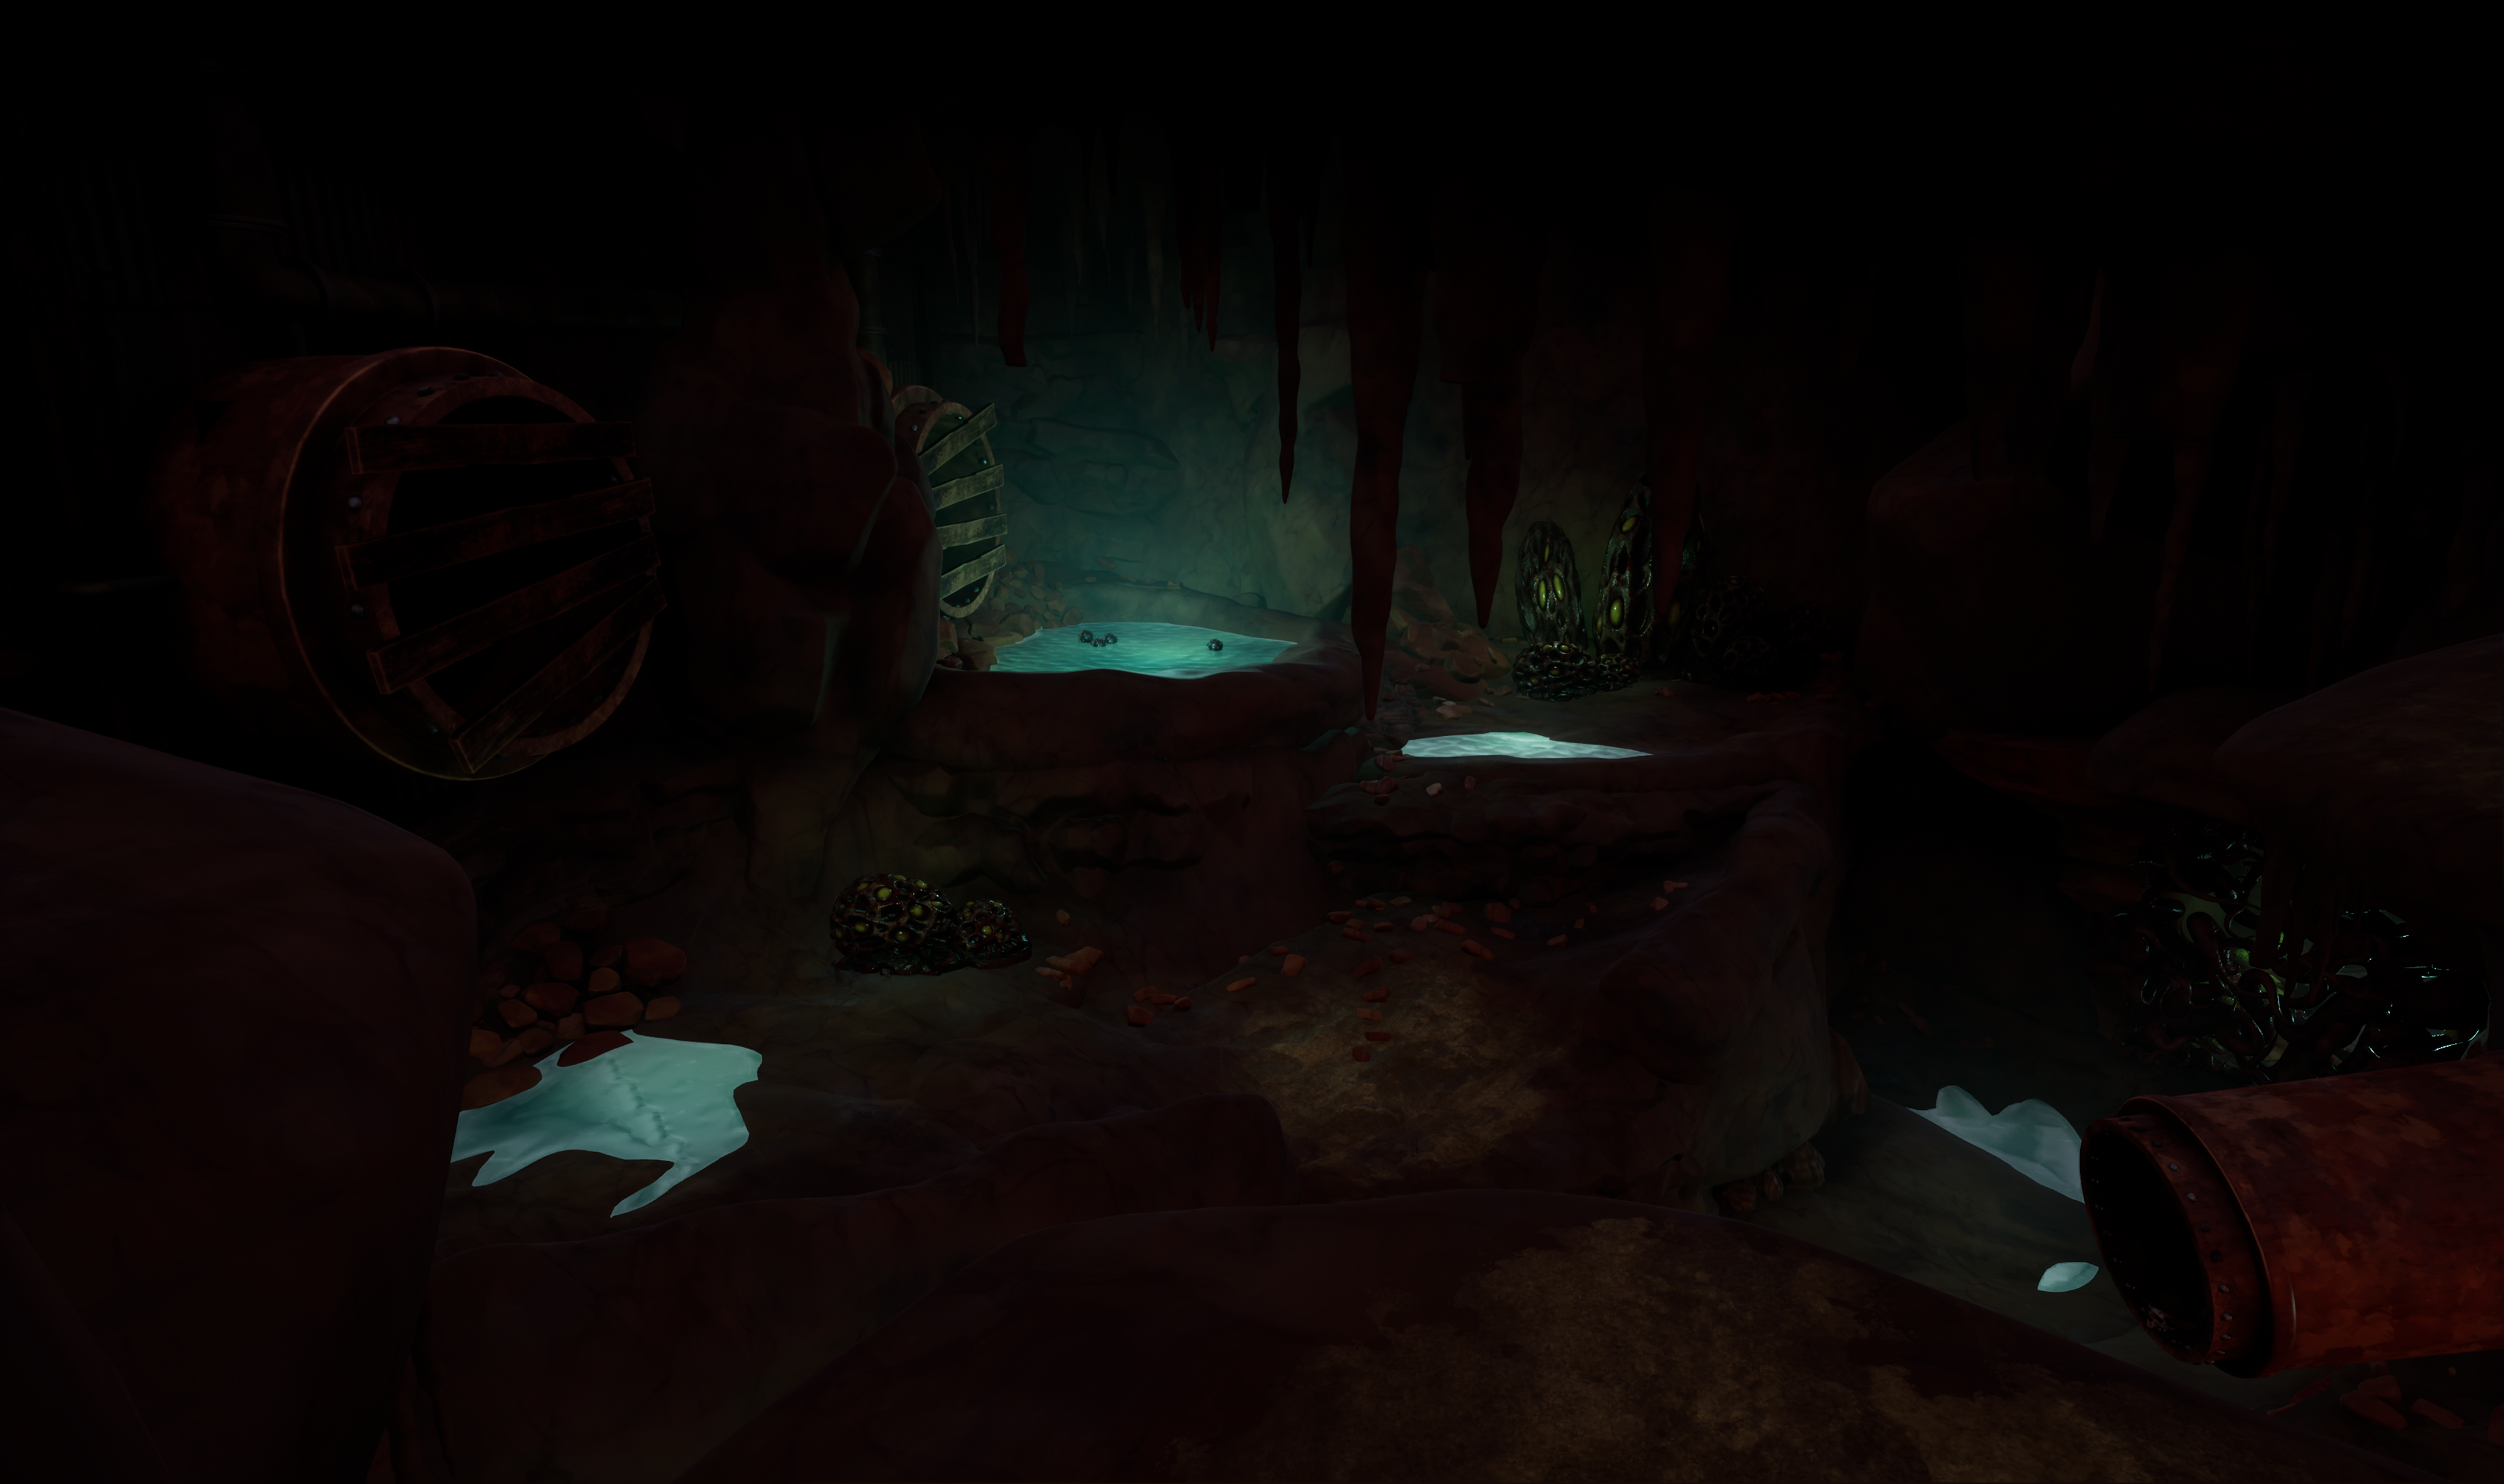
Beneath the badlands
The underground portion of the game uses a procedural system that loads our prebuilt rooms inside an always random interconnecting dungeon layout. Not only for rooms, but loot pools, as well as our enemy spawns use a randomizing feature that can change difficulty, quantity, and type each time the player resets. These give our players chances to discover new abilities and resources a fresh view every attempt.
Below are development documentation, and videos showcasing the Maps/Rooms I designed and built; team collaborated on lighting and smaller set dressing.
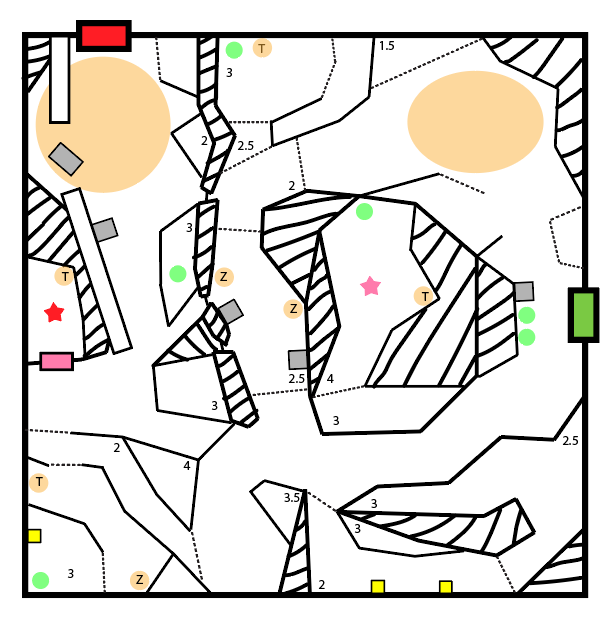
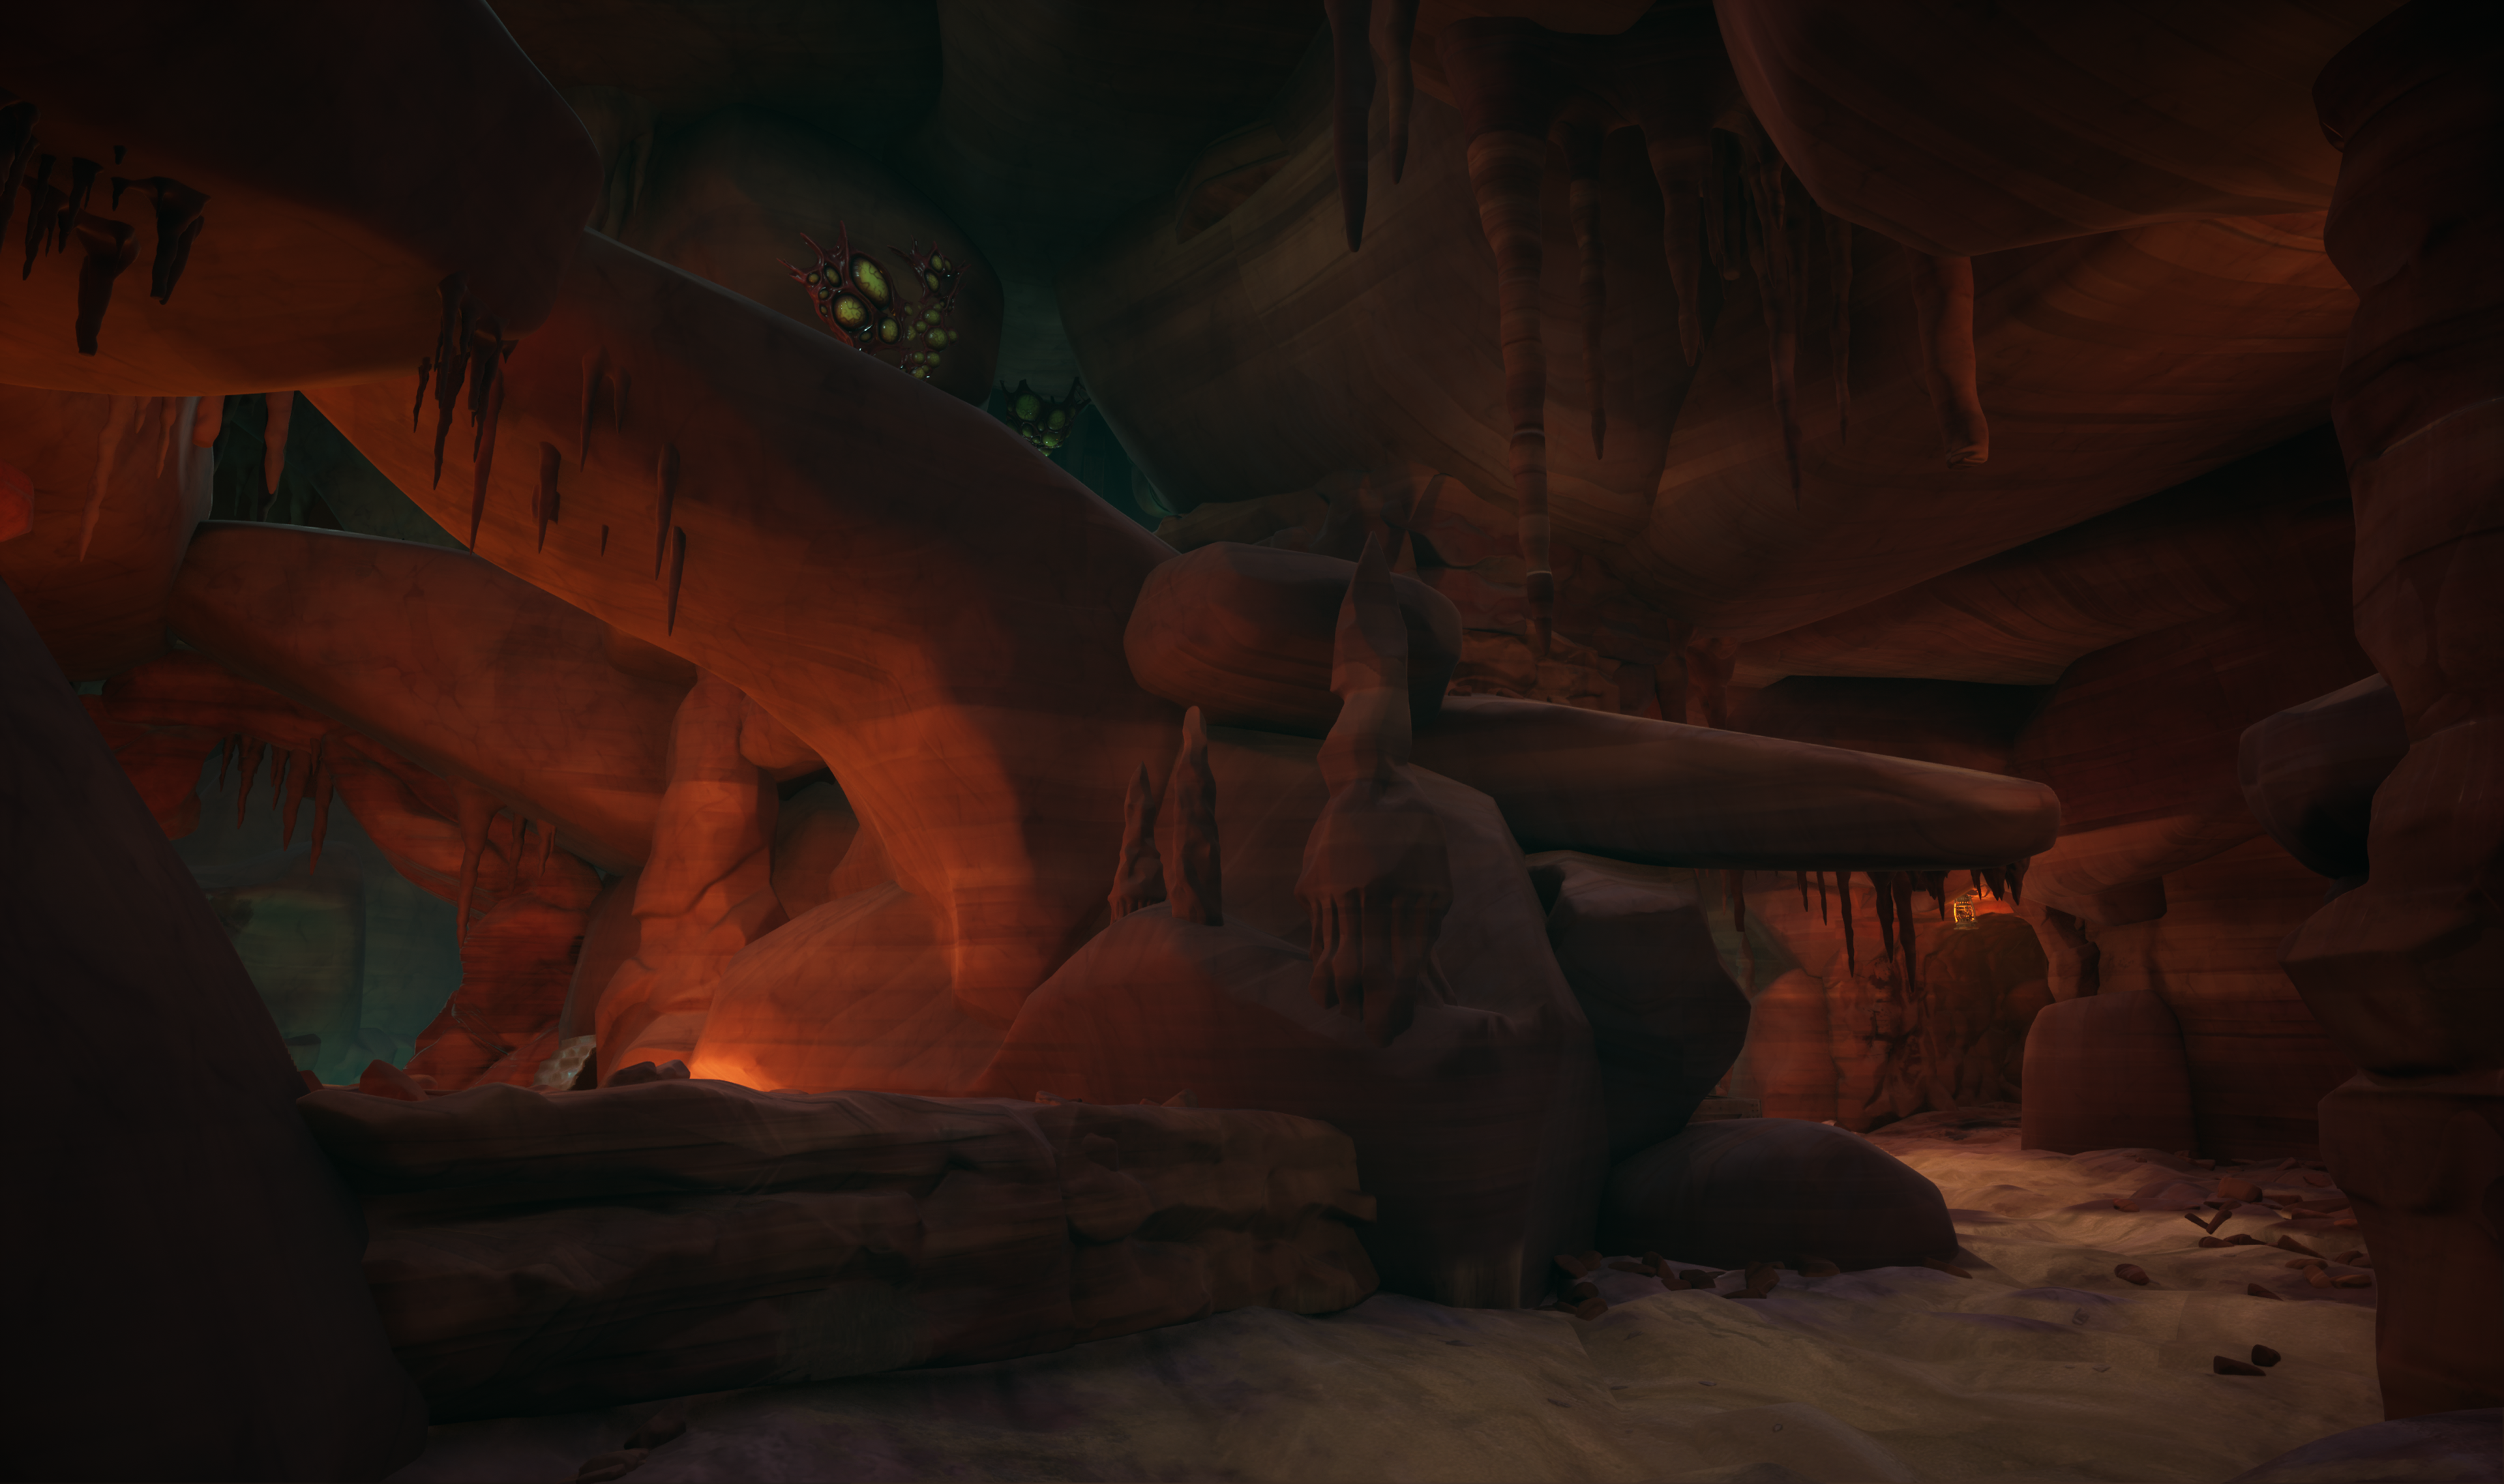
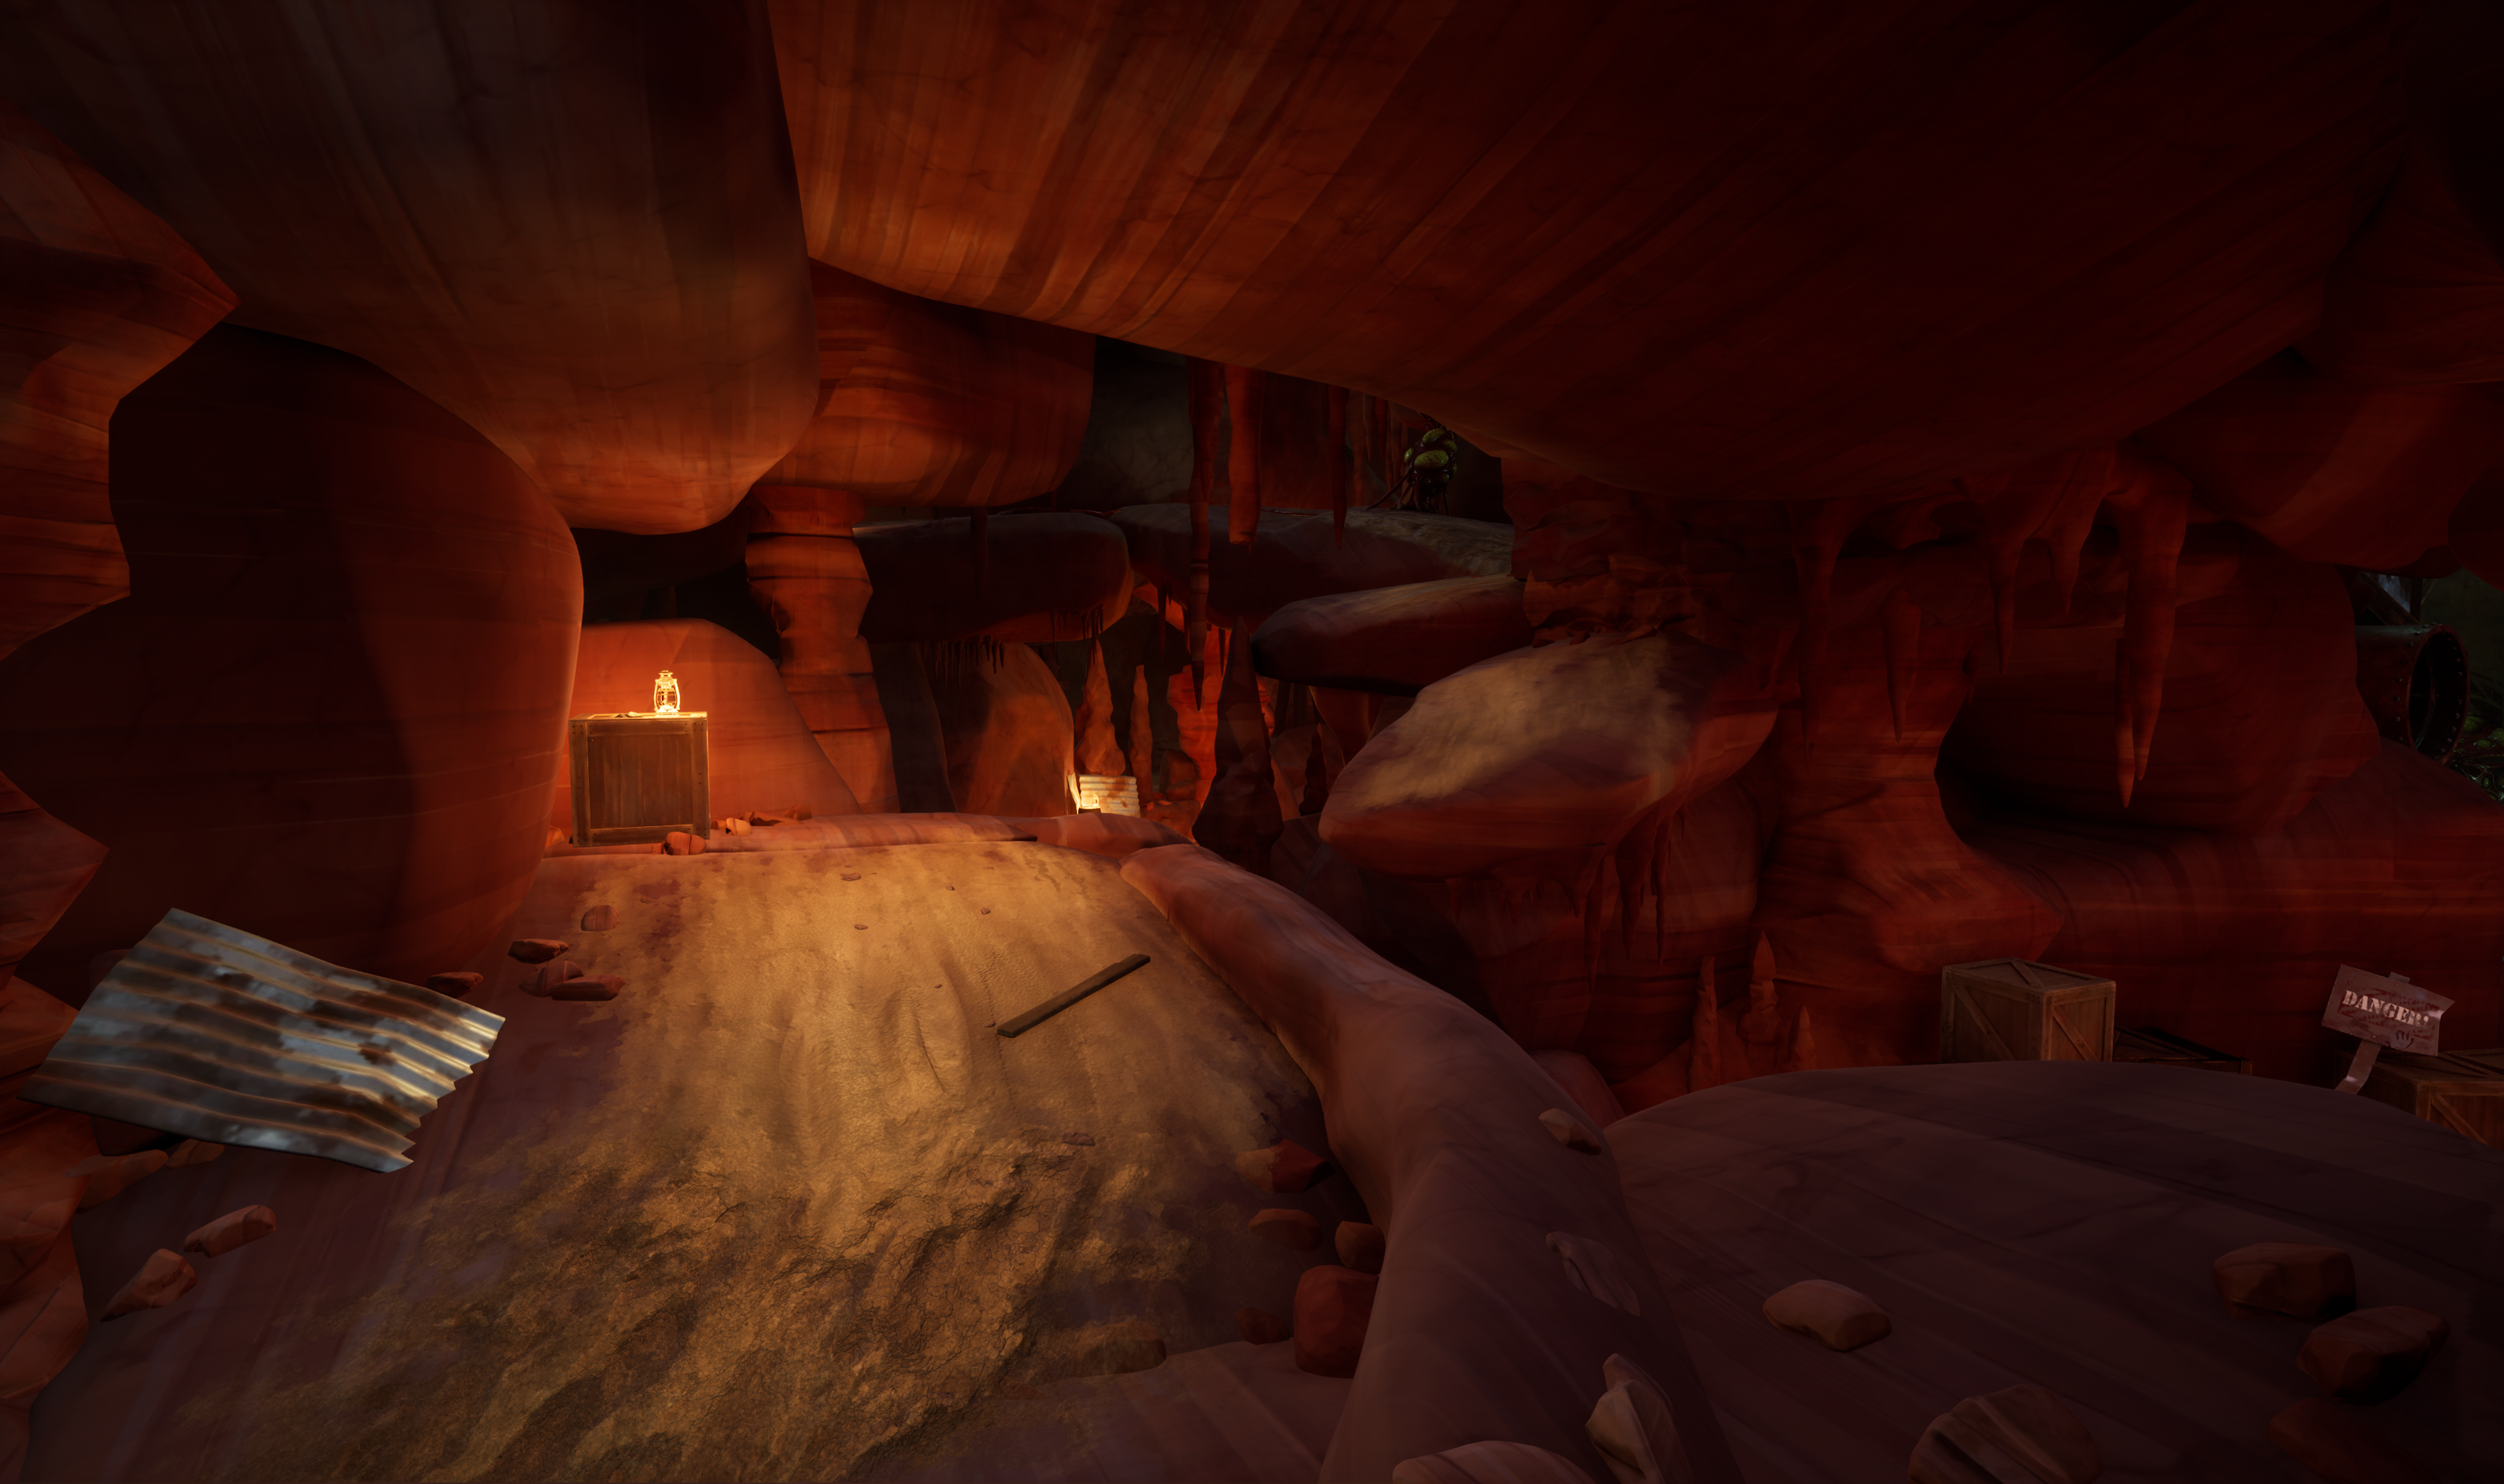
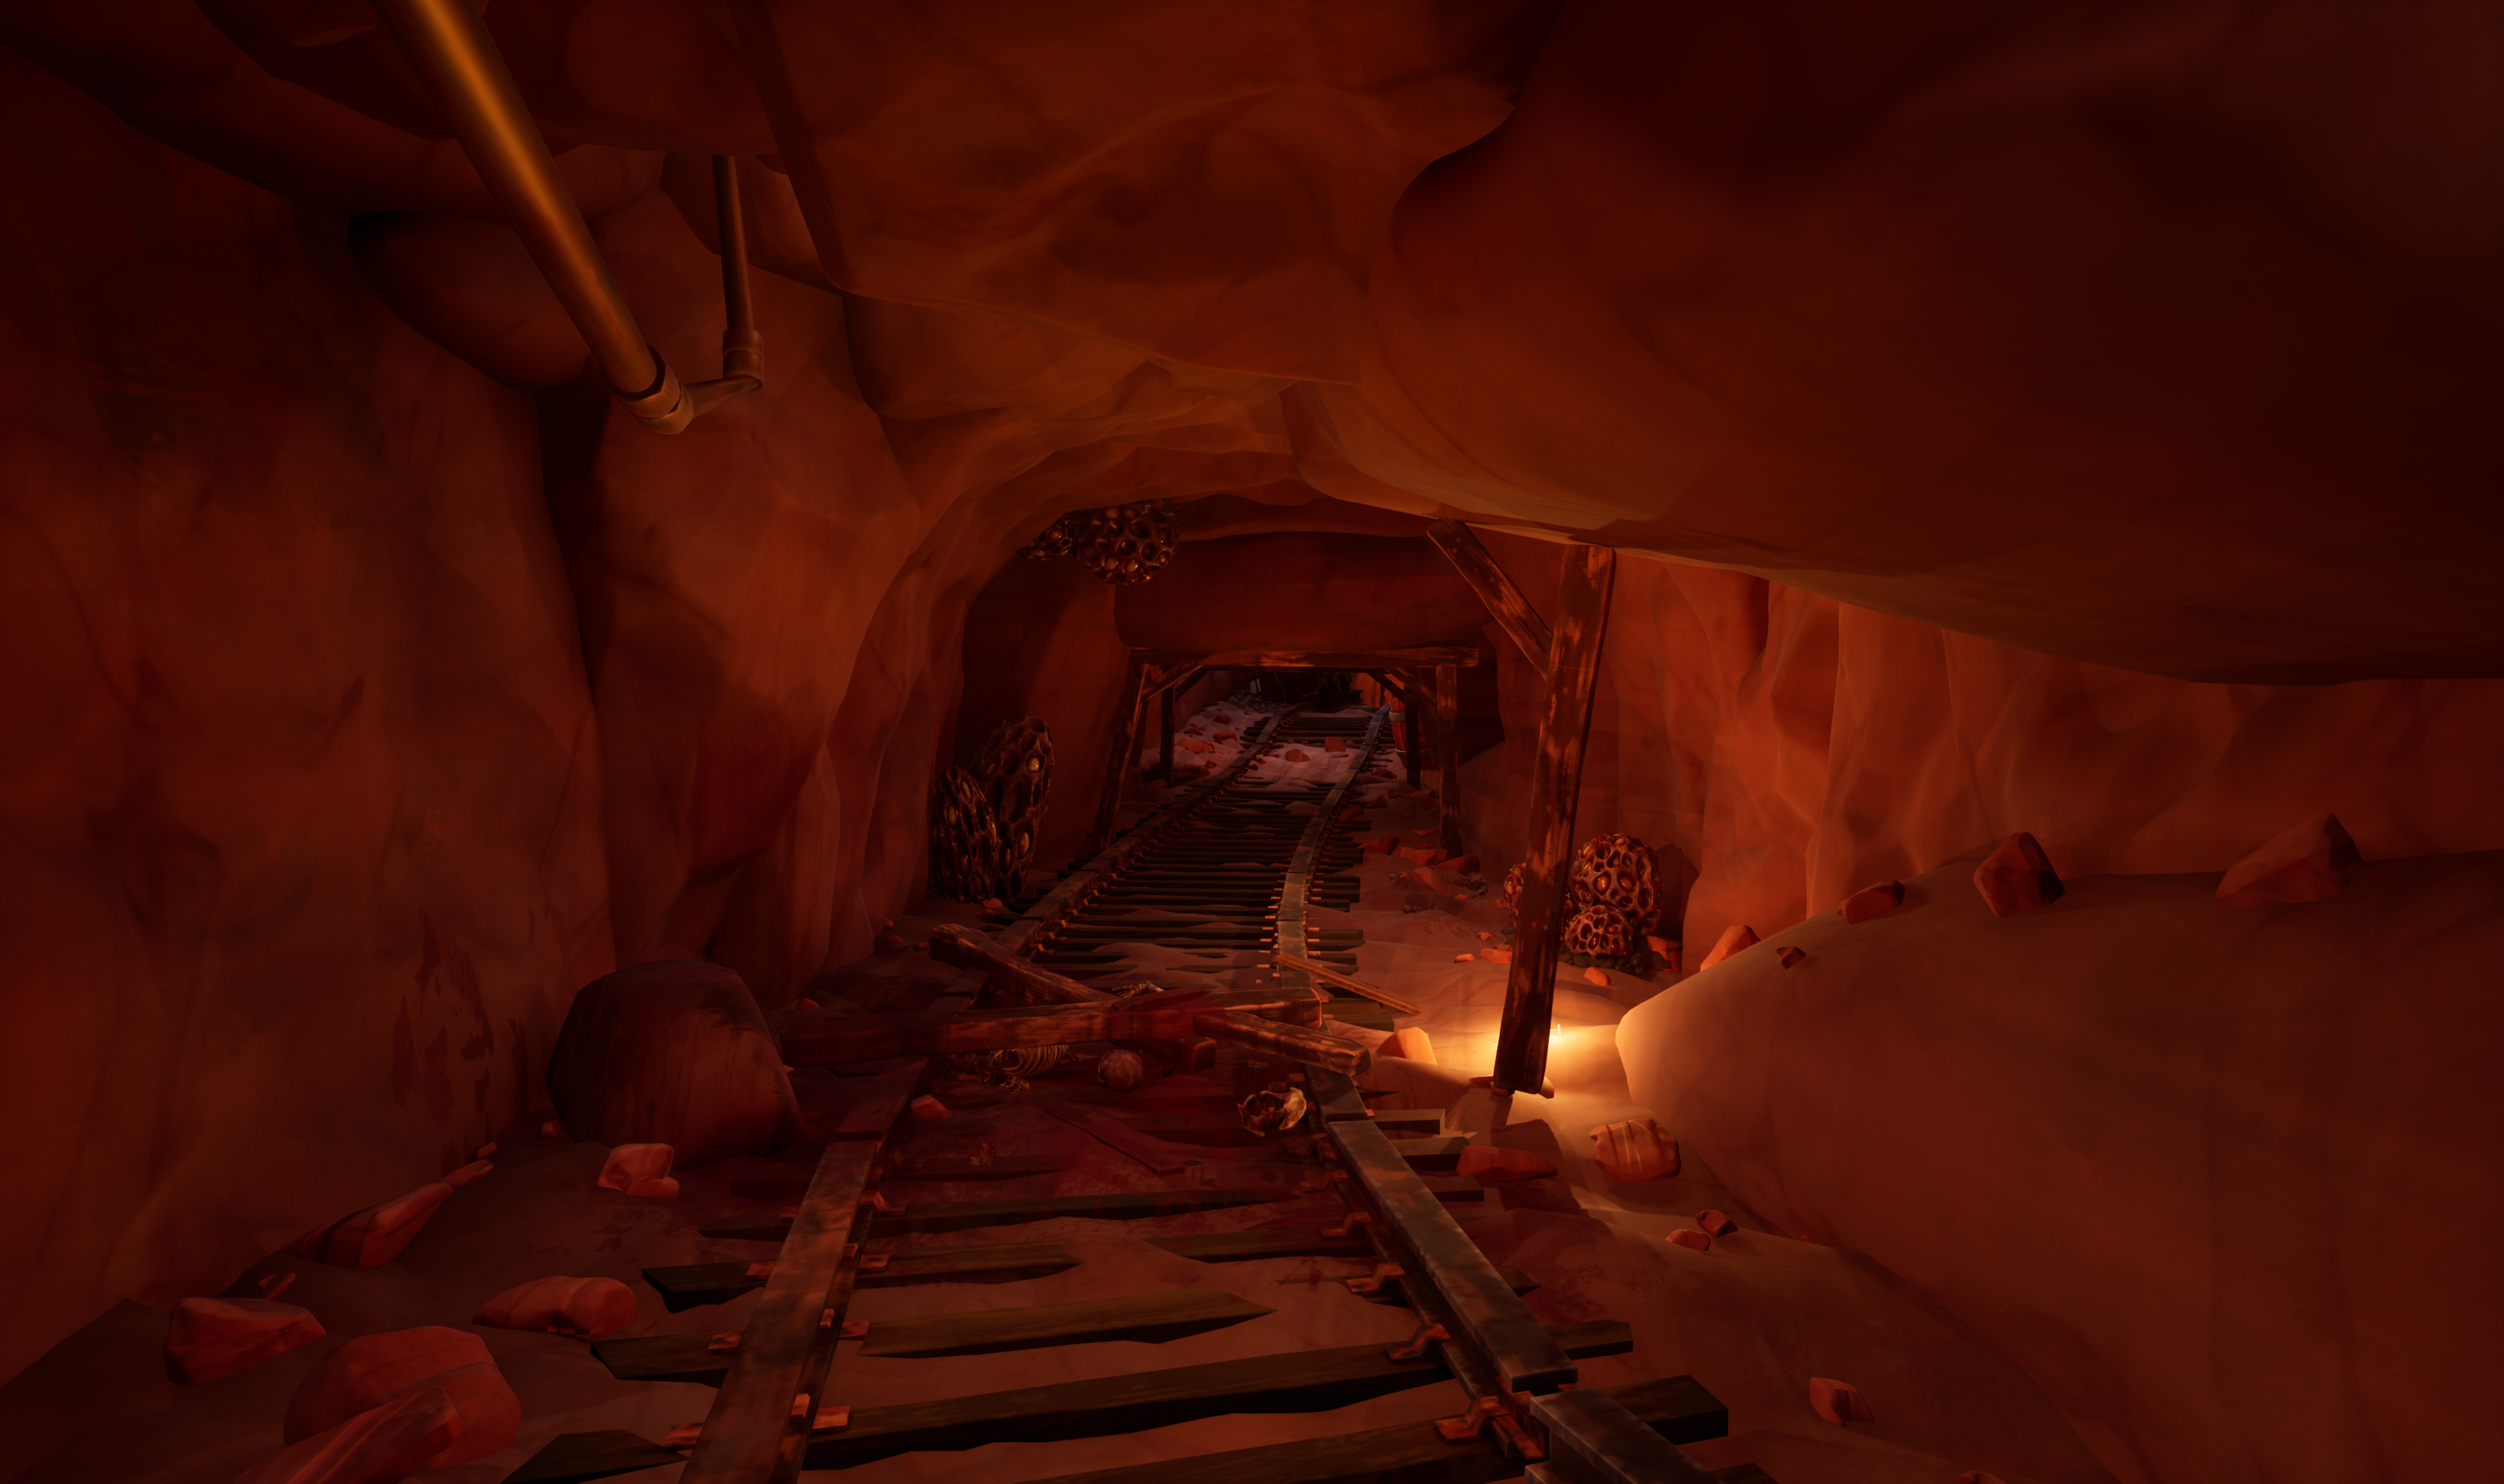
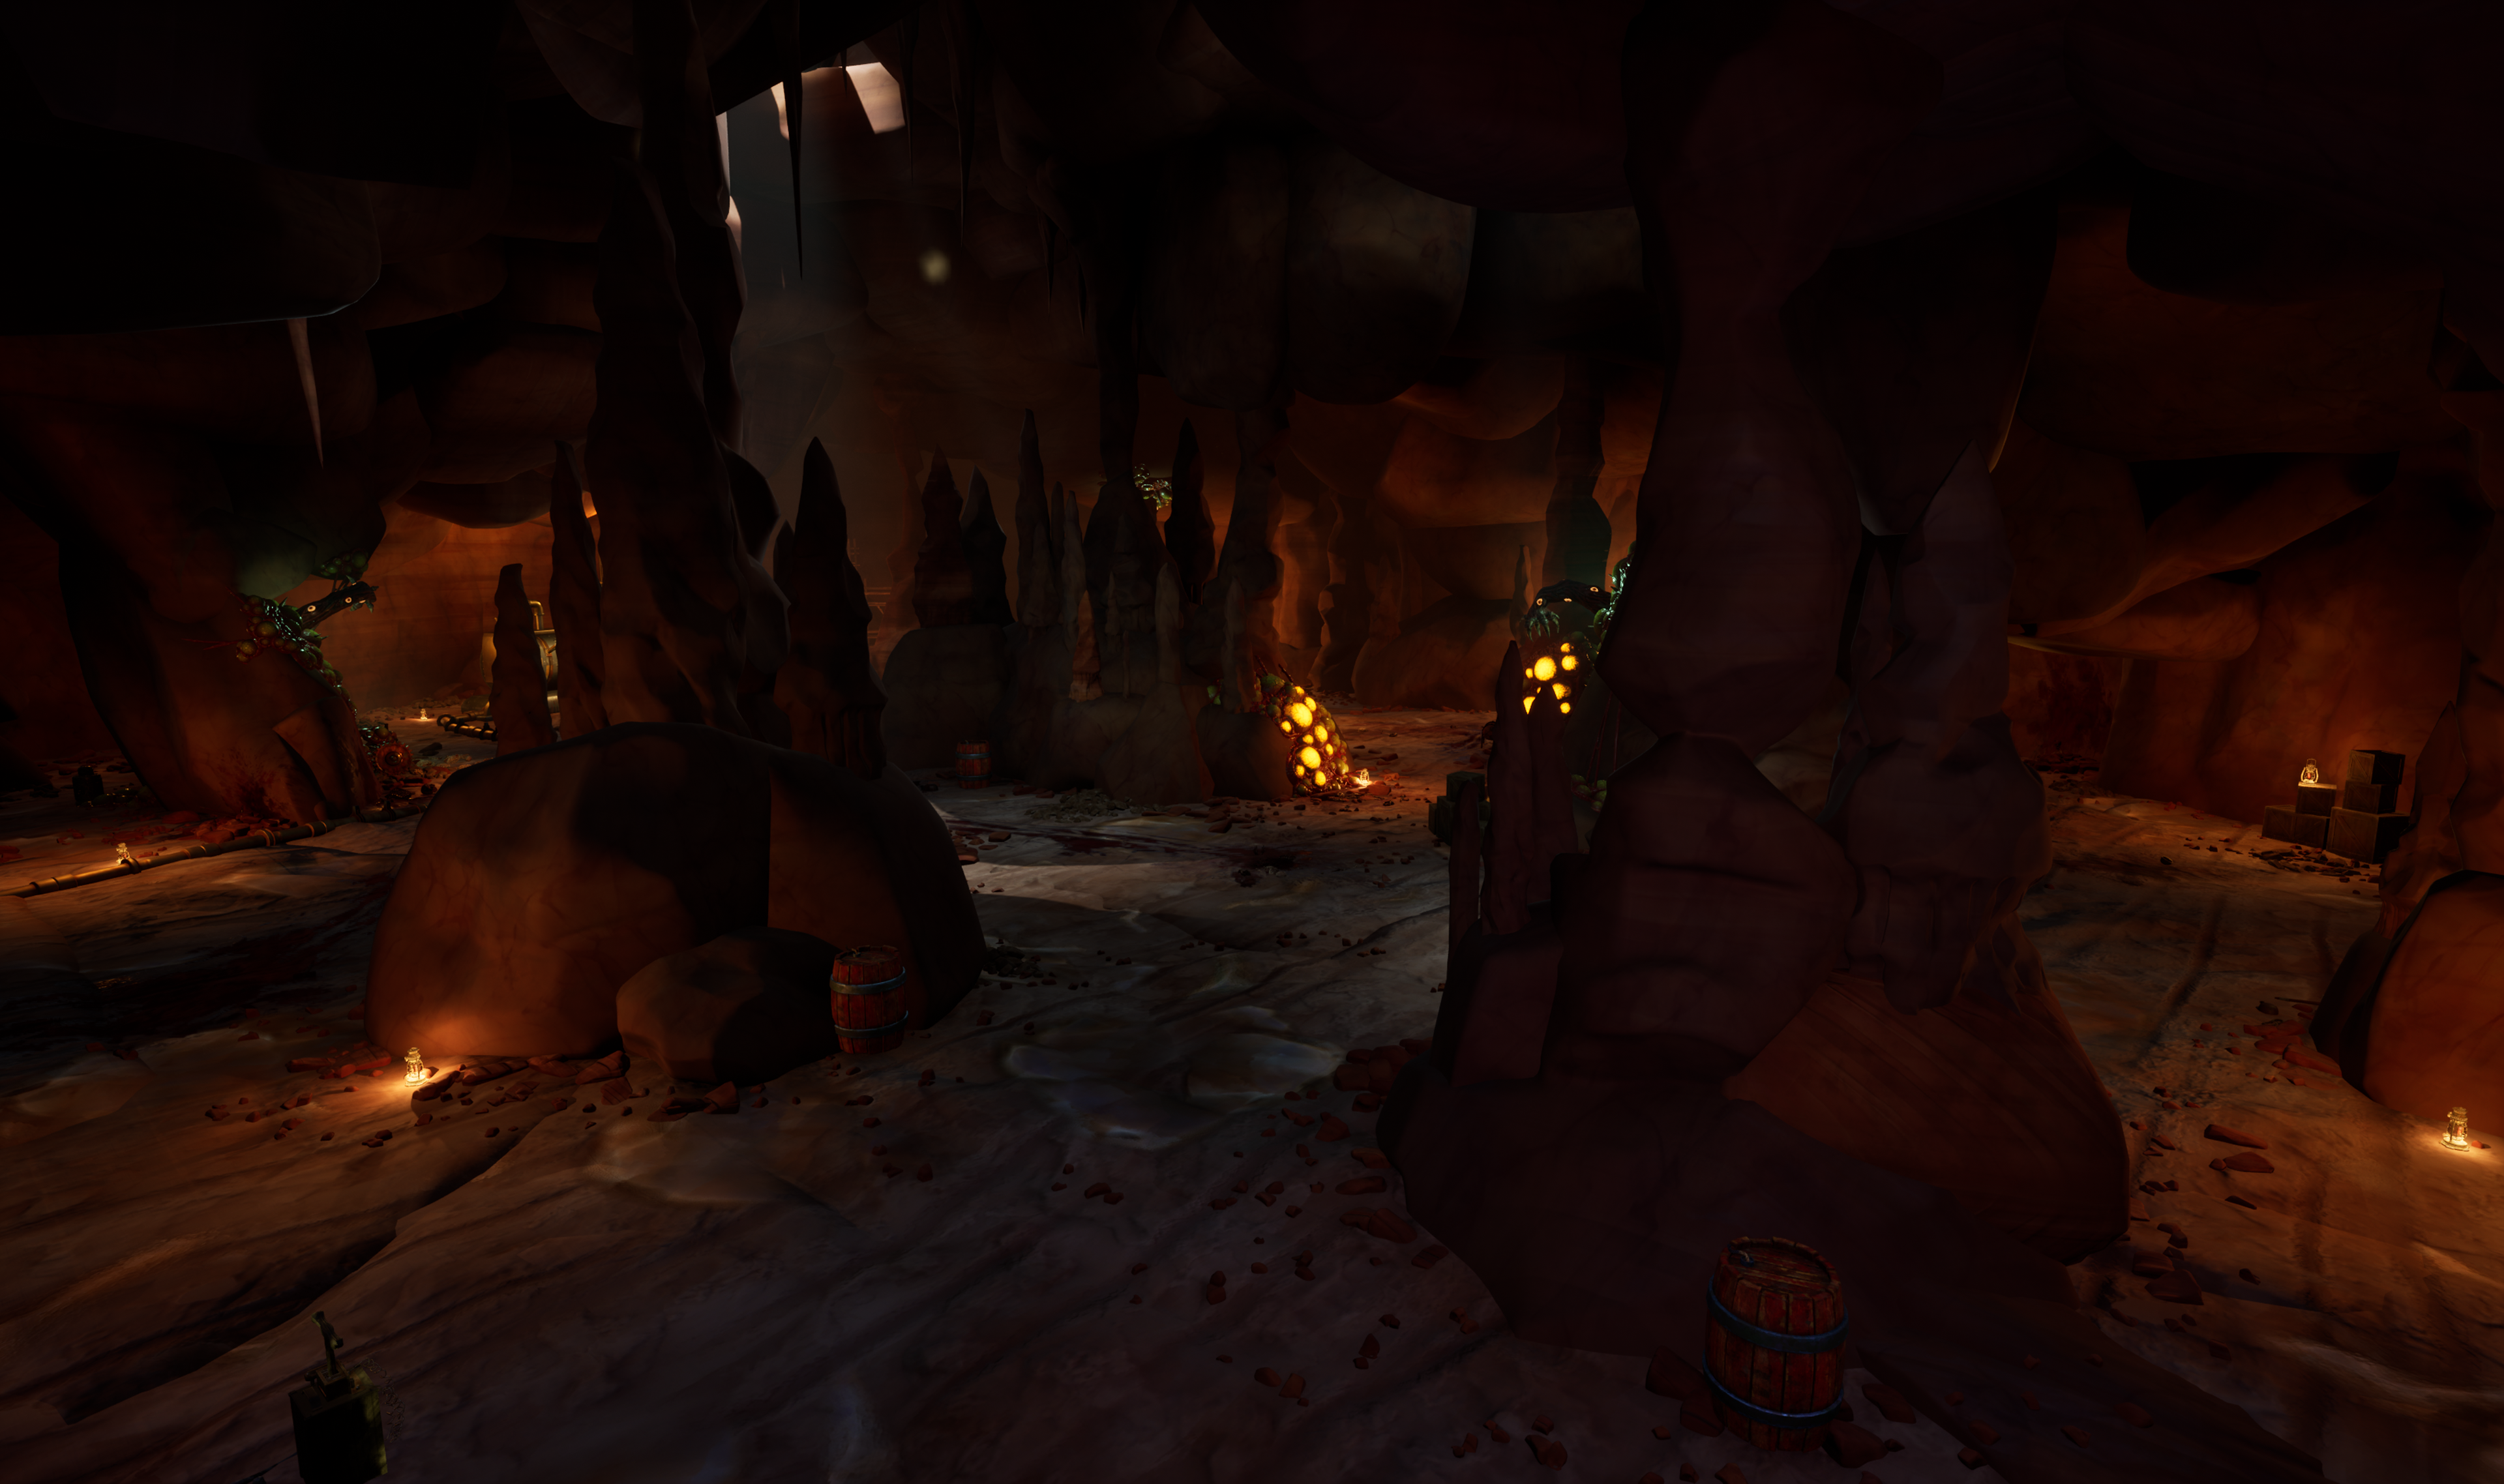
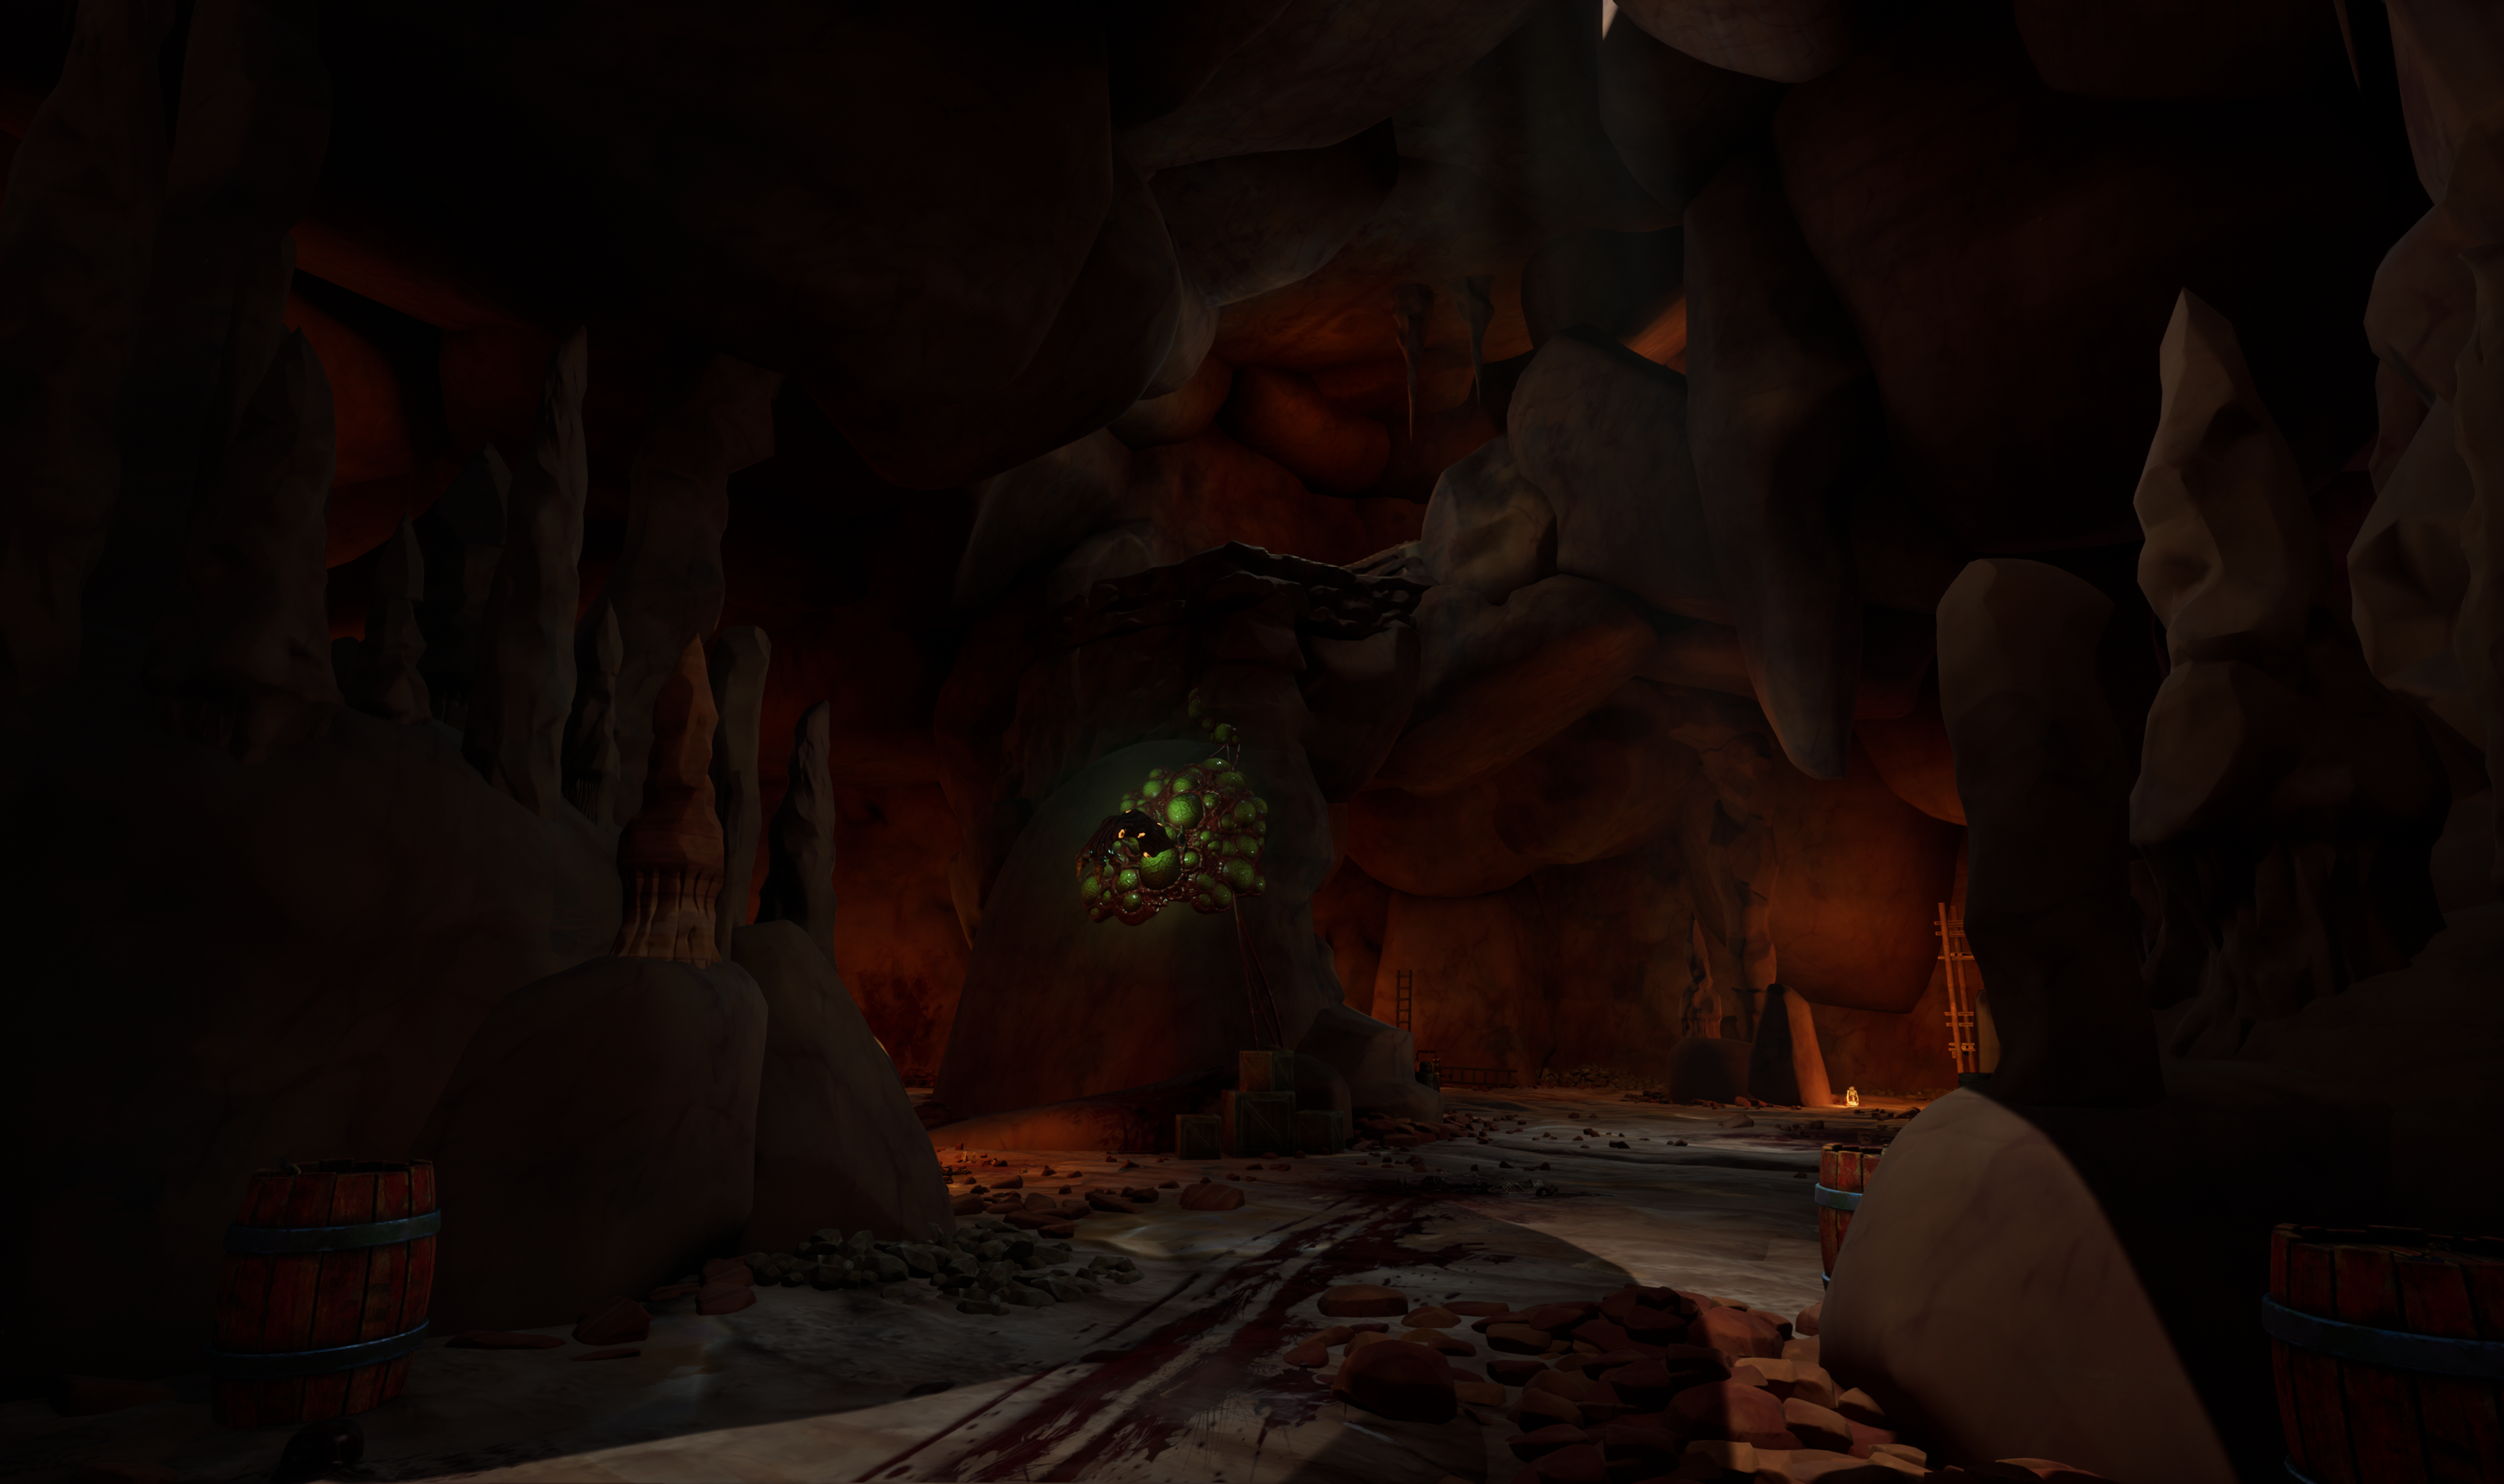
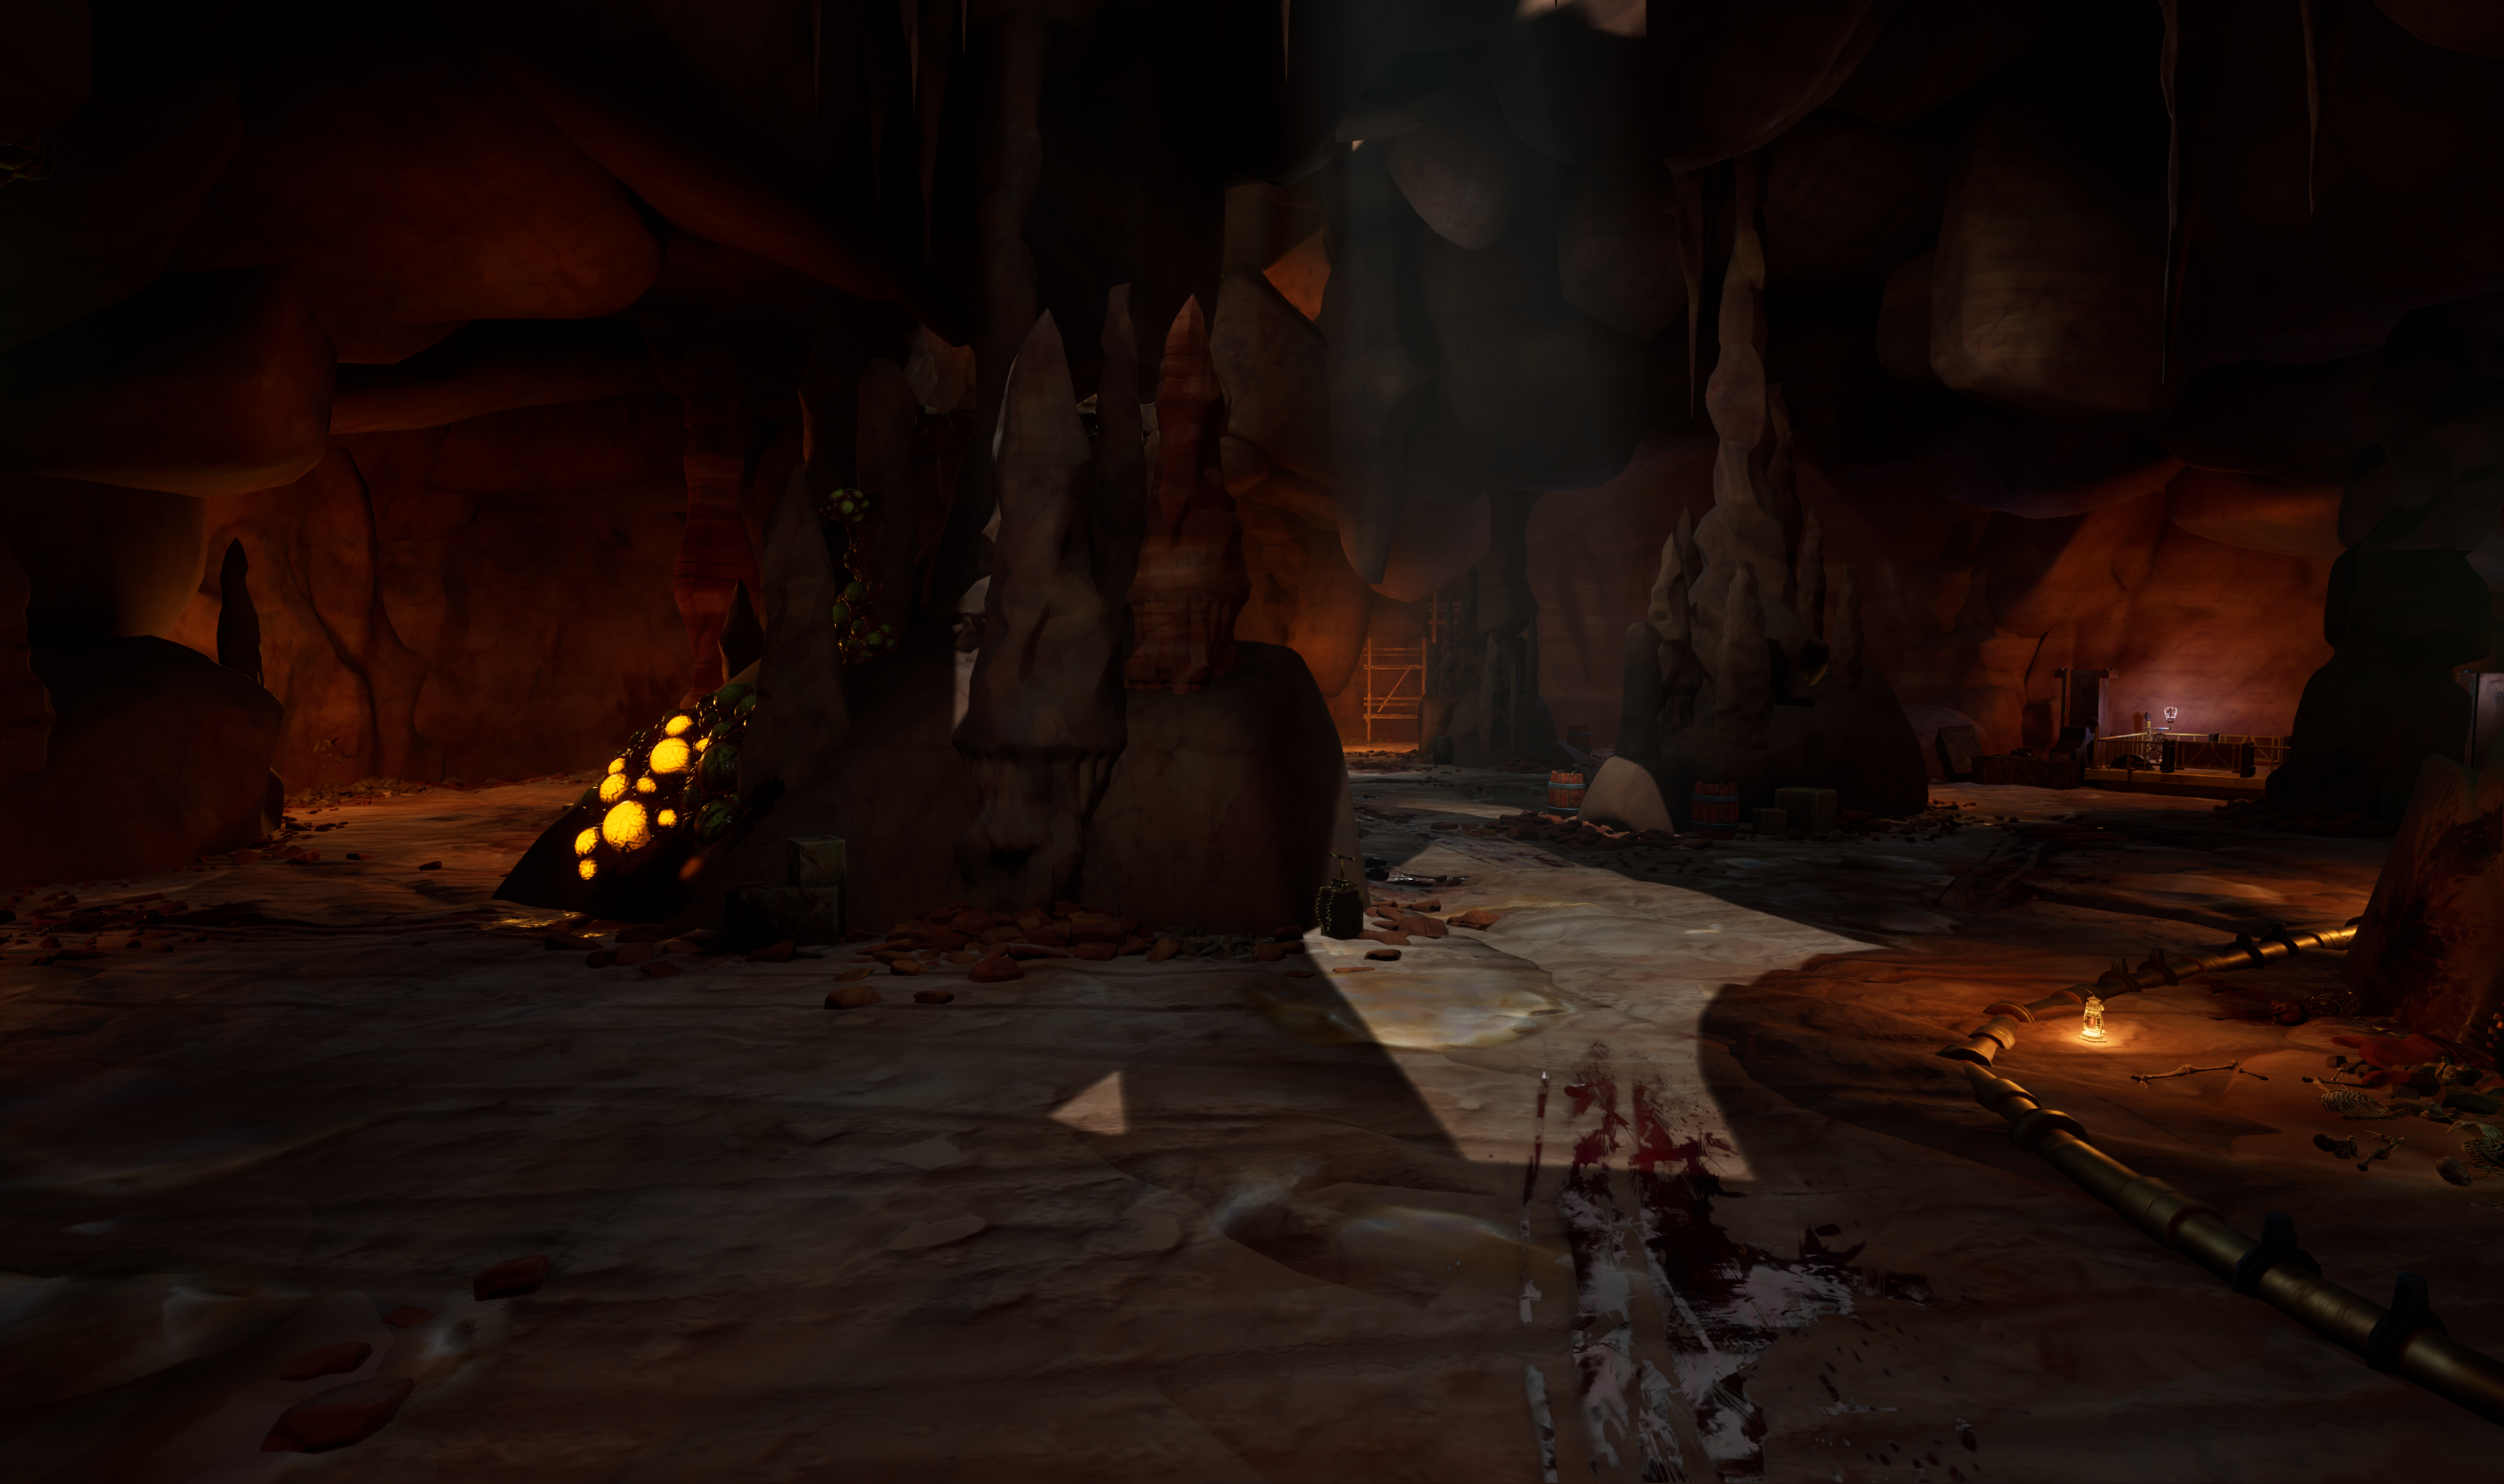
Map #1 Storage Caverns
This map was our largest in the game (outside of boss arena) and mainly stands out with wide variation of elevated pathways and medium-large sized combat spaces. which turned out the best area for our character’s abilities and upgrades to be experimented with and tested. The goal for this level was to allow the player to have enough ways and methods to try different sets of gear, and exploration methods keeping it somewhat challenging yet allowing for the most agency the player can have when entering combat zones and progressing in the map.
Key Design Points:
Large Scale Verticality (Open areas favoring use of gadgets and abilities for navigation).
Failure Path (A combat heavy reset area for missed platformer or general exploration).
Open Cavern (Gives more space for specific pacing changes; visual for player pathing).
Pathing and Pacing:
The Storage Caverns feature 3 main paths to the room's exit:
High Ground path: Peak elevation which wraps around most of the west side of the map while having 2 paths, each to return to the low ground or direct paths.
Linear Difficult path: A mainly visually strong path, easiest to follow, yet holds the most enemies and difficult combat areas in the room. Sitting mid-elevation and crossing an abyss that covers 2/3 of the map.
Low Ground path: Holds most combat areas as it serves as a test for the player if they fail to progress up above and fall, or due to exploration. Highest loot pool.
Beat Chart:
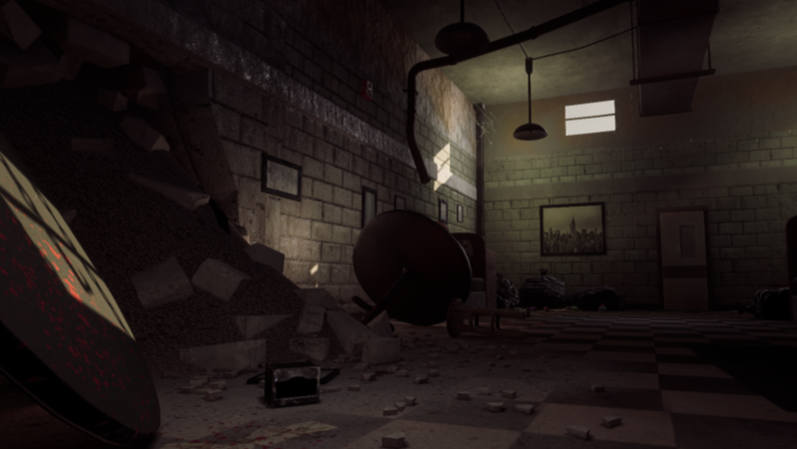
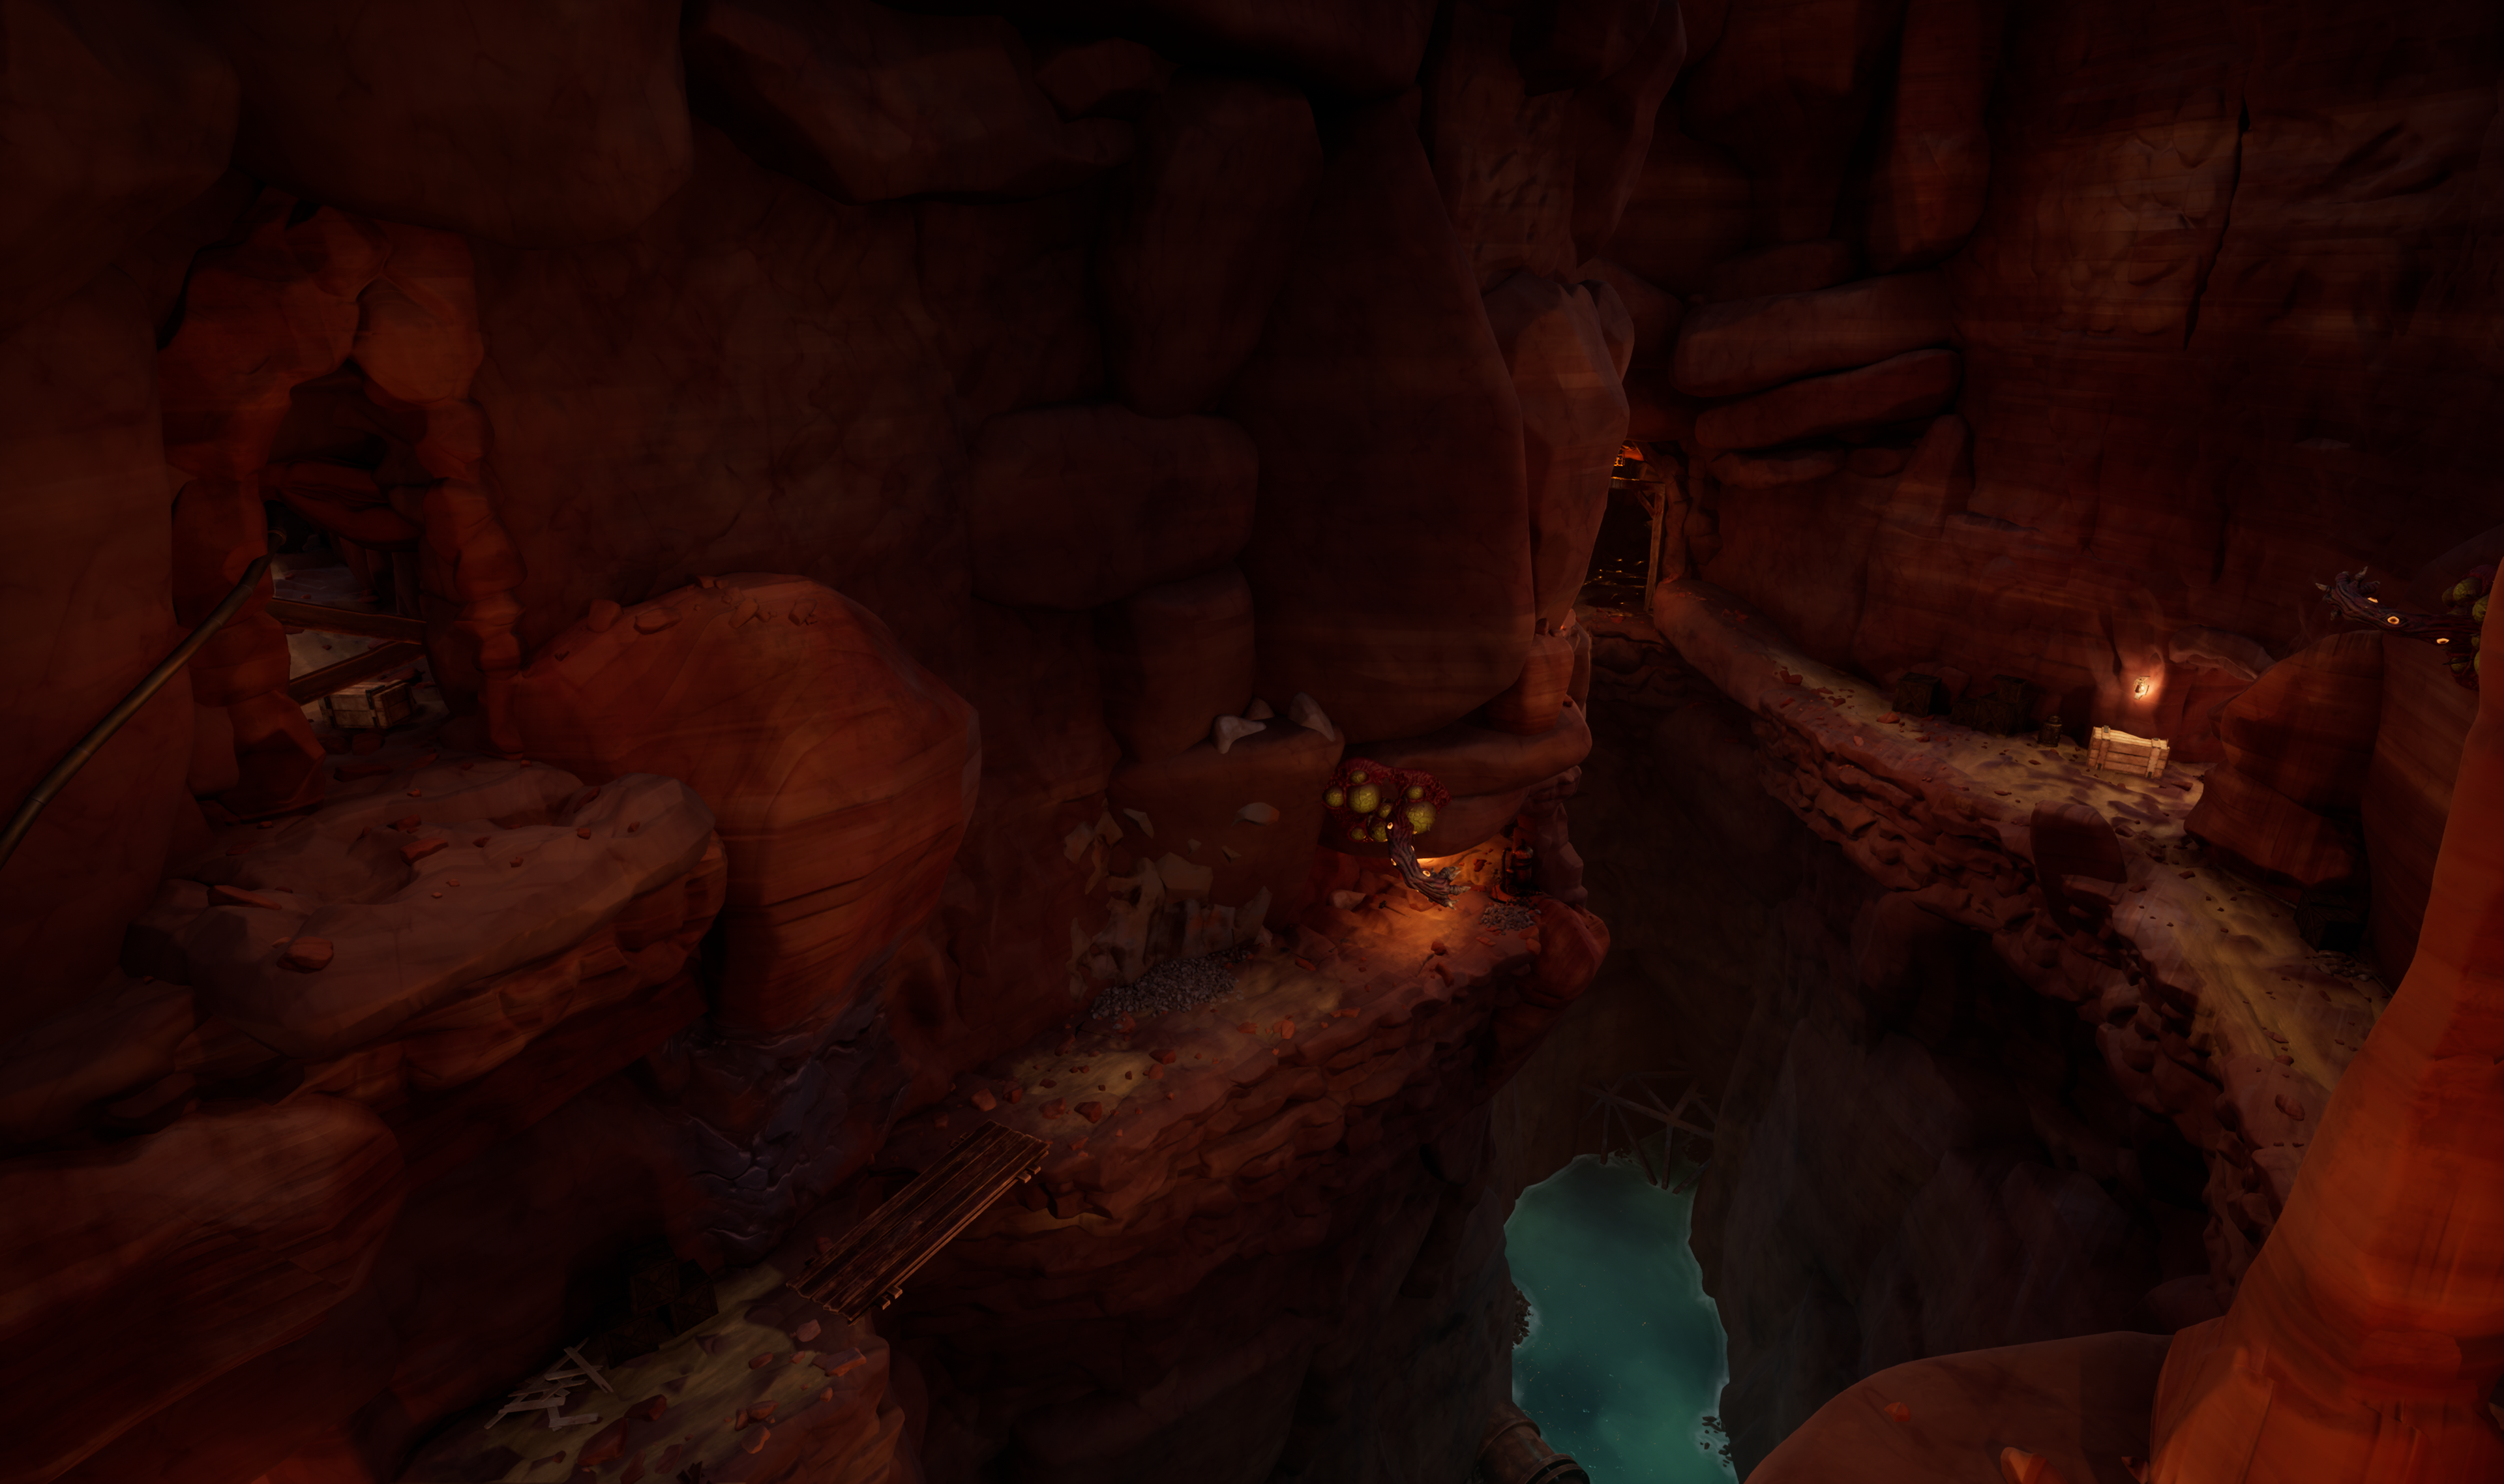
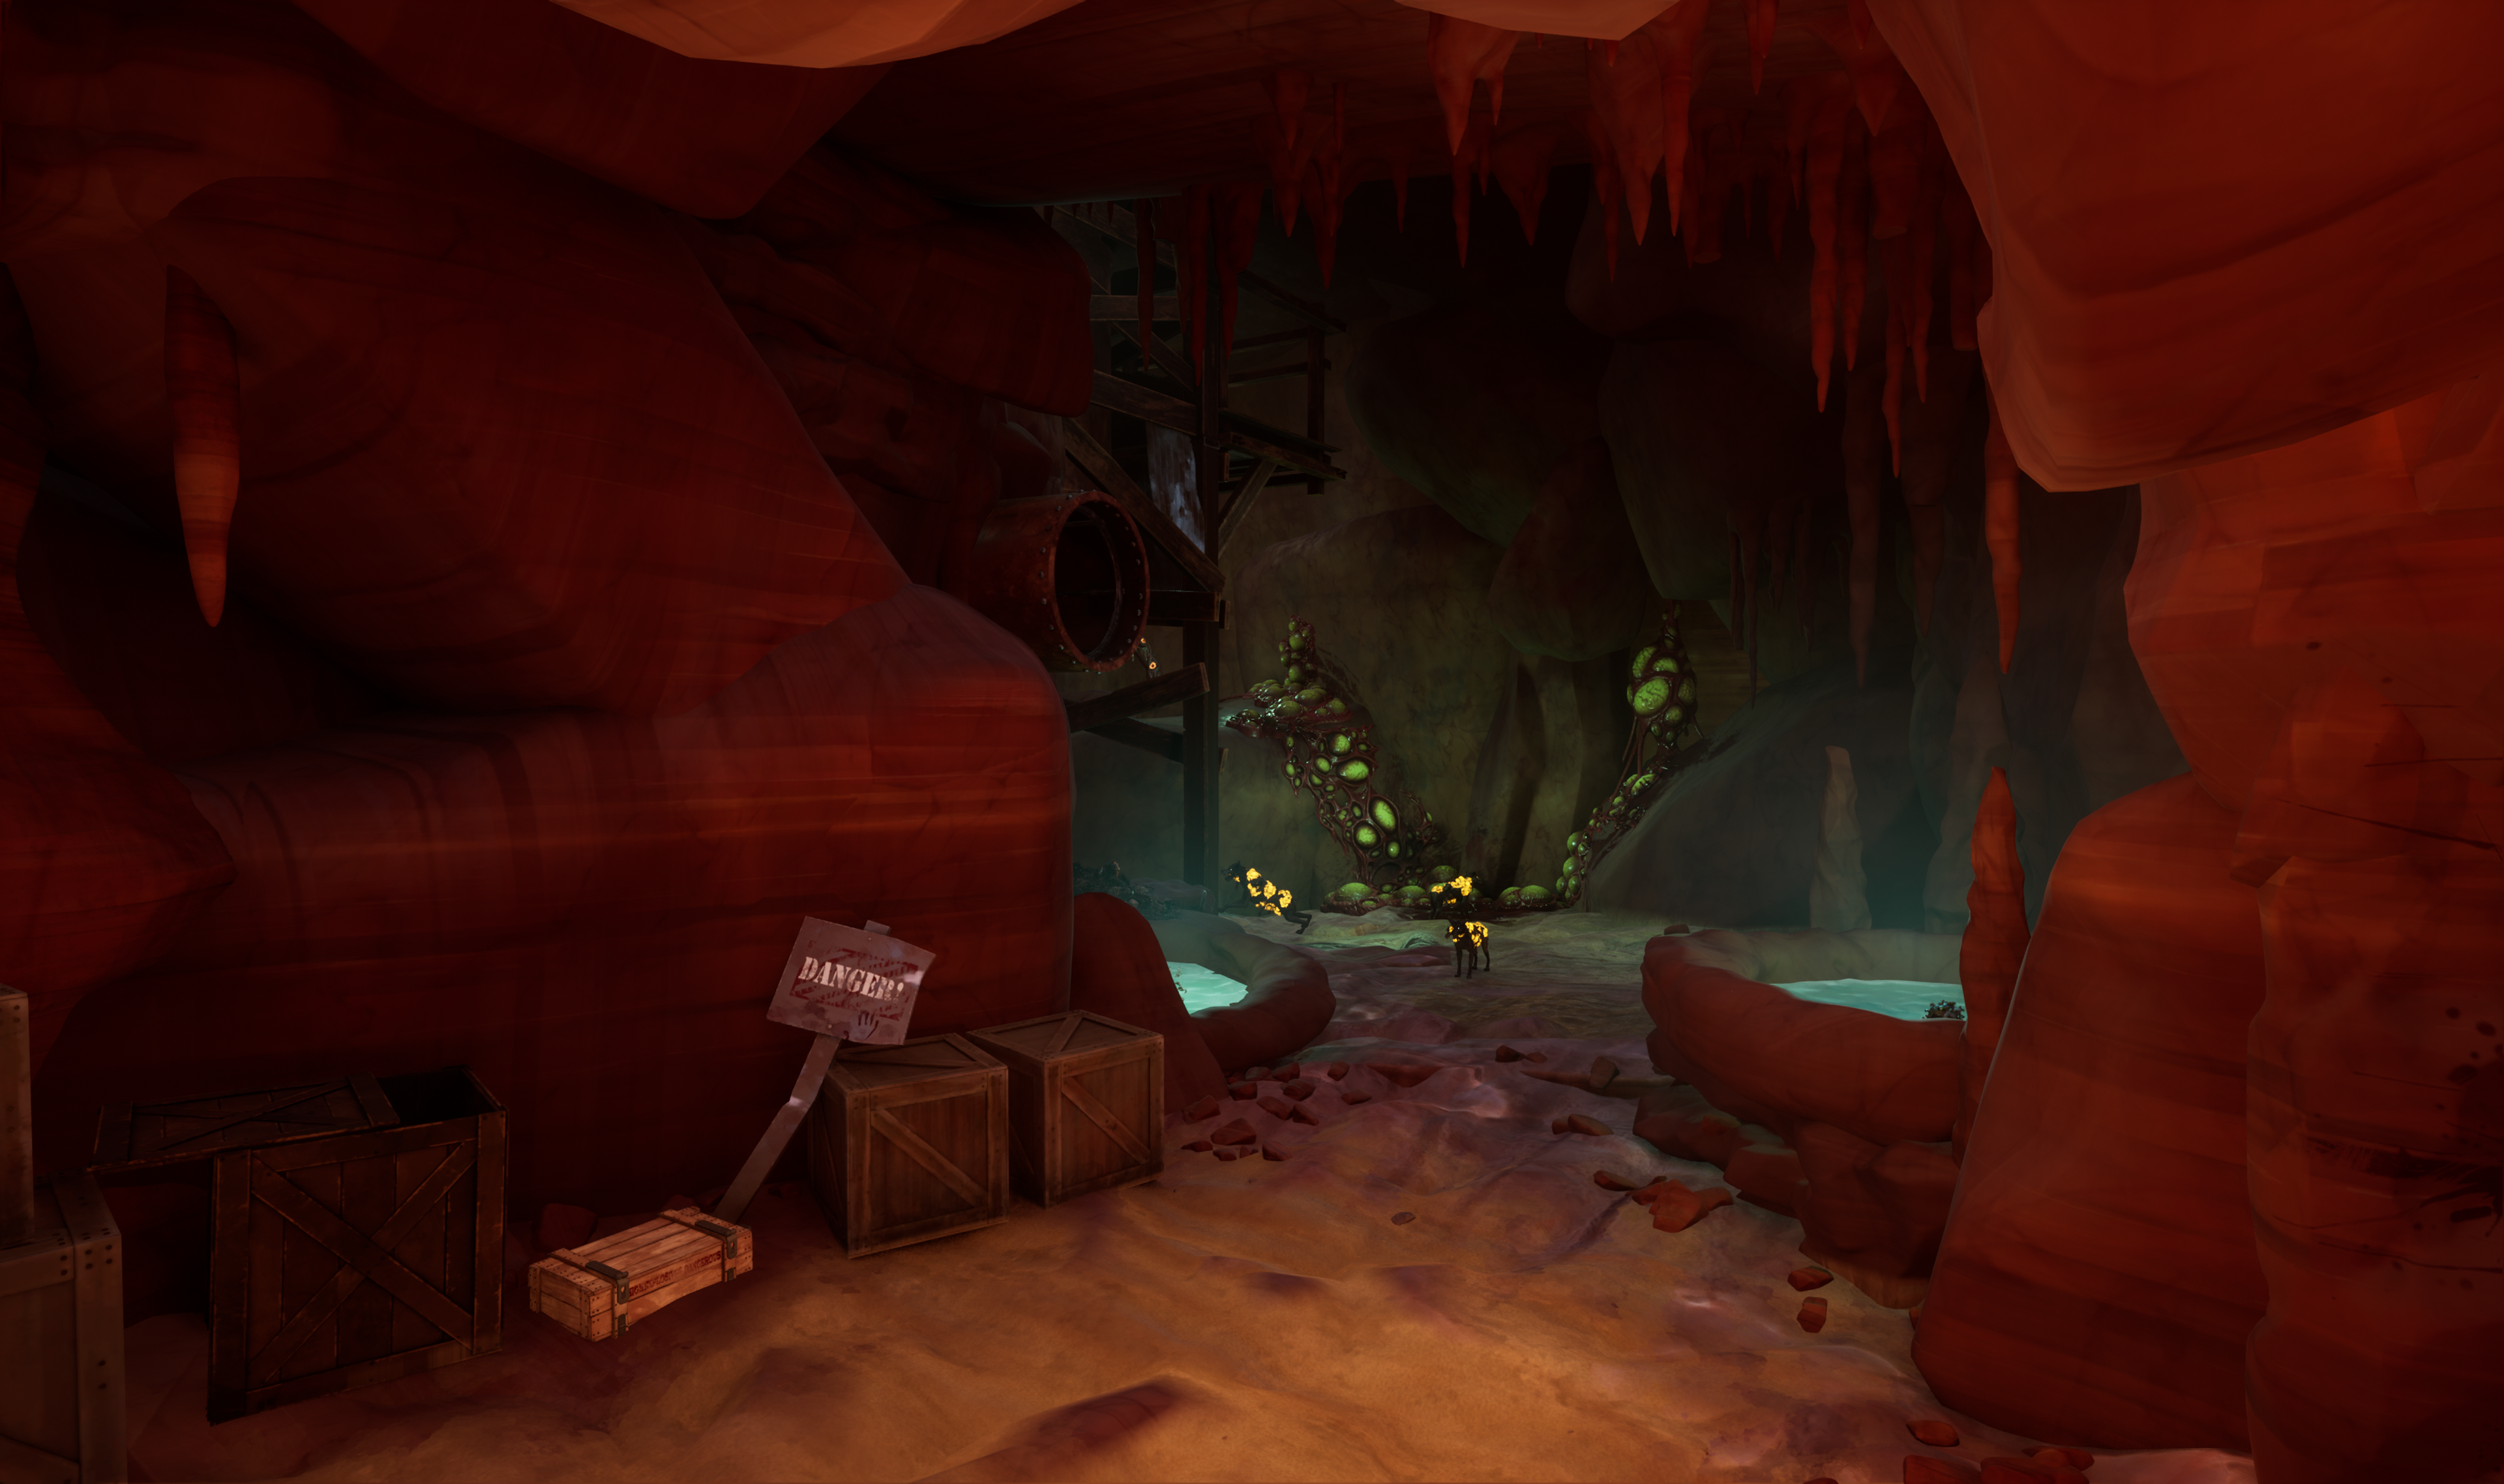
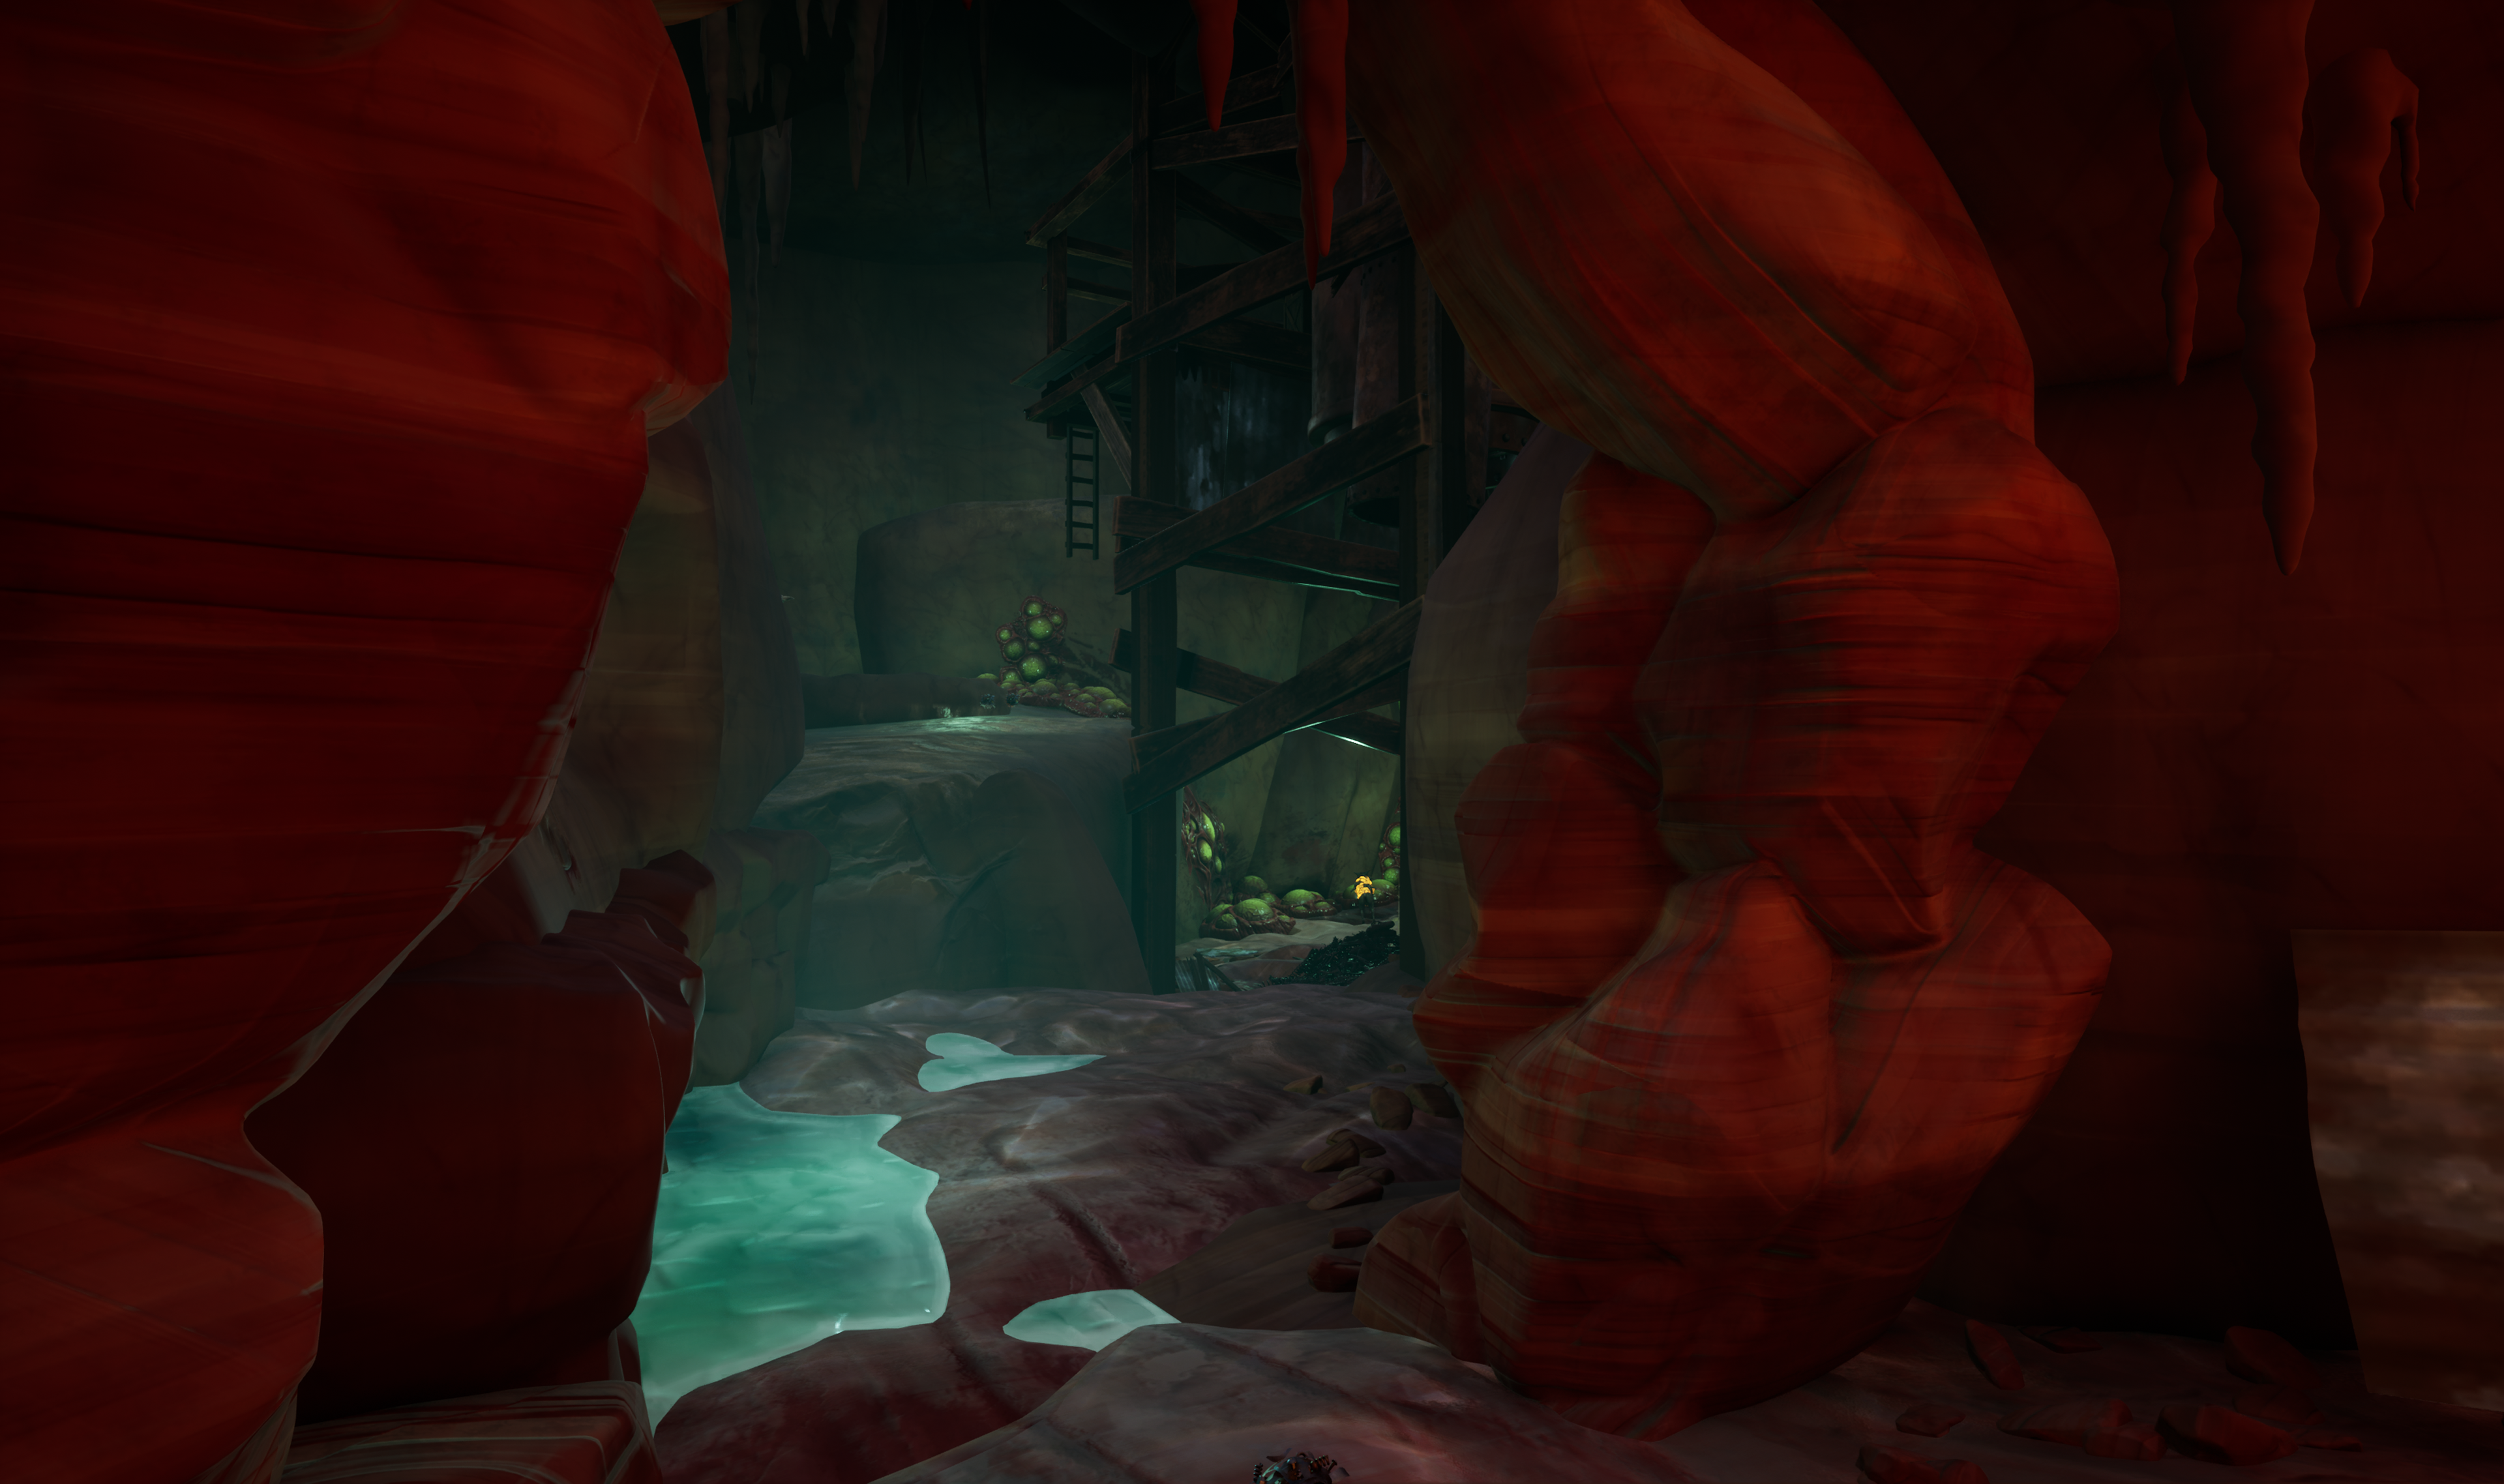
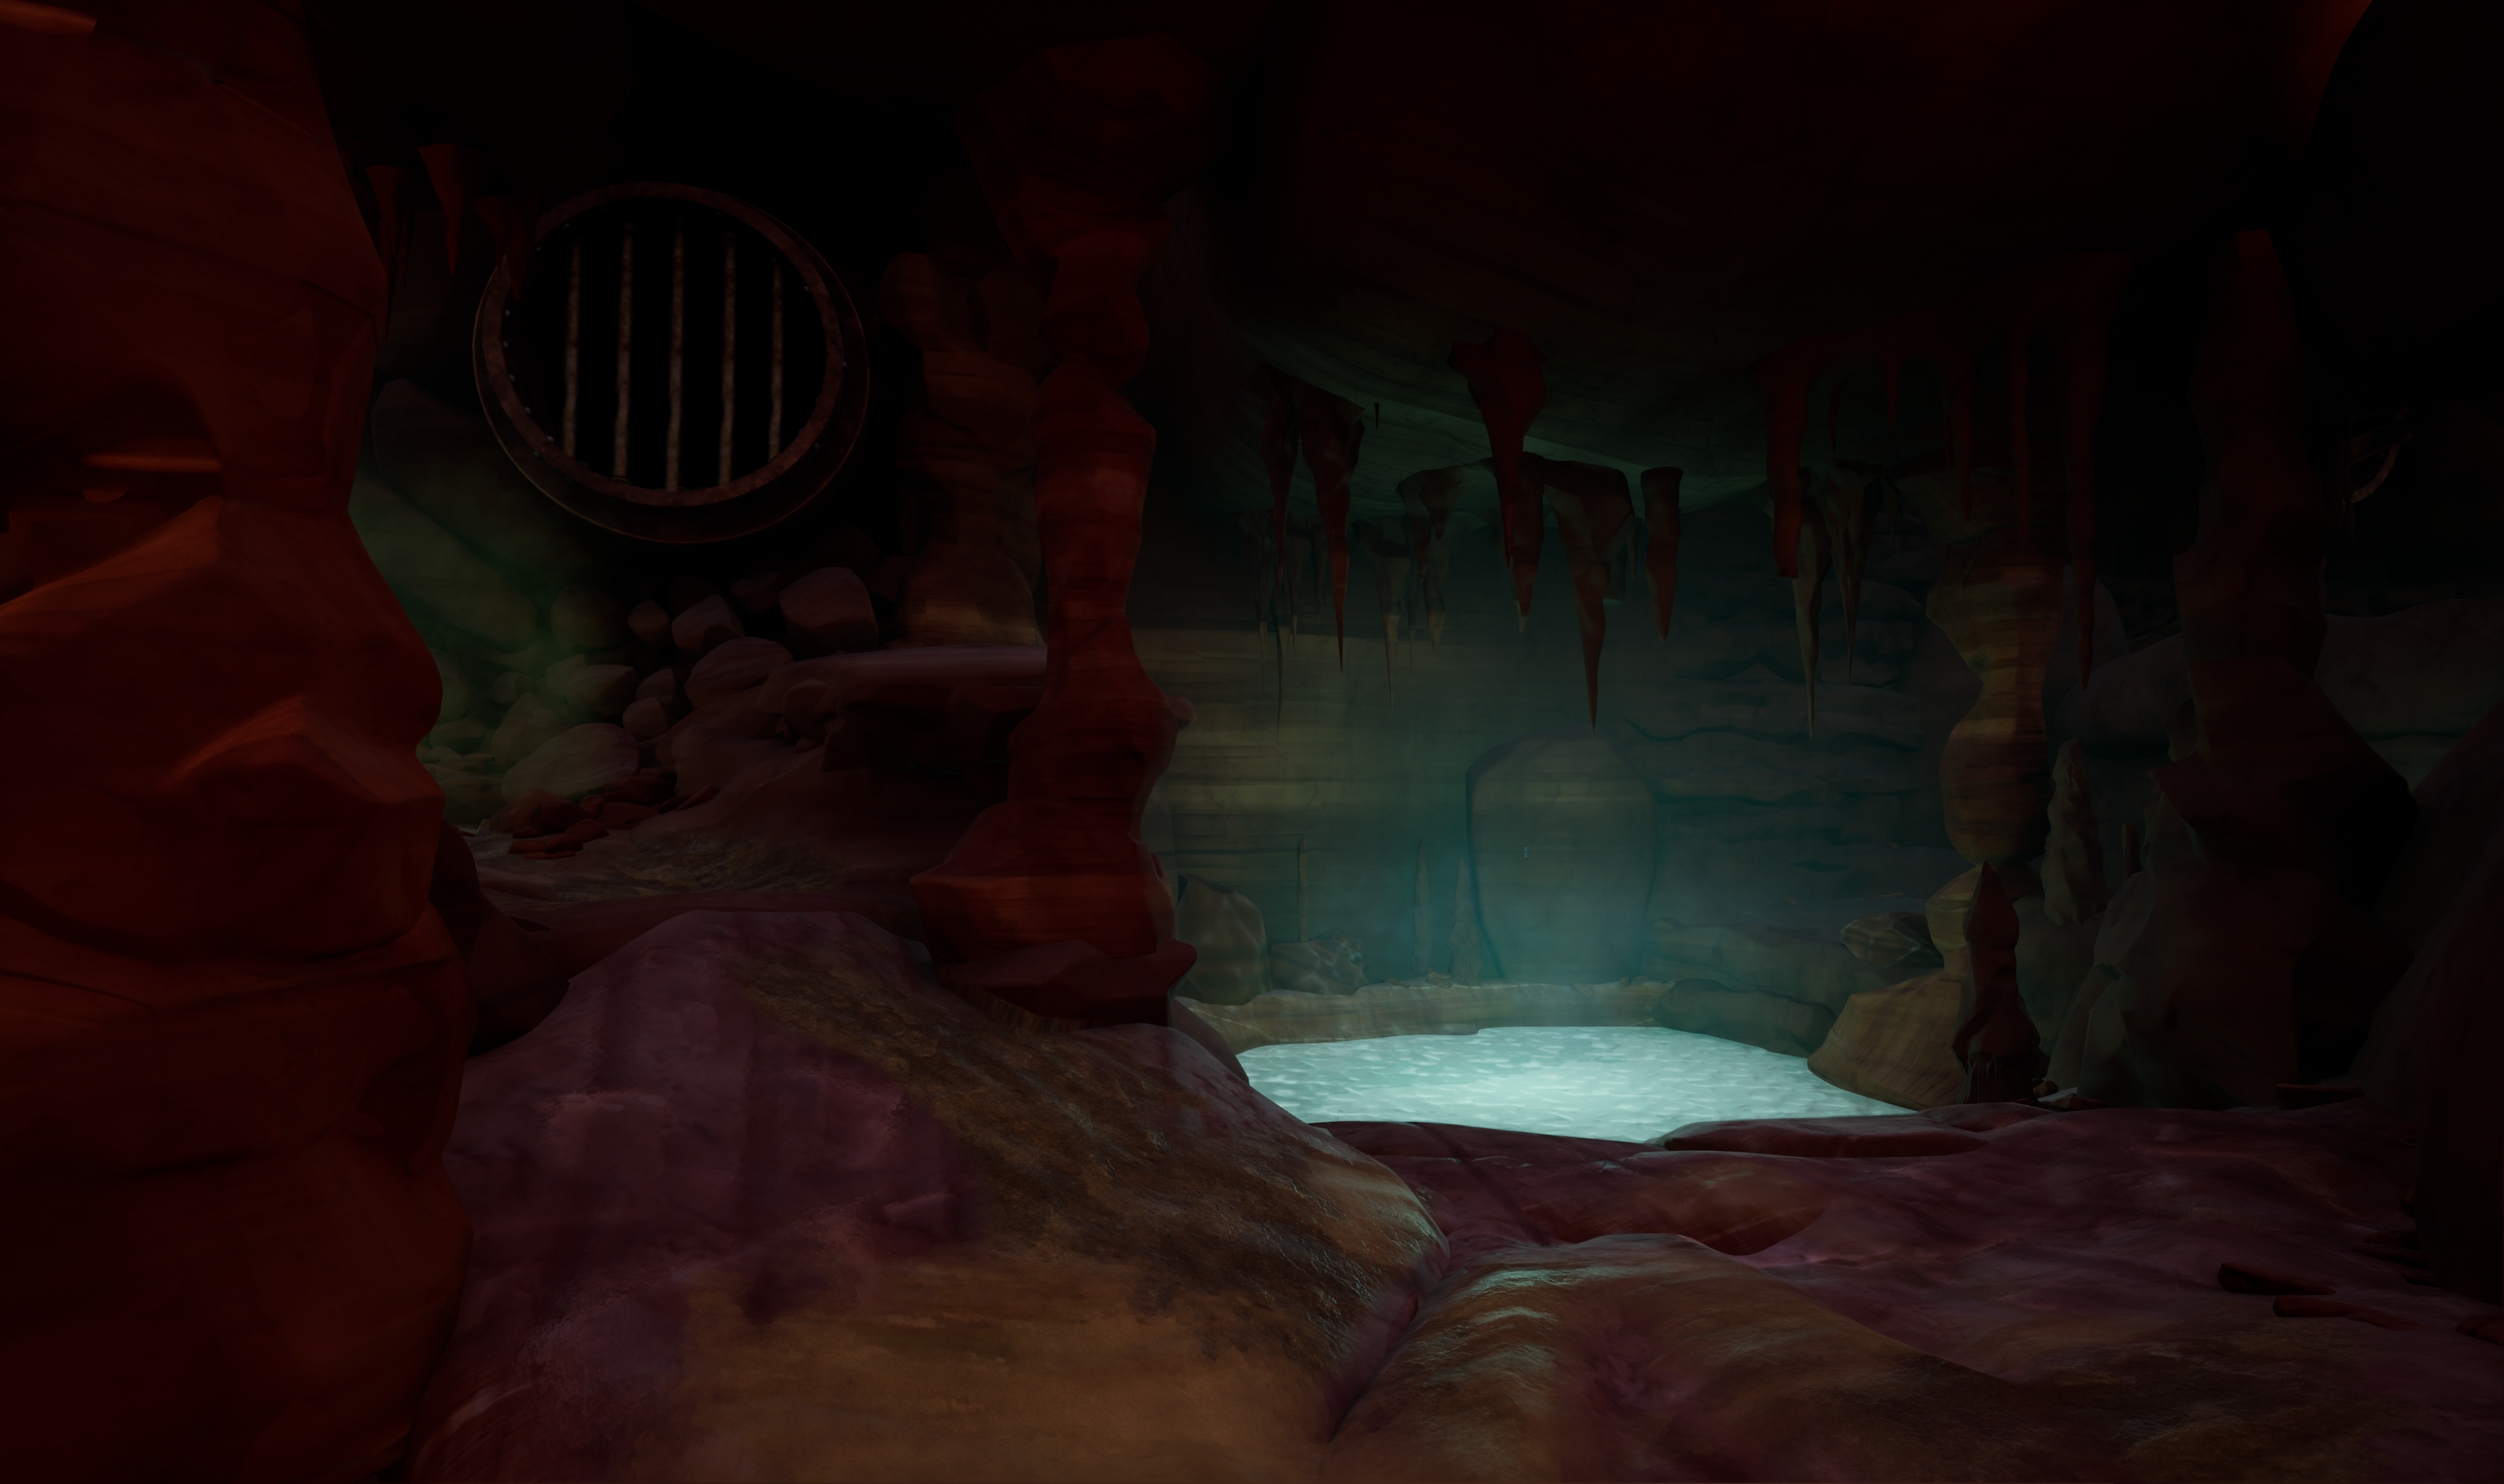
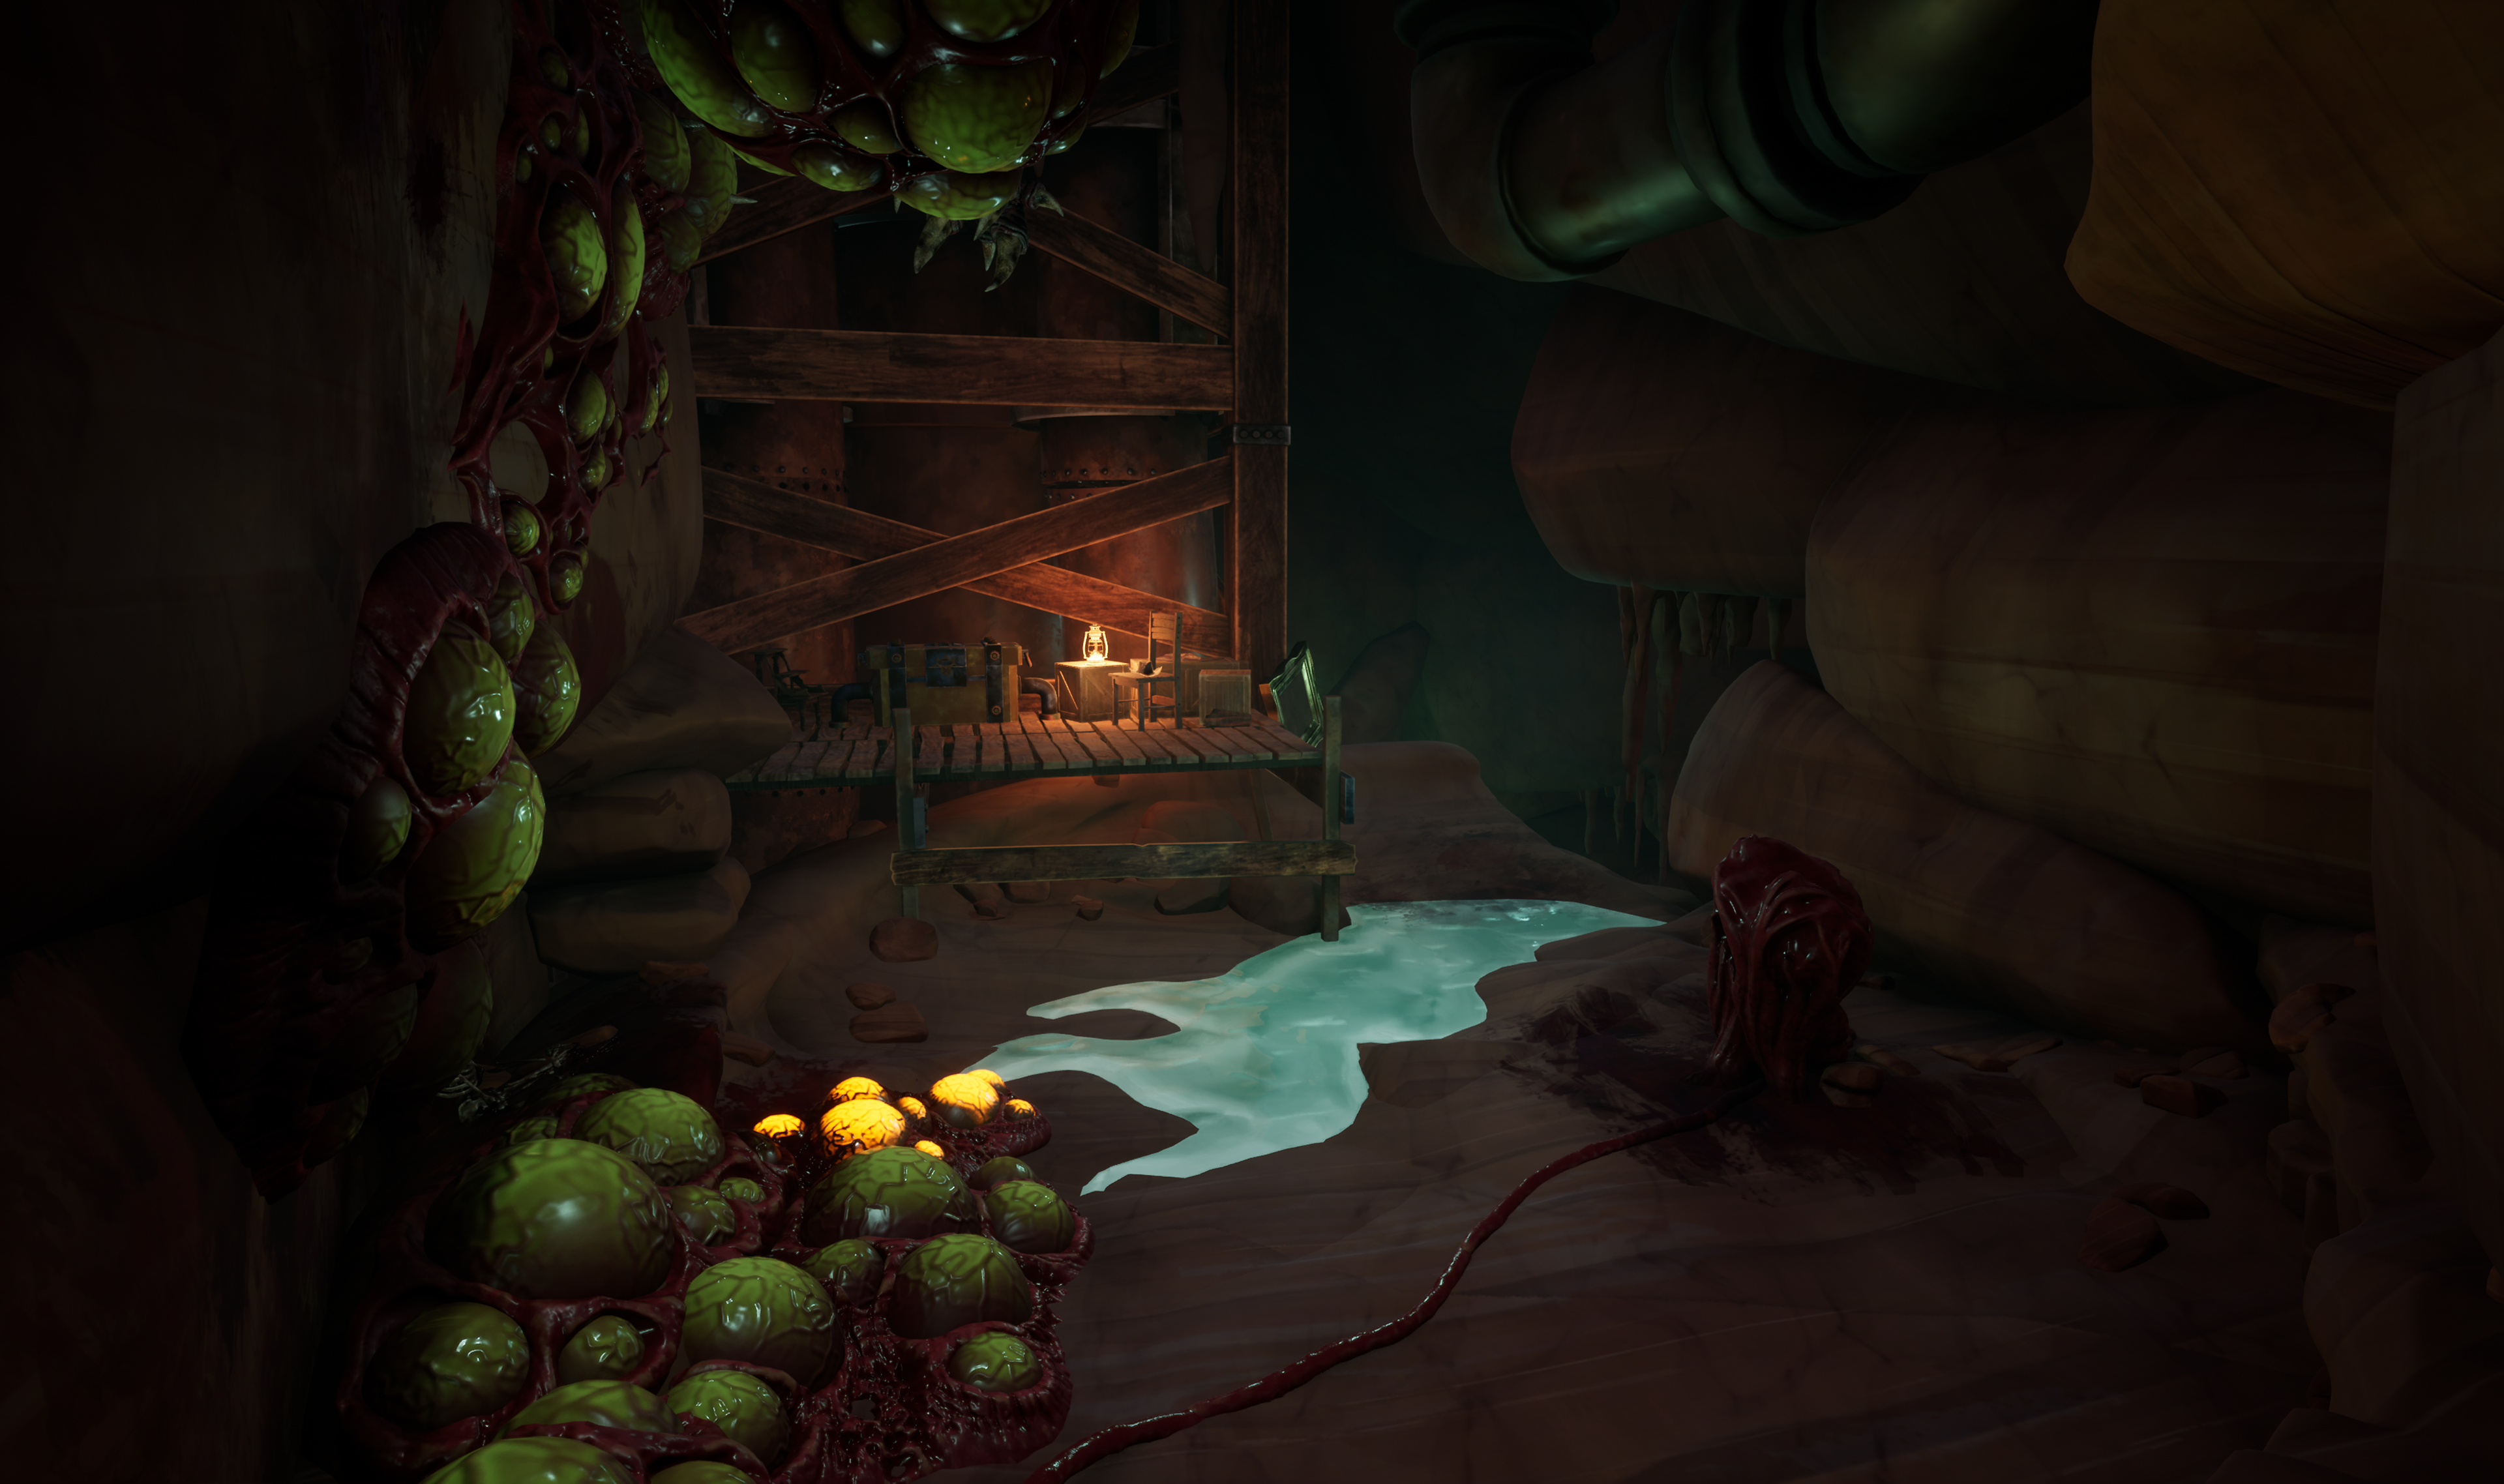
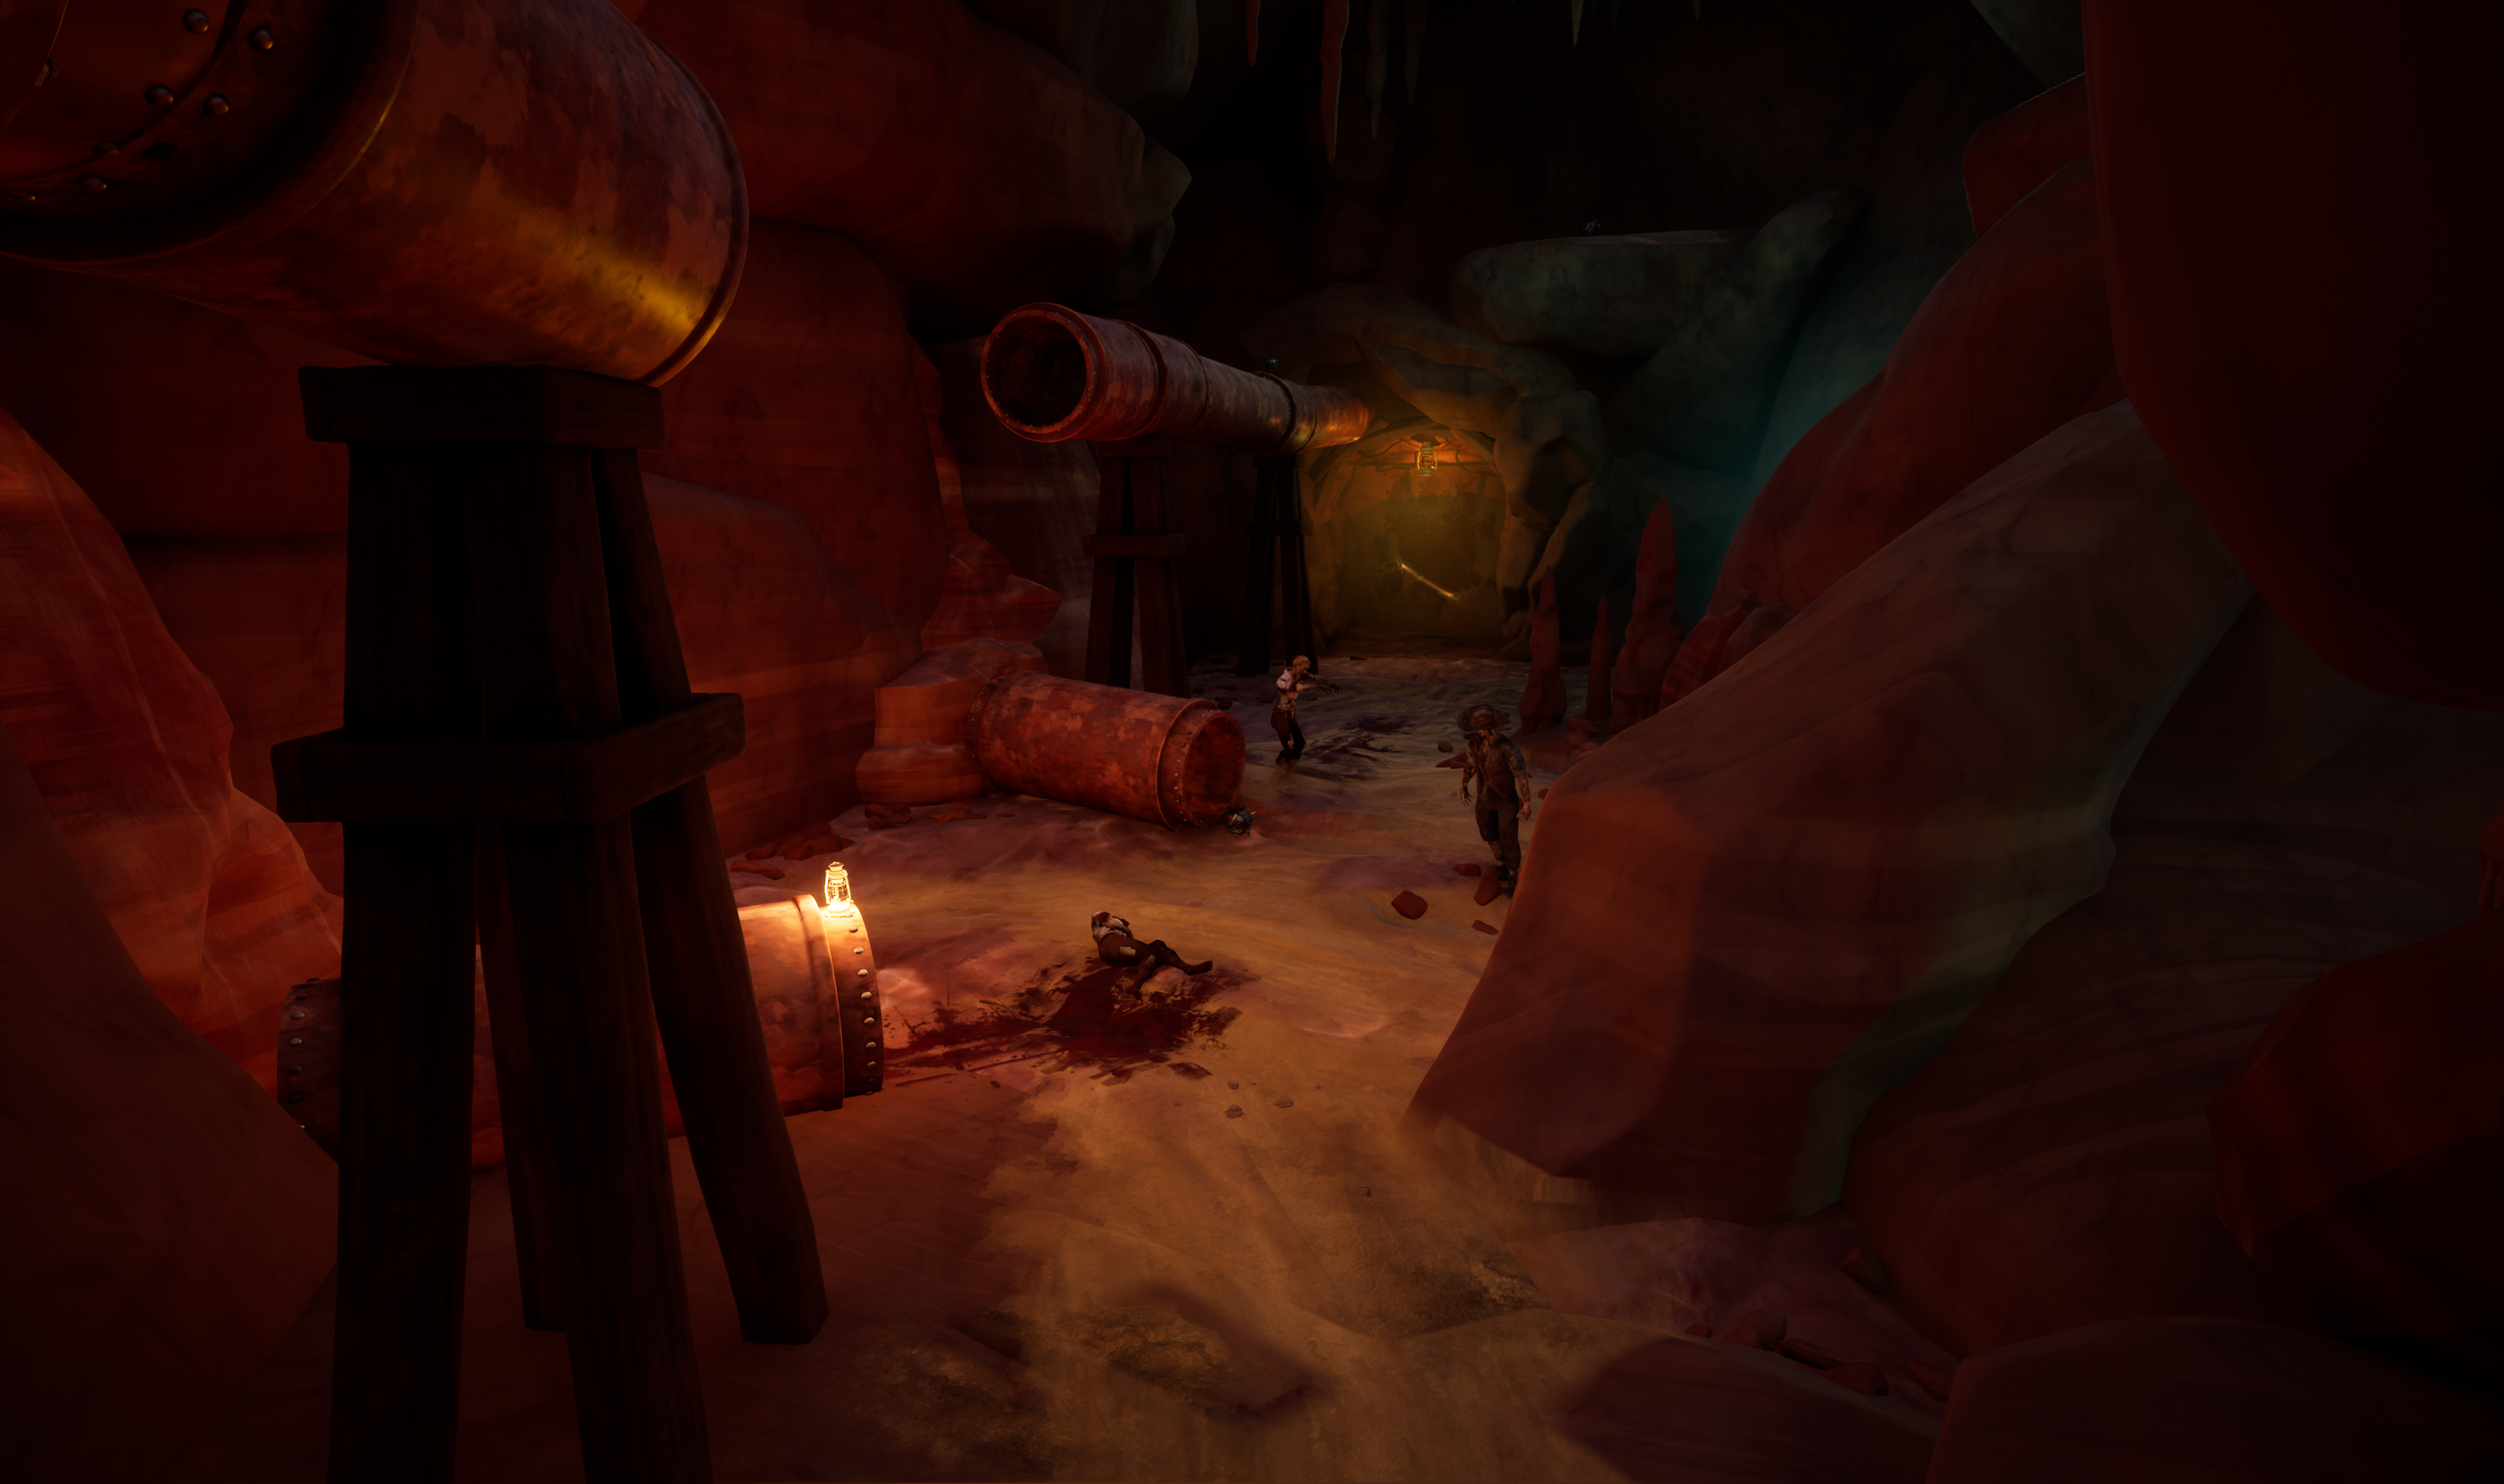
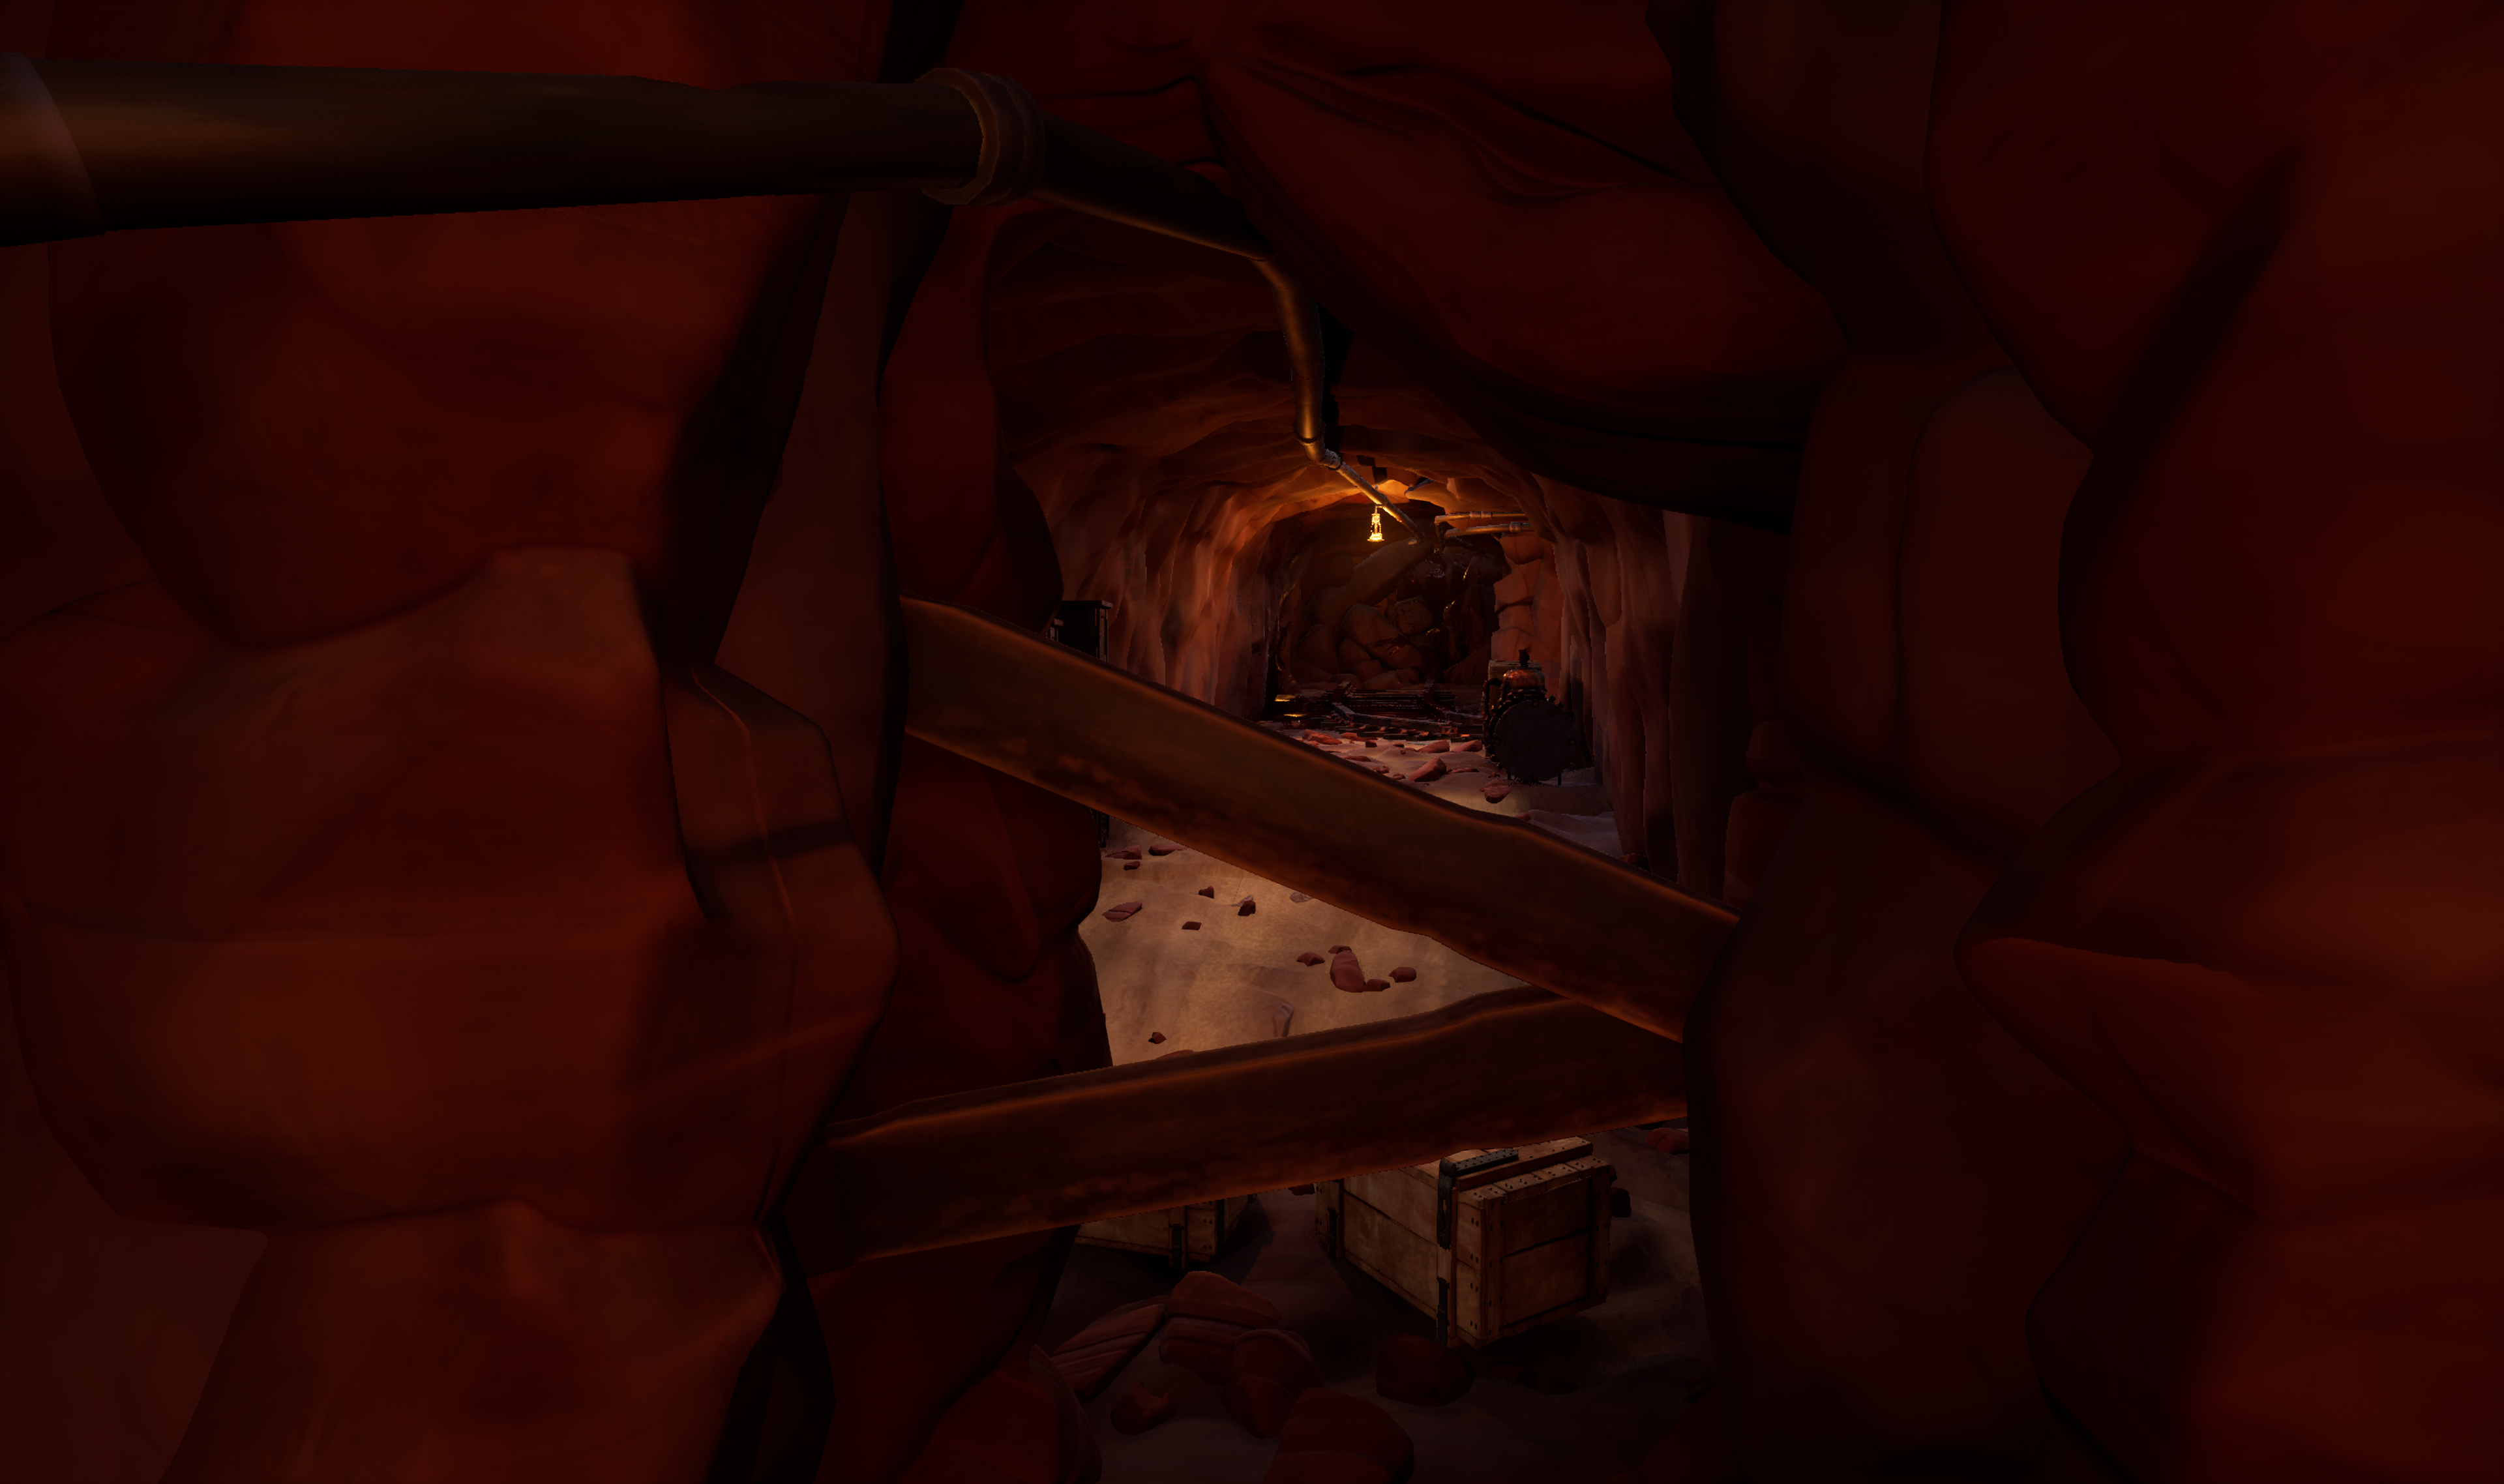
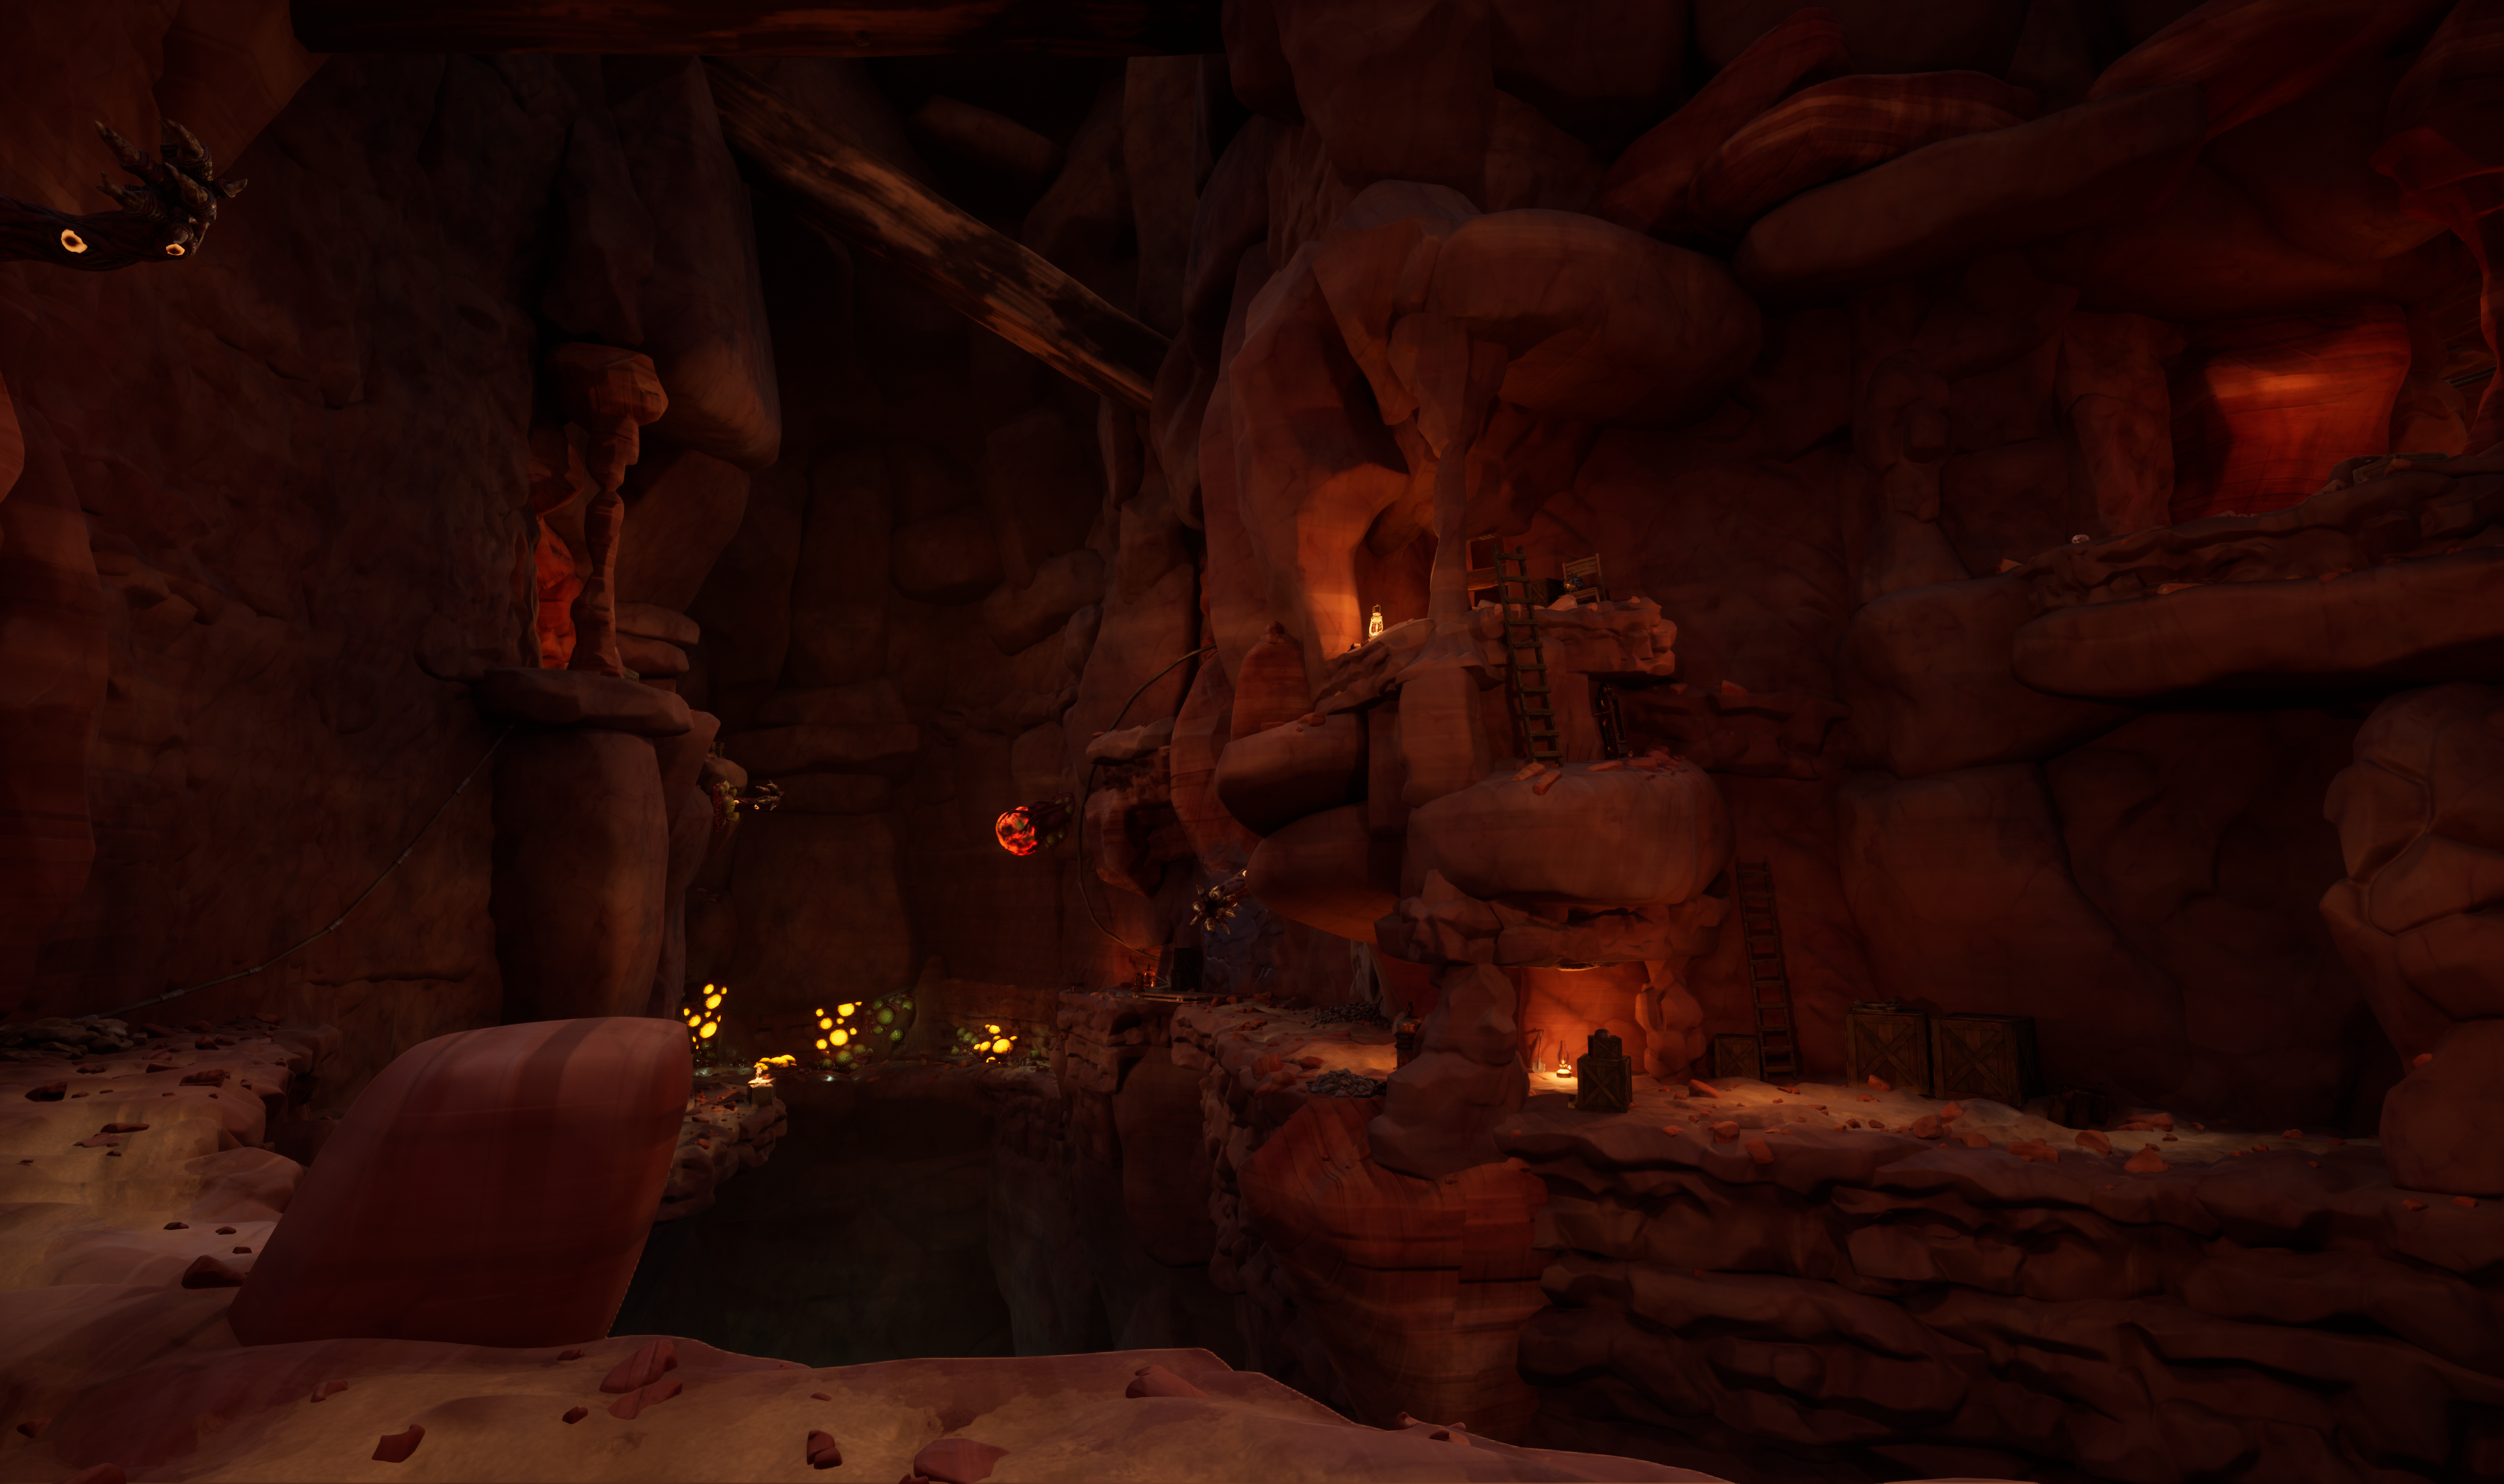
Map #2 The Pipeworks
The Pipeworks is categorized as a medium size room. The goal was to prioritize the player’s cognitive map and allow for noticeable progression and exploration while also altering the mood toward a more eerie calm feeling as compared to other rooms.
Key Design Points:
Close Quarters Verticality (Two interconnecting stacked elevations).
Double gating (Emphasis for consistent player progression).
Exploration (Teaches player it is sometimes needed for progressing through maps).

Pathing and Pacing:
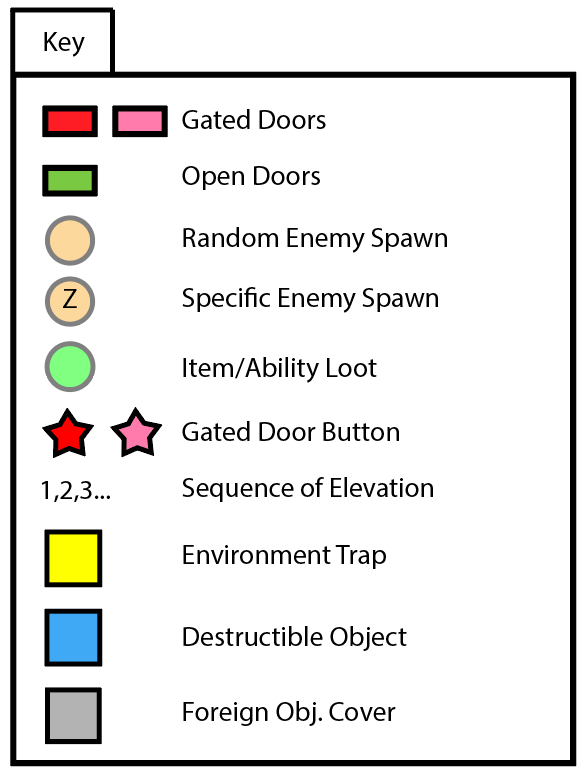
Waterpool Paths: These are two paths that are on opposite sides of the map, both feature similar aesthetics and combat design areas. They are luminated due to the toxic pools built up in the area, and generally are tighter spaces for more close quarters combat.
Core/Curve Path: The main flow path that all paths entangle with, whether it is above or below it in elevation. It curved through the entire stage is easily recognizable for player position.
High Ground Path: This path holds the most loot (due to jumping puzzles and exploration) but is an integral path the player has to take in order to unlock the door to the next map.
Beat Chart:
Waterpool 1A Path
Waterpool Path 1B
Waterpool 2 Path and Combat Area
View of High Ground Path from Curve Path
Path to High Ground
High Ground Path
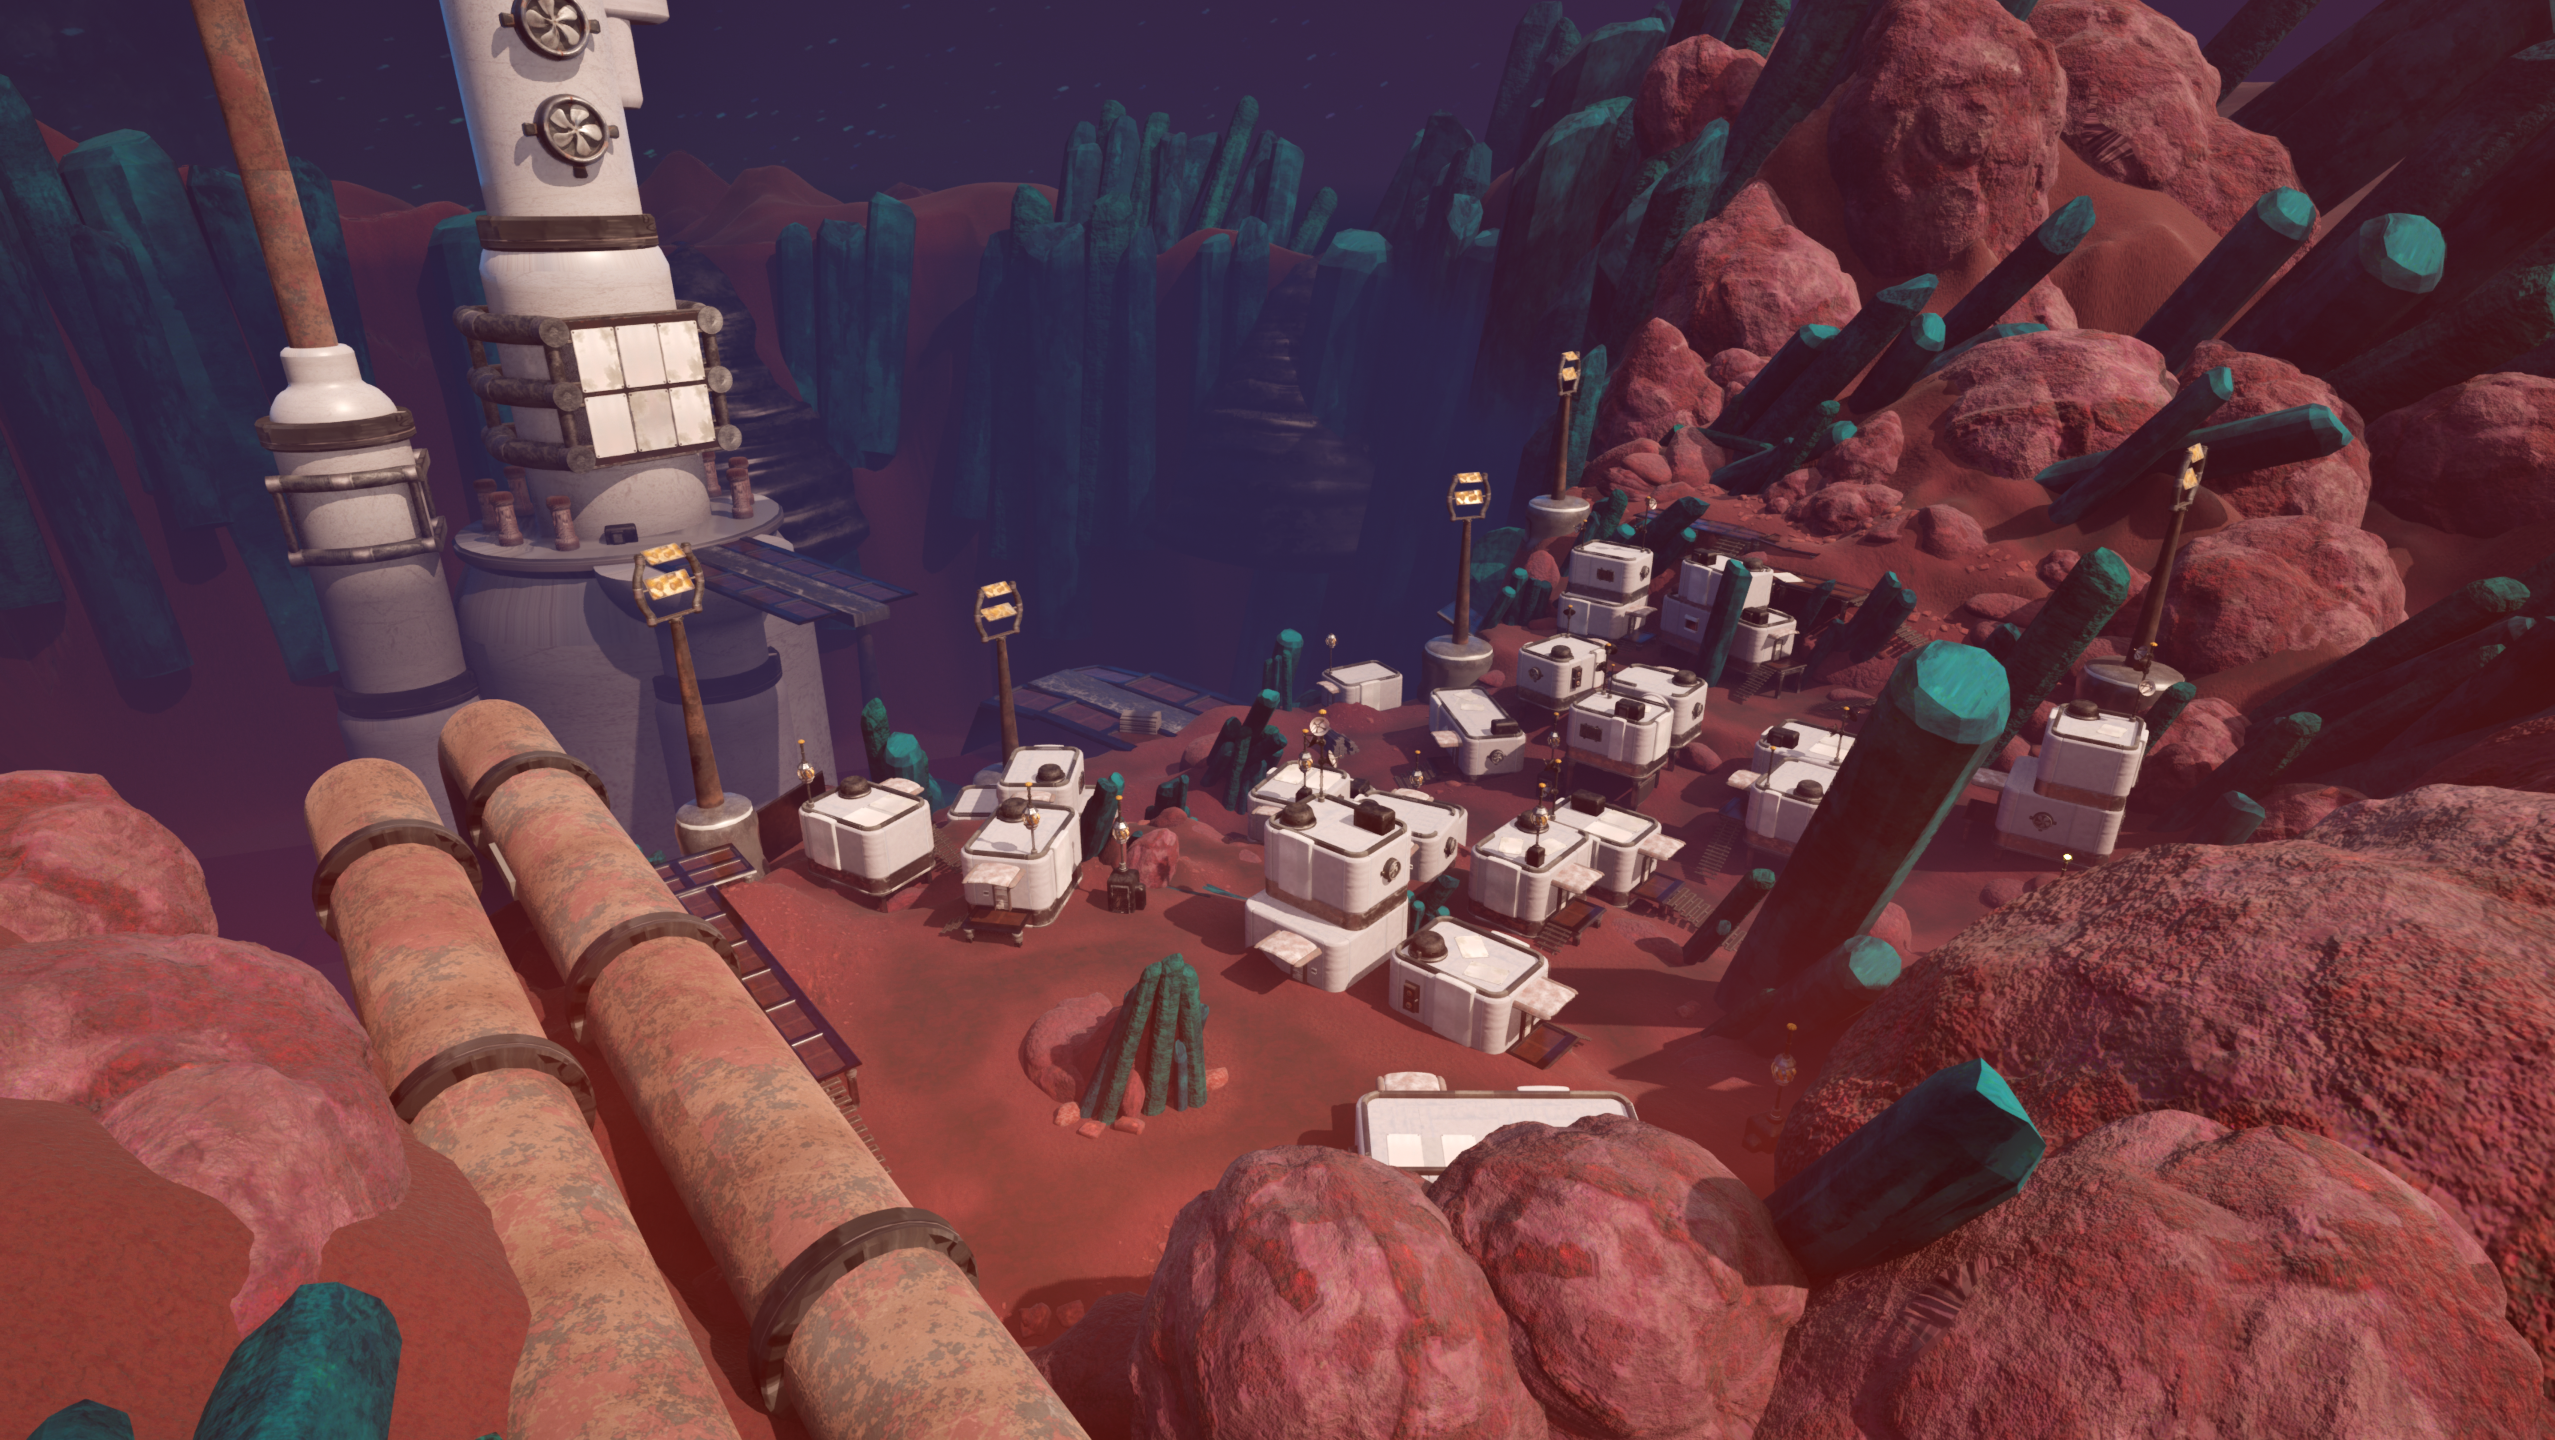
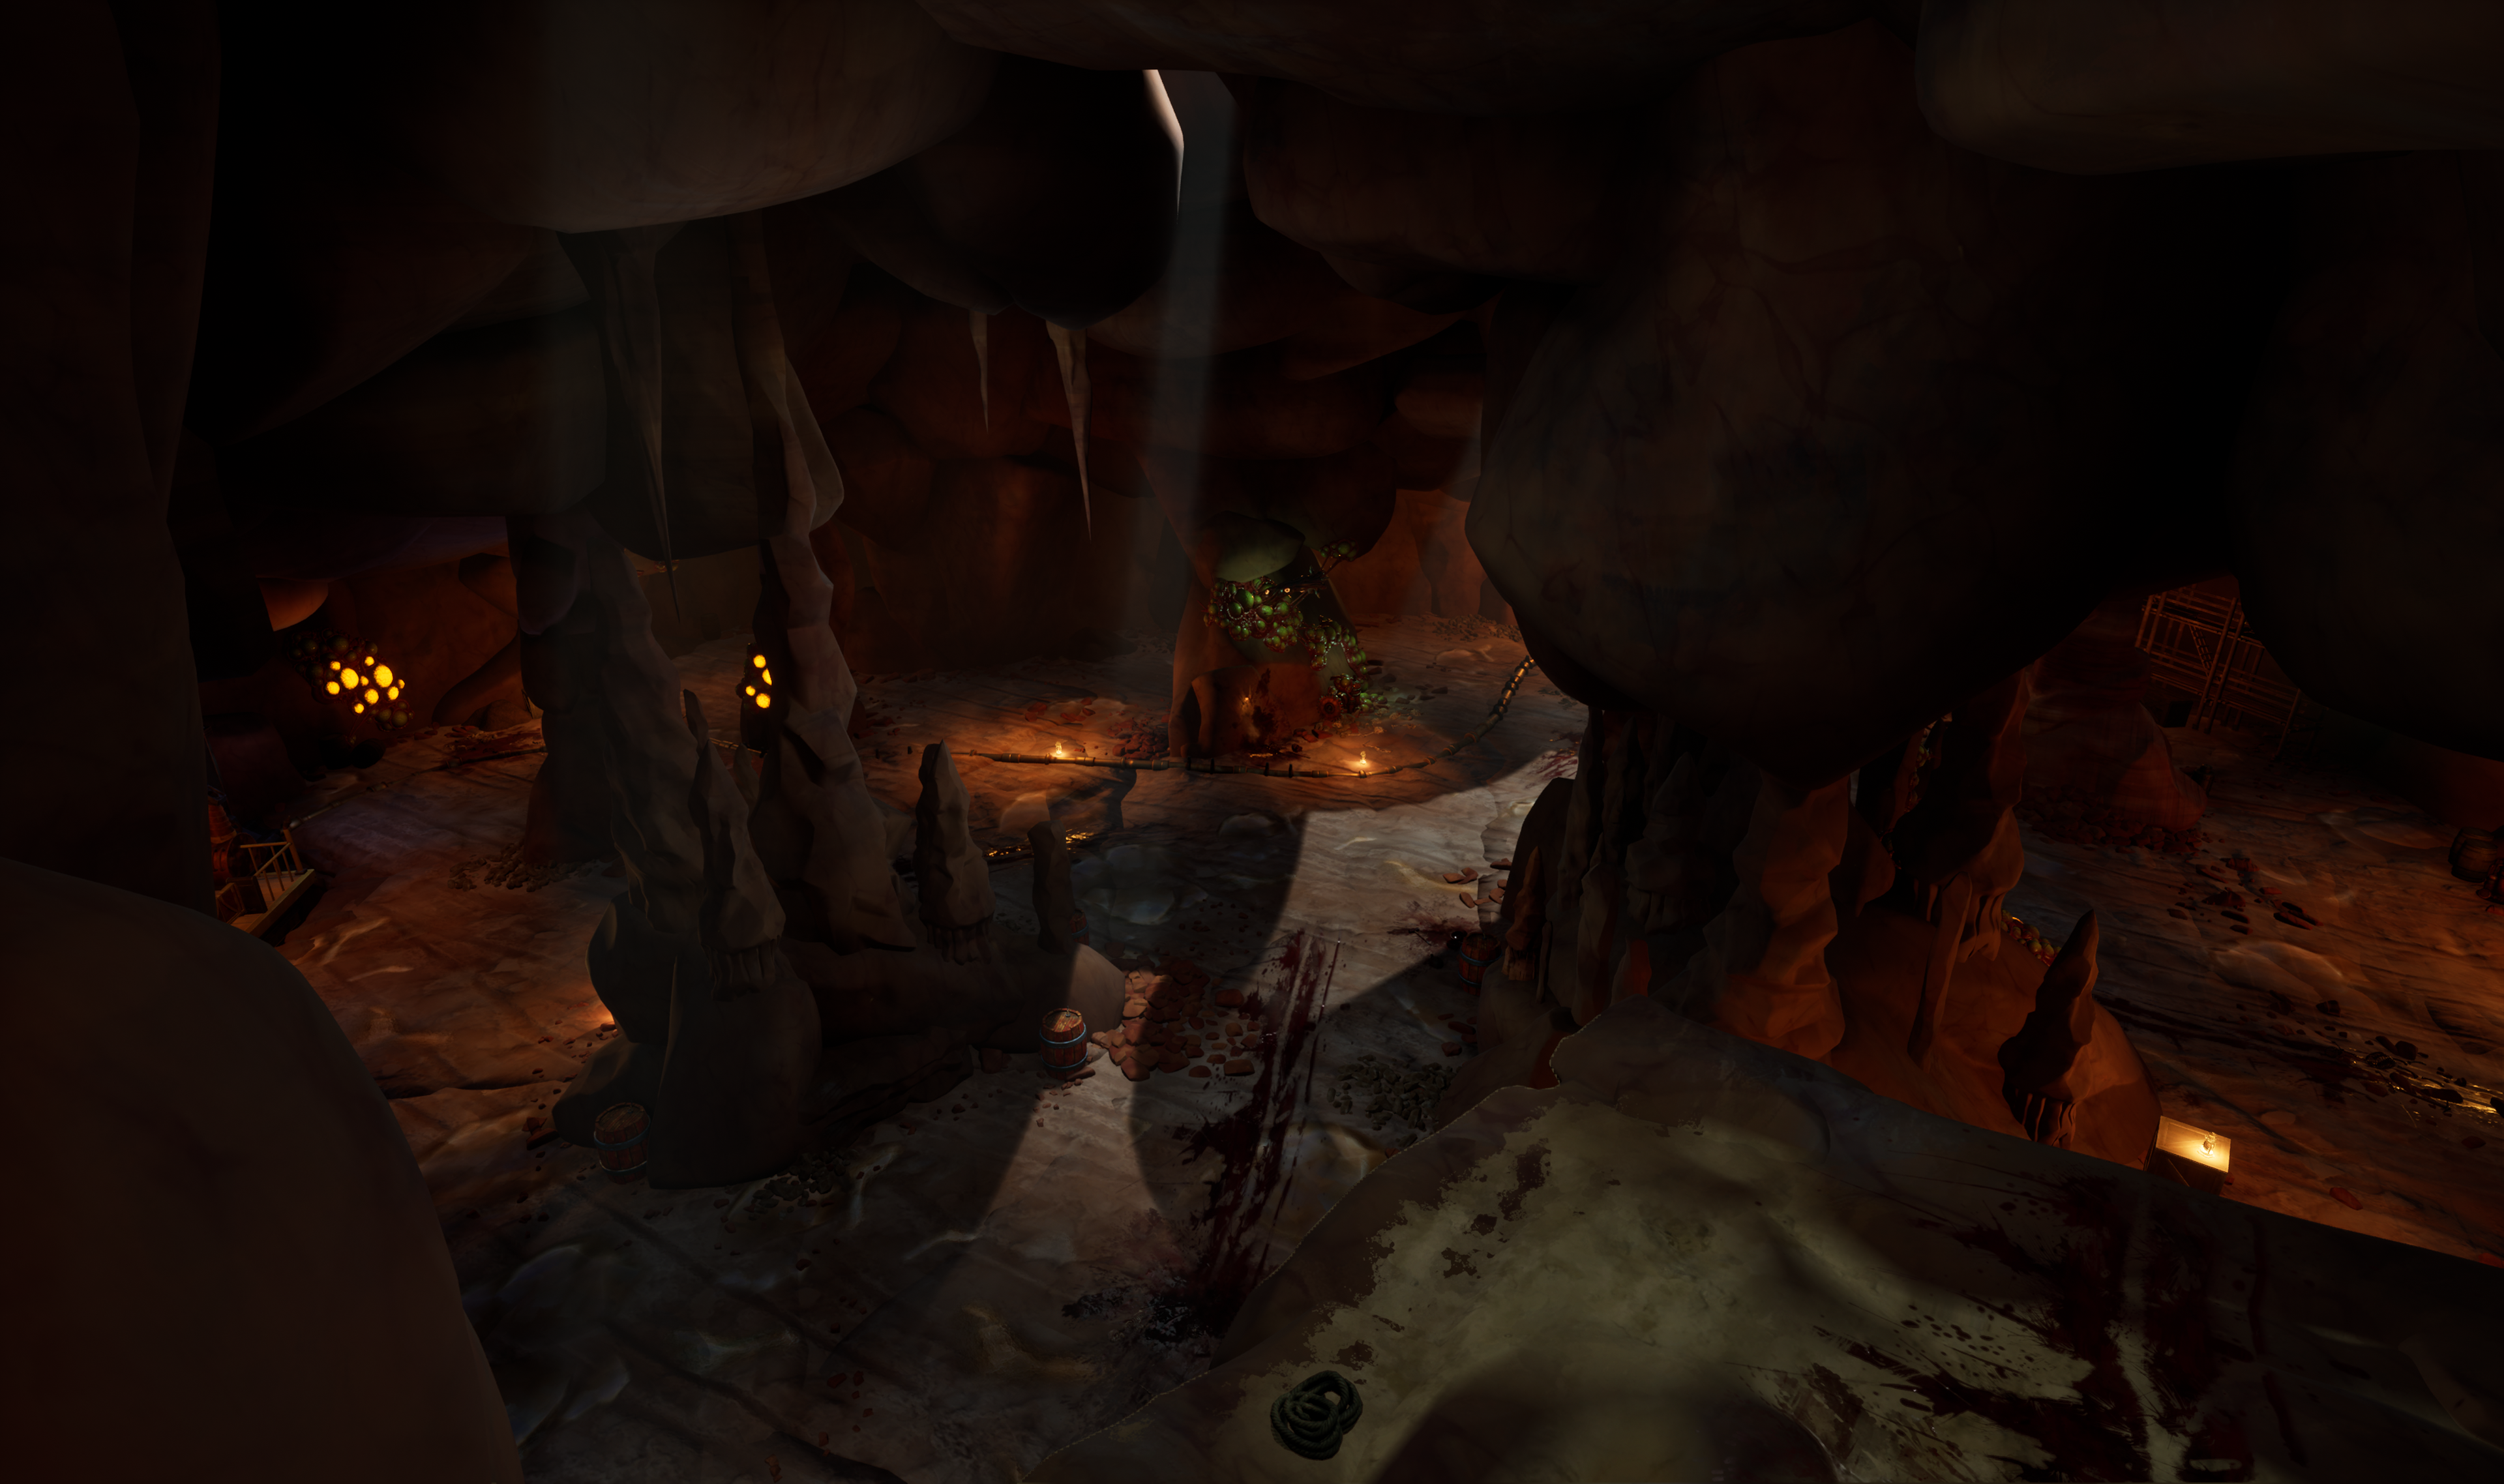
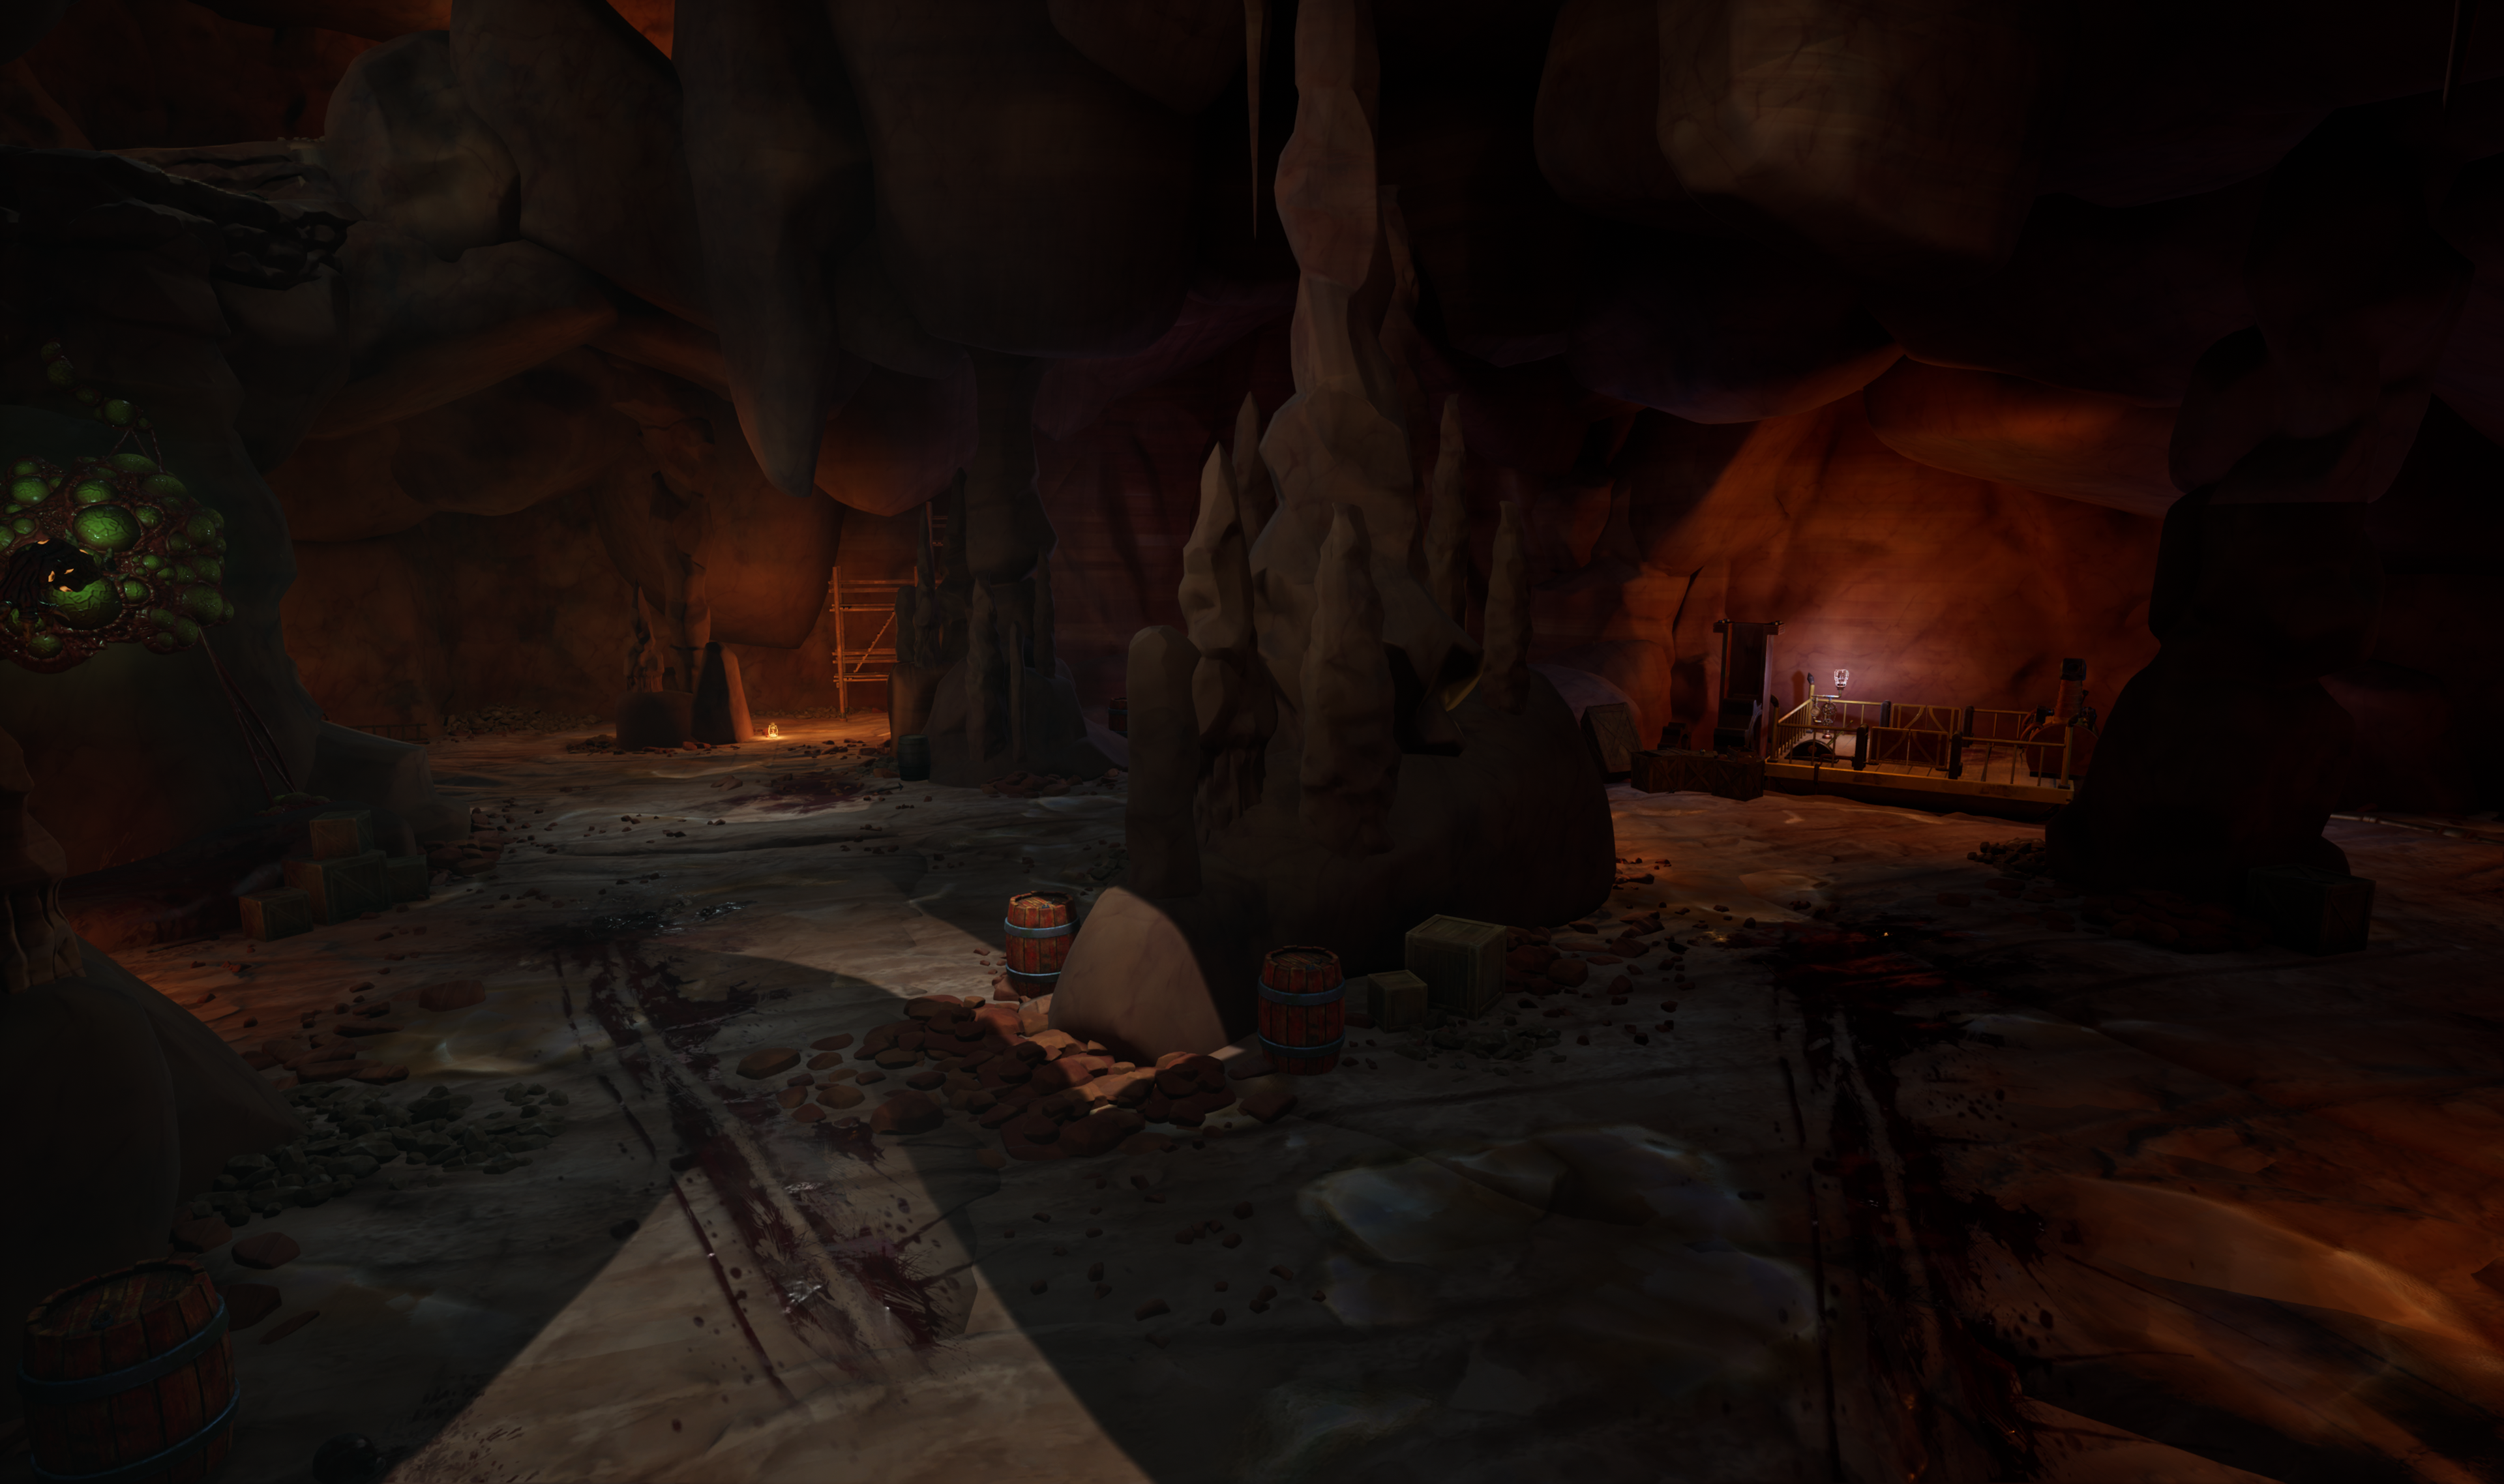
Map #3 Workers Quarters
With most maps I wanted to categorize them between Large/Open Space, Hybrid and Close Quarters. This level is a close quarters level and served as a pacing boost compared to other rooms. It features 2 exits and allows for a change of player skill and ability usage.
The Key Design Points for this map:
Close Quarter tunnels and dormitories.
Multiple Exits (branching room for random dungeon layout).
Large Loot Pool (depending on player exploration).
Close Combat Areas (creating a faster pacing).
Pathing and Pacing:
Map #4 Wave Room
The wave room map is the only one of it's kind in this game. The main idea behind it is a survival minigame that require the player to repair the elevator to the next floor where the boss lurks. There is no way to stop the spawning as it is in other maps and is an all around battle colosseum that forces the player to run between certain points to repair the elevator in it's entirety.
The Key Design Points for this map:
Maze-like Open Floor Design.
4 Points of Interest (Elevator, Engine, Lever, and Entrance).
Continuous enemy Wave Spawns.


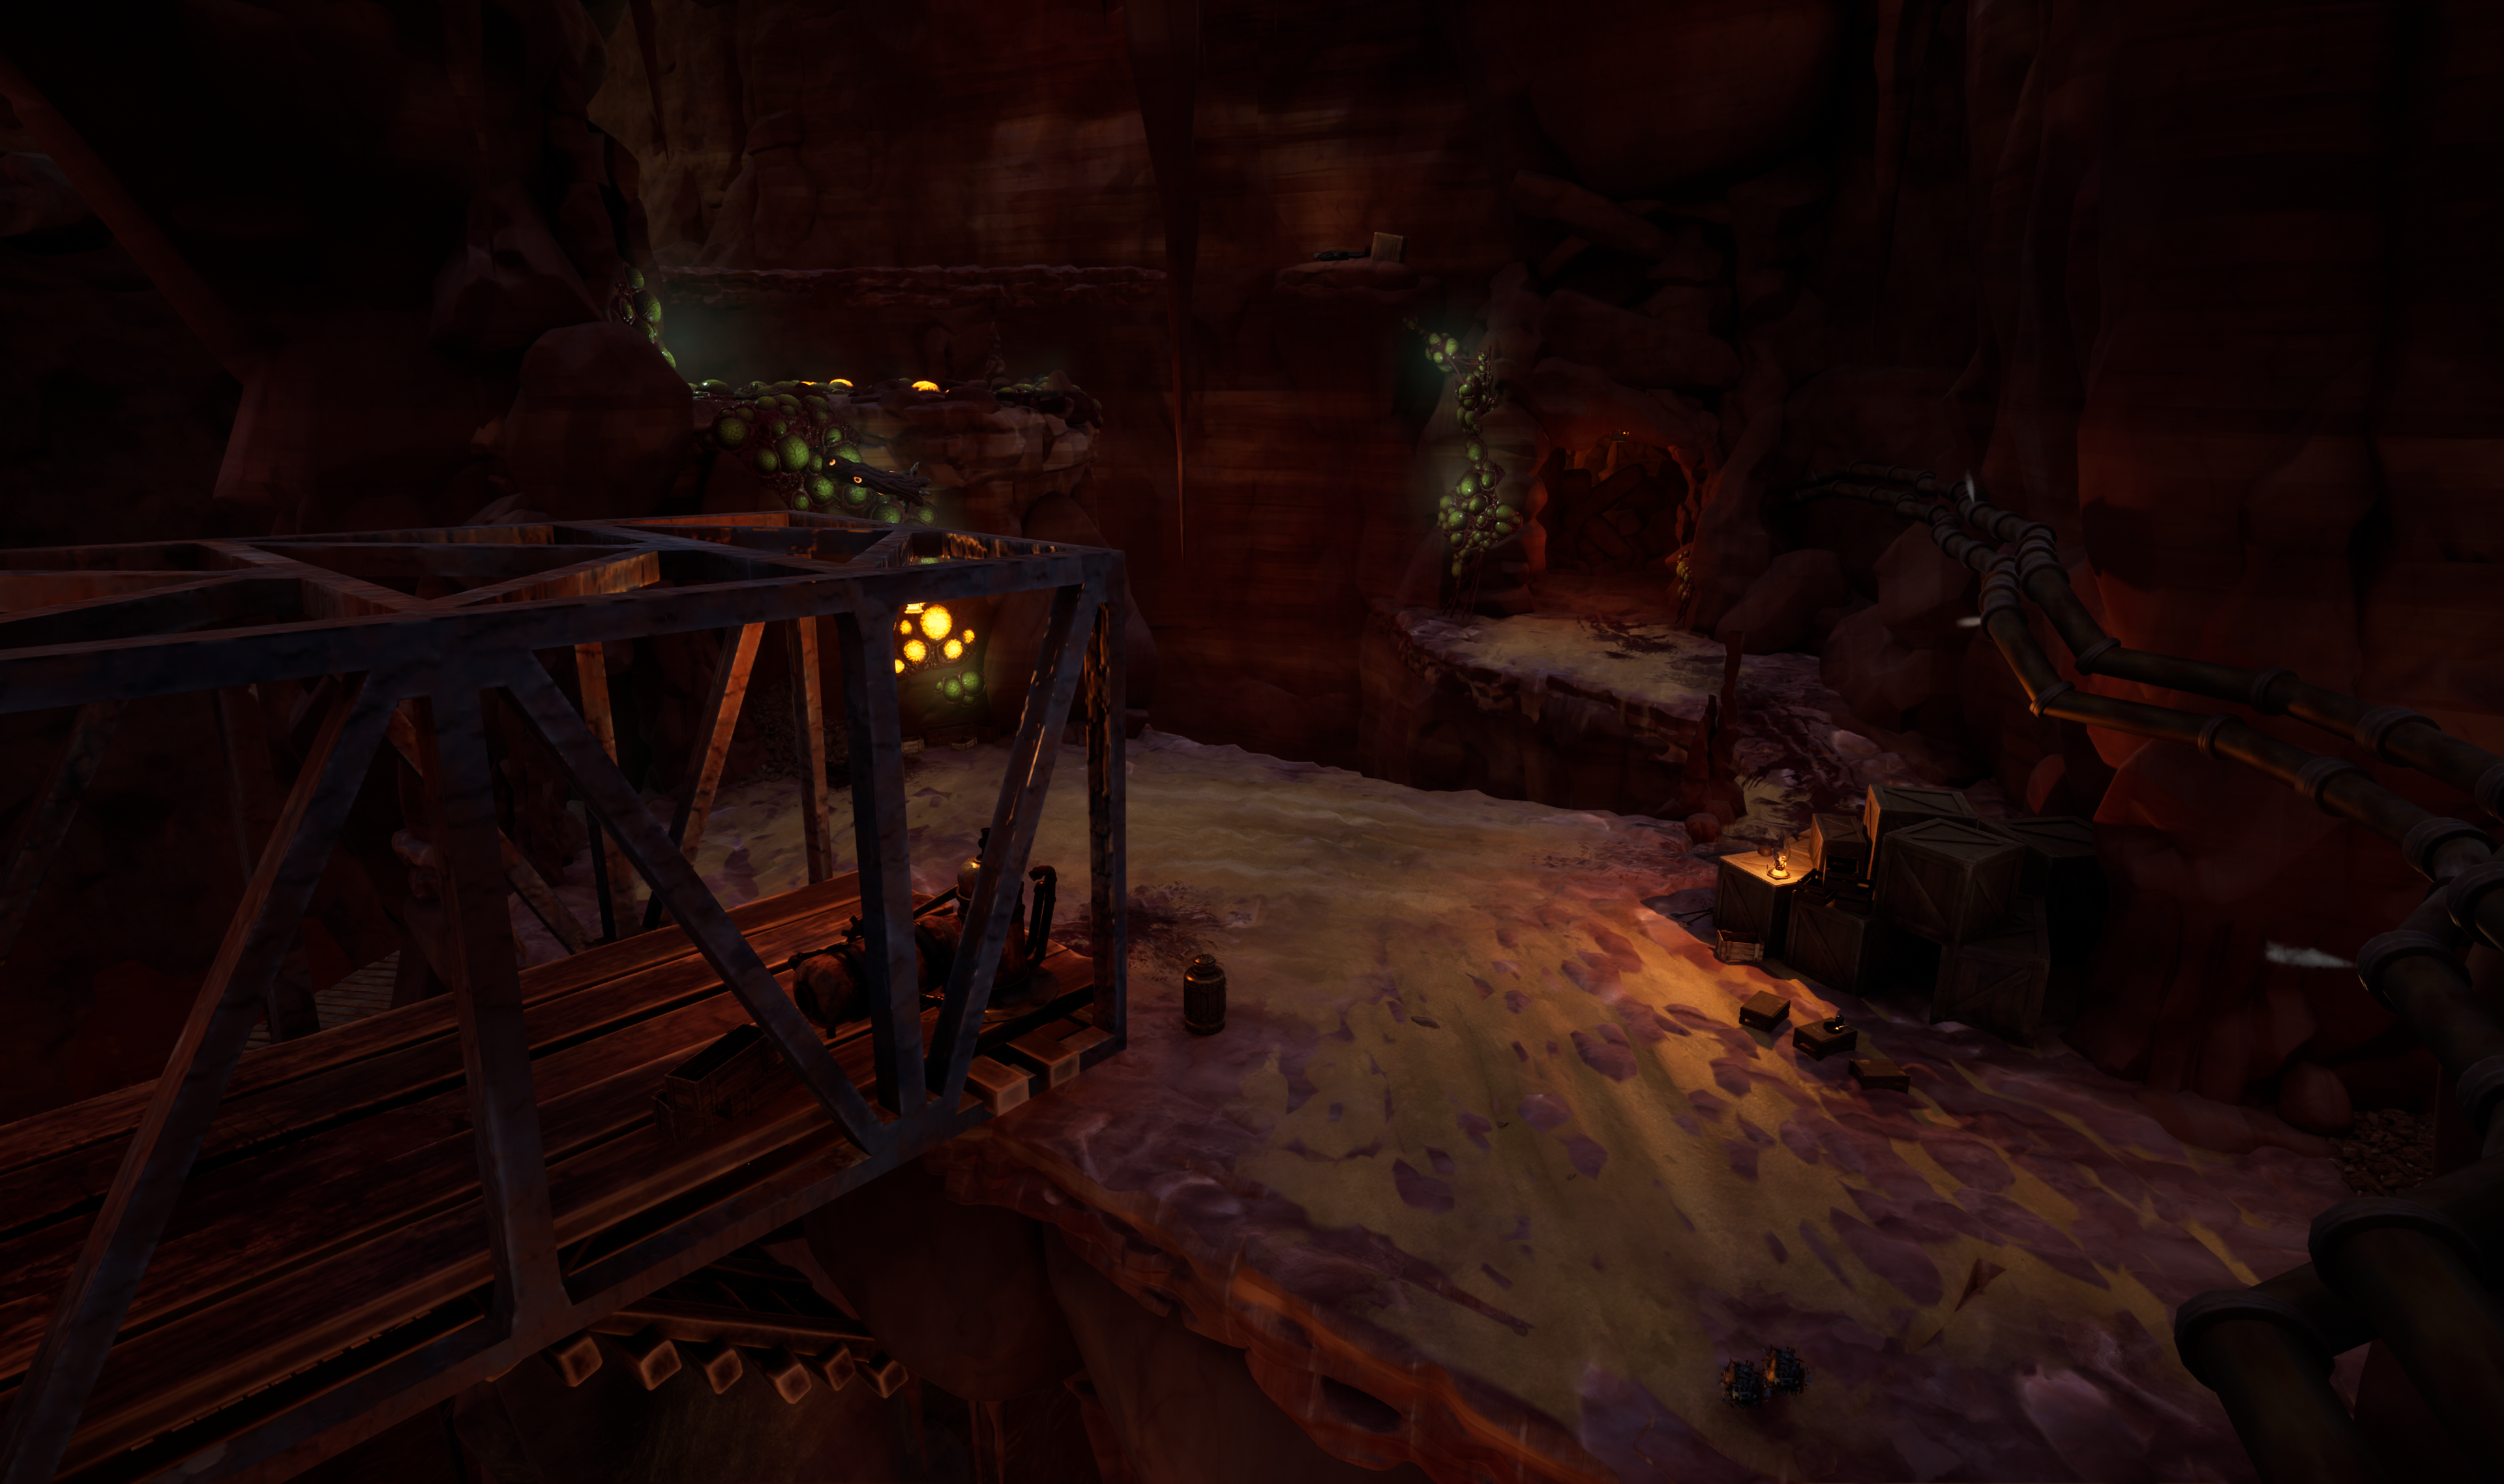
MAP #5 Miners Ravine
The Miners Ravine is a balanced near symmetrical map. It is meant to bring the player through larger spaces between combat zones. Promoting progression, exploration, and time for the player to engage enemies. The center of the map is a large ravine with several paths going into it, on different elevations. The main path can easily be seen from here yet will only be reached through exploring either side of the ravine.
The Key Design Points for this map:
Center flow toward the Ravine.
Balance of combat and exploration
Smaller Maps
Summary:
- Designed Overworld and built Landscape.
- Designed Town/Hub Layout including Story Progression Points.
- Aided in populating Town with art assets.
- Designed and built 10 level maps in Dungeon System.
- Populated all created levels with enemy spawns, loot, and interactable assets.
- Worked alongside an amazing and skilled team of artists, programmers, and designers.